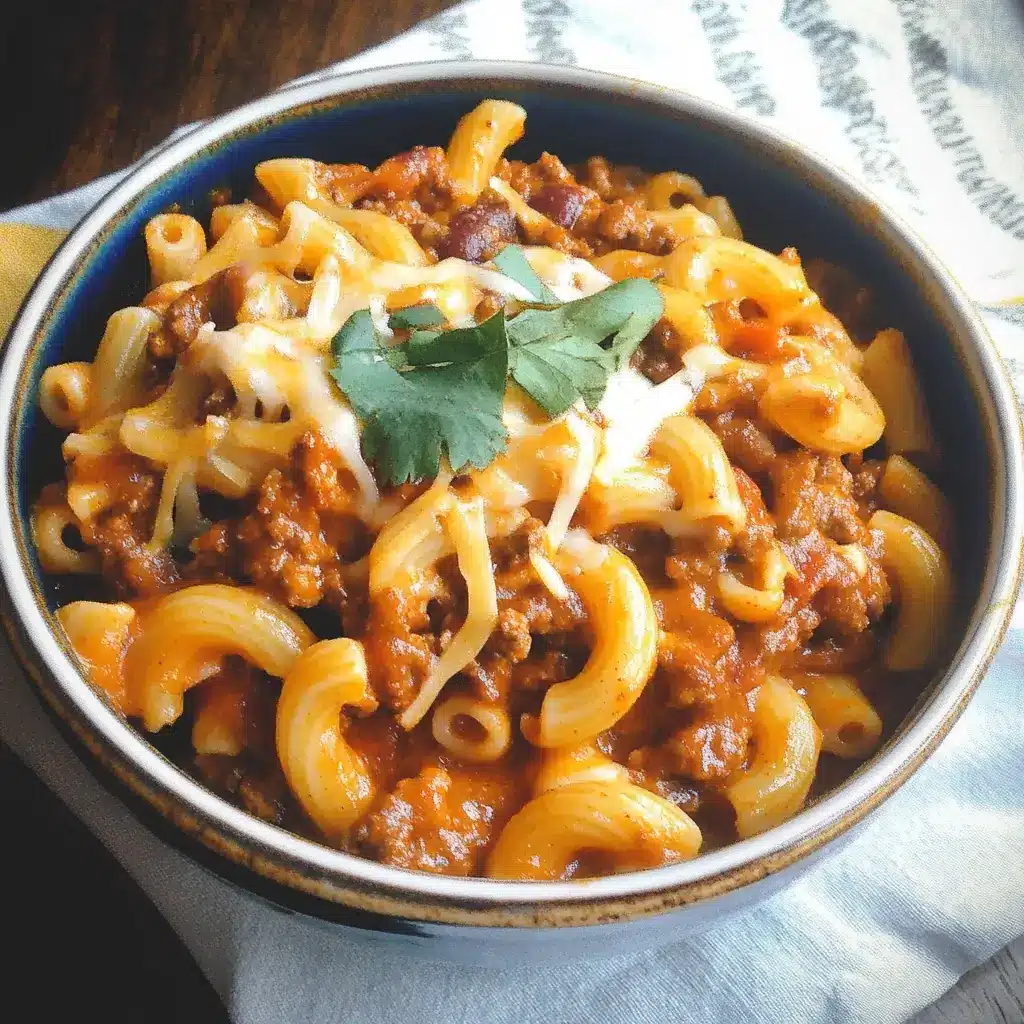
It was one of those drizzly, cool evenings where the craving for ultimate comfort food hits hard. My family, a tough crowd when it comes to new dinner experiments, had been hinting at wanting “something cheesy” and “something hearty.” I’d been mulling over the idea of combining two of our all-time favorites: a rich, savory chili and creamy, decadent macaroni and cheese. The result? This Beefy Chili Cheese Mac, a dish that didn’t just meet expectations but blew them out of the water. The moment the bubbling casserole came out of the oven, crowned with a golden-brown cheesy crust and releasing an aroma that filled the entire house, I knew we had a winner. My kids, usually picky, devoured their portions and even asked for seconds – a rare and triumphant moment for any home cook! My partner, a connoisseur of all things chili and mac, declared it “the best of both worlds, perfectly balanced.” It’s since become a staple in our rotation, especially for game days, potlucks, or whenever we need a culinary hug. This isn’t just a recipe; it’s an experience, a symphony of flavors and textures that will have your loved ones clamoring for more.
Ingredients for Ultimate Beefy Chili Cheese Mac
This recipe is designed to serve a hungry crowd or provide delicious leftovers. It’s broken down into components for clarity: the beefy chili, the creamy mac and cheese, and the glorious cheesy topping.
For the Beefy Chili:
- Ground Beef: 1.5 lbs (680g) lean ground beef (85/15 or 90/10 recommended)
- Olive Oil: 2 tablespoons
- Yellow Onion: 1 large, finely chopped (about 1.5 cups)
- Bell Peppers: 2 medium (any color, or a mix), chopped (about 2 cups)
- Garlic: 4-6 cloves, minced (about 2 tablespoons)
- Jalapeño (optional): 1-2, finely minced (seeds removed for less heat)
- Chili Powder: 3 tablespoons (use a good quality blend)
- Ground Cumin: 1.5 tablespoons
- Smoked Paprika: 1 tablespoon
- Dried Oregano: 1 teaspoon
- Cayenne Pepper: 1/4 – 1/2 teaspoon (adjust to your heat preference)
- Salt: 1.5 teaspoons (or to taste)
- Black Pepper: 1 teaspoon (or to taste)
- Diced Tomatoes: 1 can (28 oz / 794g), undrained
- Tomato Sauce: 1 can (15 oz / 425g)
- Tomato Paste: 2 tablespoons
- Kidney Beans: 1 can (15 oz / 425g), rinsed and drained
- Black Beans: 1 can (15 oz / 425g), rinsed and drained (optional, or use pinto beans)
- Beef Broth: 1 cup (240ml), low sodium
For the Creamy Mac and Cheese:
- Elbow Macaroni: 1 lb (450g)
- Unsalted Butter: 1/2 cup (1 stick / 113g)
- All-Purpose Flour: 1/2 cup (60g)
- Whole Milk: 4 cups (960ml), warmed
- Evaporated Milk: 1 can (12 oz / 354ml), for extra creaminess (optional, but recommended)
- Sharp Cheddar Cheese: 3 cups (about 12 oz / 340g), freshly grated
- Monterey Jack Cheese: 2 cups (about 8 oz / 225g), freshly grated (or Colby Jack, Gouda)
- Cream Cheese: 4 oz (113g), cut into cubes and softened
- Dry Mustard Powder: 1 teaspoon
- Salt: 1 teaspoon (or to taste, cheese is salty)
- White Pepper (or black pepper): 1/2 teaspoon
For the Cheesy Topping (Optional but Highly Recommended):
- Sharp Cheddar Cheese: 1 cup (about 4 oz / 113g), freshly grated
- Panko Breadcrumbs: 1/2 cup (optional, for extra crunch)
- Melted Butter: 2 tablespoons (optional, to toss with breadcrumbs)
Ingredient Notes & Why They Work:
- Lean Ground Beef: Using 85/15 or 90/10 provides enough fat for flavor without making the chili overly greasy. You’ll still drain excess fat.
- Freshly Grated Cheese: Pre-shredded cheeses often contain anti-caking agents that can prevent smooth melting. Grating your own from a block makes a world of difference in creaminess.
- Warmed Milk: Adding cold milk to a hot roux can cause lumps. Warming it gently helps ensure a silky smooth cheese sauce.
- Evaporated Milk: This is a secret weapon for ultra-creamy mac and cheese. Its concentrated milk solids create a richer, more stable sauce that resists breaking.
- Tomato Paste: Adds depth and umami to the chili base that diced tomatoes and sauce alone can’t achieve.
- Smoked Paprika: Lends a subtle smokiness that elevates the chili flavor profile.
- Dry Mustard Powder: Enhances the cheesiness of the mac and cheese without tasting distinctly of mustard. It’s a classic mac and cheese enhancer.
Step-by-Step Instructions to Culinary Bliss
Follow these instructions carefully for a perfectly executed Beefy Chili Cheese Mac. Mise en place (prepping all your ingredients before you start cooking) is highly recommended!
Phase 1: Prepare the Beefy Chili
- Brown the Beef: Heat olive oil in a large Dutch oven or heavy-bottomed pot over medium-high heat. Add the ground beef and cook, breaking it apart with a spoon, until nicely browned (about 8-10 minutes). Drain off any excess grease.
- Sauté Aromatics: Add the chopped onion and bell peppers to the pot with the beef. Cook, stirring occasionally, until they soften, about 5-7 minutes. If using jalapeño, add it with the onions and peppers.
- Bloom Spices: Stir in the minced garlic and cook for another minute until fragrant. Then, add the chili powder, ground cumin, smoked paprika, dried oregano, and cayenne pepper. Stir constantly for 1-2 minutes. This toasting or “blooming” of the spices in the hot fat intensifies their flavor.
- Build the Chili Base: Stir in the tomato paste and cook for 1-2 minutes, allowing it to caramelize slightly for deeper flavor. Add the diced tomatoes (undrained), tomato sauce, and beef broth. Bring the mixture to a gentle simmer.
- Simmer and Meld: Reduce the heat to low, cover the pot, and let the chili simmer for at least 30 minutes, or up to 1 hour for flavors to fully develop. Stir occasionally to prevent sticking. The longer it simmers, the better it tastes.
- Add Beans: Stir in the rinsed and drained kidney beans and black beans (if using). Continue to simmer for another 10-15 minutes. Taste and adjust seasonings, adding more salt, pepper, or chili powder as needed. Keep the chili warm while you prepare the mac and cheese.
Phase 2: Craft the Creamy Mac and Cheese
- Cook the Macaroni: While the chili simmers, bring a large pot of salted water to a rolling boil. Add the elbow macaroni and cook according to package directions until al dente (slightly firm to the bite). It’s important not to overcook it, as it will continue to cook when combined with the sauce and baked. Drain the macaroni well and set aside. You can toss it with a teaspoon of olive oil to prevent sticking if it will sit for a while.
- Start the Roux: In a separate large saucepan or Dutch oven (ensure it’s big enough to hold the pasta later), melt the 1/2 cup of butter over medium heat. Once melted, whisk in the 1/2 cup of all-purpose flour. Cook, whisking constantly, for 1-2 minutes to cook out the raw flour taste. This mixture is called a roux and will thicken your cheese sauce. It should look like a thick paste.
- Gradually Add Milk: Slowly pour in the warmed whole milk, about 1/2 cup at a time, whisking vigorously and continuously after each addition to prevent lumps. Once all the whole milk is incorporated and the sauce is smooth, whisk in the evaporated milk (if using).
- Thicken the Sauce: Continue to cook over medium heat, whisking frequently, until the sauce comes to a gentle simmer and thickens enough to coat the back of a spoon (about 5-8 minutes). Do not let it boil vigorously.
- Melt in the Cheeses: Reduce the heat to low. Add the softened cream cheese cubes and whisk until fully melted and incorporated. Then, begin adding the freshly grated sharp cheddar and Monterey Jack cheeses, a handful at a time, stirring well after each addition until the cheese is completely melted and the sauce is smooth and luscious. It’s crucial to do this off the direct heat or on very low heat to prevent the cheese from becoming stringy or grainy.
- Season the Cheese Sauce: Stir in the dry mustard powder, salt, and white (or black) pepper. Taste the sauce and adjust seasonings if necessary. Remember, the chili is also seasoned, so be mindful of the overall saltiness.
- Combine Mac and Sauce: Add the cooked and drained macaroni to the cheese sauce. Gently stir until all the pasta is evenly coated in the glorious cheesy goodness.
Phase 3: Assemble and Bake (The Grand Finale!)
- Preheat Oven: Preheat your oven to 375°F (190°C). Lightly grease a large 9×13 inch baking dish or a similar-sized casserole dish (a 3-4 quart capacity is ideal).
- Layer the Goodness:
- Option 1 (Layered): Spread half of the cheesy macaroni mixture evenly into the bottom of the prepared baking dish. Top with half of the beefy chili. Repeat with the remaining macaroni, then the remaining chili.
- Option 2 (Mixed): Gently fold about two-thirds of the beefy chili directly into the pot with the mac and cheese until well combined. Pour this mixture into the prepared baking dish. You can reserve the remaining third of the chili to spread over the top for a more distinct chili layer, or just mix it all in. This is purely preference. I personally like mixing most of it and then adding a few dollops of the remaining chili on top before the cheese.
- Top with More Cheese: Sprinkle the 1 cup of reserved shredded cheddar cheese evenly over the top of the chili-mac mixture.
- Add Crispy Topping (Optional): If using panko breadcrumbs for an extra crunchy top, toss them with the 2 tablespoons of melted butter in a small bowl until evenly coated. Sprinkle the buttered panko over the cheese layer.
- Bake to Perfection: Bake in the preheated oven for 25-35 minutes, or until the casserole is hot and bubbly around the edges, and the cheese topping is melted, golden brown, and slightly crispy. If the top starts to brown too quickly, you can loosely tent it with aluminum foil for the last 10-15 minutes of baking.
- Rest Before Serving: Once baked, carefully remove the Beefy Chili Cheese Mac from the oven. Let it rest for at least 10-15 minutes before serving. This allows the molten cheese and sauces to set slightly, making it easier to serve and preventing a soupy result. It also prevents burnt tongues!
Nutrition Facts (Approximate)
- Servings: This recipe generously serves 8-10 people.
- Calories per serving (approximate, based on 10 servings): 750-850 calories.
Disclaimer: Nutritional information is an estimate and can vary significantly based on specific ingredients used (e.g., fat content of beef, types of cheese, brands of canned goods) and exact portion sizes. For precise nutritional data, it’s recommended to use an online calculator with your specific ingredients.
This is a hearty, indulgent dish, perfect for a satisfying meal. The calories reflect its richness in protein from the beef and beans, carbohydrates from the pasta, and fats from the cheese and beef.
Preparation and Cook Time
- Preparation Time: 30-40 minutes (chopping vegetables, grating cheese, measuring ingredients). This can be reduced by using pre-chopped veggies or prepping components ahead.
- Cook Time (Chili Simmer): 45 minutes to 1 hour 15 minutes (longer simmer is better for chili).
- Cook Time (Mac and Cheese & Assembly): 25-30 minutes.
- Bake Time: 25-35 minutes.
- Rest Time: 10-15 minutes.
- Total Estimated Time: Approximately 2 hours 15 minutes to 3 hours. While it seems like a long time, much of it is hands-off simmering or baking, allowing you to multitask.
How to Serve Your Masterpiece
Serving this Beefy Chili Cheese Mac is an event in itself! Here are some ideas to make it even more spectacular:
- Straight from the Dish: Serve it family-style, directly from the hot baking dish. Place trivets on the table and let everyone dig in.
- Individual Portions: For a slightly more formal presentation, spoon generous portions into individual bowls or onto plates.
- Garnish Extravaganza: Set up a small “toppings bar” so everyone can customize their bowl. Consider:
- Sour Cream or Greek Yogurt: A dollop adds a cool, tangy contrast.
- Chopped Green Onions or Chives: For fresh, mild oniony bite and color.
- Fresh Cilantro: Adds a bright, herbaceous note.
- Pickled Jalapeños: For those who like an extra kick of heat and acidity.
- Crushed Tortilla Chips or Fritos: For added crunch and salty flavor.
- Extra Shredded Cheese: Because can you ever have too much?
- A Drizzle of Hot Sauce: For the heat enthusiasts.
- Accompaniments:
- Simple Green Salad: A light salad with a vinaigrette dressing can help balance the richness of the dish.
- Cornbread: Classic pairing with chili, perfect for soaking up any leftover sauce.
- Garlic Bread: Another great option for sauce-mopping.
- Steamed Green Beans or Broccoli: A simple, healthy side.
- Occasions:
- Game Day Feasts: This is the ultimate crowd-pleaser for watching sports.
- Potlucks and Gatherings: Travels well (if baked just before leaving or assembled and baked at the destination) and is always a hit.
- Cozy Weeknight Dinners: While it takes some time, components can be prepped ahead.
- Comfort Food Cravings: The perfect answer when you need a culinary hug.
Additional Tips for Beefy Chili Cheese Mac Perfection
- Spice Level Customization: The beauty of this dish is its adaptability.
- Milder: Omit the cayenne pepper and jalapeño. Use a mild chili powder. Ensure your bell peppers are sweet varieties.
- Spicier: Increase the cayenne, leave seeds in the jalapeño (or add more jalapeños), use a spicier chili powder blend, or add a pinch of red pepper flakes to the chili. A dash of your favorite hot sauce in the chili simmer can also boost heat.
- Make-Ahead Magic:
- Chili: The chili can be made 1-2 days in advance and stored in an airtight container in the refrigerator. Its flavor often improves overnight! Reheat gently before assembling.
- Cheese Sauce: While best made fresh, you can make the cheese sauce a day ahead. Store it with plastic wrap pressed directly onto the surface to prevent a skin from forming. Reheat very gently over low heat, whisking constantly, and you may need to add a splash more milk to loosen it.
- Assembly: You can assemble the entire casserole (without the panko topping if using), cover it tightly, and refrigerate for up to 24 hours. Add about 15-20 minutes to the baking time if baking from cold. Add panko just before baking.
- Freezing for Future Feasts:
- Beefy Chili Cheese Mac freezes surprisingly well. Bake it completely and let it cool. You can freeze it whole in the baking dish (if freezer-safe and well-wrapped) or portion it into individual freezer-safe containers.
- Wrap tightly in plastic wrap and then foil, or use airtight freezer containers. It can be frozen for up to 2-3 months.
- To Reheat: Thaw overnight in the refrigerator. Bake, covered with foil, at 350°F (175°C) for 30-45 minutes, or until heated through. Uncover for the last 10-15 minutes to re-crisp the top. Individual portions can be microwaved.
- Don’t Skimp on Seasoning (Taste, Taste, Taste!): Both the chili and the cheese sauce need to be well-seasoned independently for the final dish to shine. Taste each component before combining and adjust salt, pepper, and other spices as needed. Remember that pasta absorbs a lot of flavor, so a well-seasoned sauce is key.
- Quality Ingredients Matter:
- Beef: Using good quality ground beef will yield a better flavor.
- Tomatoes: Choose reputable brands of canned tomatoes and tomato sauce. Fire-roasted diced tomatoes can add another layer of smoky flavor to the chili.
- Cheese: As mentioned, freshly grating your cheese is paramount for the creamiest sauce. Experiment with different cheese blends – a bit of smoked gouda or pepper jack can add exciting twists.
Frequently Asked Questions (FAQ)
Q1: Can I use a different type of pasta?
A1: Absolutely! While elbow macaroni is classic, other sturdy, short pasta shapes work wonderfully. Try shells (they catch the sauce beautifully), rotini, cavatappi, penne, or even ziti. Avoid very delicate or long, thin pastas like spaghetti, as they might not hold up as well to the hearty chili and cheese sauce. Adjust cooking time based on the pasta chosen.
Q2: I don’t like beans in my chili. Can I omit them?
A2: Yes, you can definitely omit the beans for a “Texas-style” chili mac. The chili will still be delicious. You might want to slightly increase the amount of ground beef or add some extra vegetables like corn or more bell peppers to maintain a similar volume, but it’s not strictly necessary.
Q3: My cheese sauce turned out grainy/separated. What went wrong?
A3: This usually happens for a few reasons:
* Heat too high: Adding cheese when the sauce is too hot or boiling can cause the proteins to seize and separate, resulting in a grainy or oily texture. Always melt cheese on low heat or off the heat.
* Pre-shredded cheese: As mentioned, anti-caking agents in pre-shredded cheese can interfere with smooth melting.
* Type of cheese: Some cheeses melt better than others. Very aged or low-fat cheeses might not melt as smoothly. Sharp cheddar, Monterey Jack, Colby, and Gouda are generally good melters.
* Rushing the roux/milk: Ensure the flour is cooked in the butter, and milk is added gradually and whisked smooth.
Q4: Can I make this recipe vegetarian?
A4: Yes, with a few modifications. For the chili, replace the ground beef with a plant-based ground “meat” substitute, or use a hearty mix of lentils, mushrooms (finely chopped and sautéed), and extra beans. Ensure your beef broth is swapped for vegetable broth. The mac and cheese component is already vegetarian. The overall flavor profile will be different but can still be incredibly satisfying.
Q5: How do I store and reheat leftovers?
A5: Store any leftover Beefy Chili Cheese Mac in an airtight container in the refrigerator for up to 3-4 days.
* To Reheat in Oven (recommended for larger portions): Preheat oven to 350°F (175°C). Place leftovers in an oven-safe dish, cover with foil (to prevent drying out), and bake for 20-30 minutes, or until heated through. You can remove the foil for the last 5-10 minutes if you want to re-crisp the top.
* To Reheat in Microwave (for individual portions): Place a serving on a microwave-safe plate, cover loosely, and heat in 1-minute intervals, stirring in between, until hot. You might want to add a splash of milk or water before microwaving if it seems a bit dry.