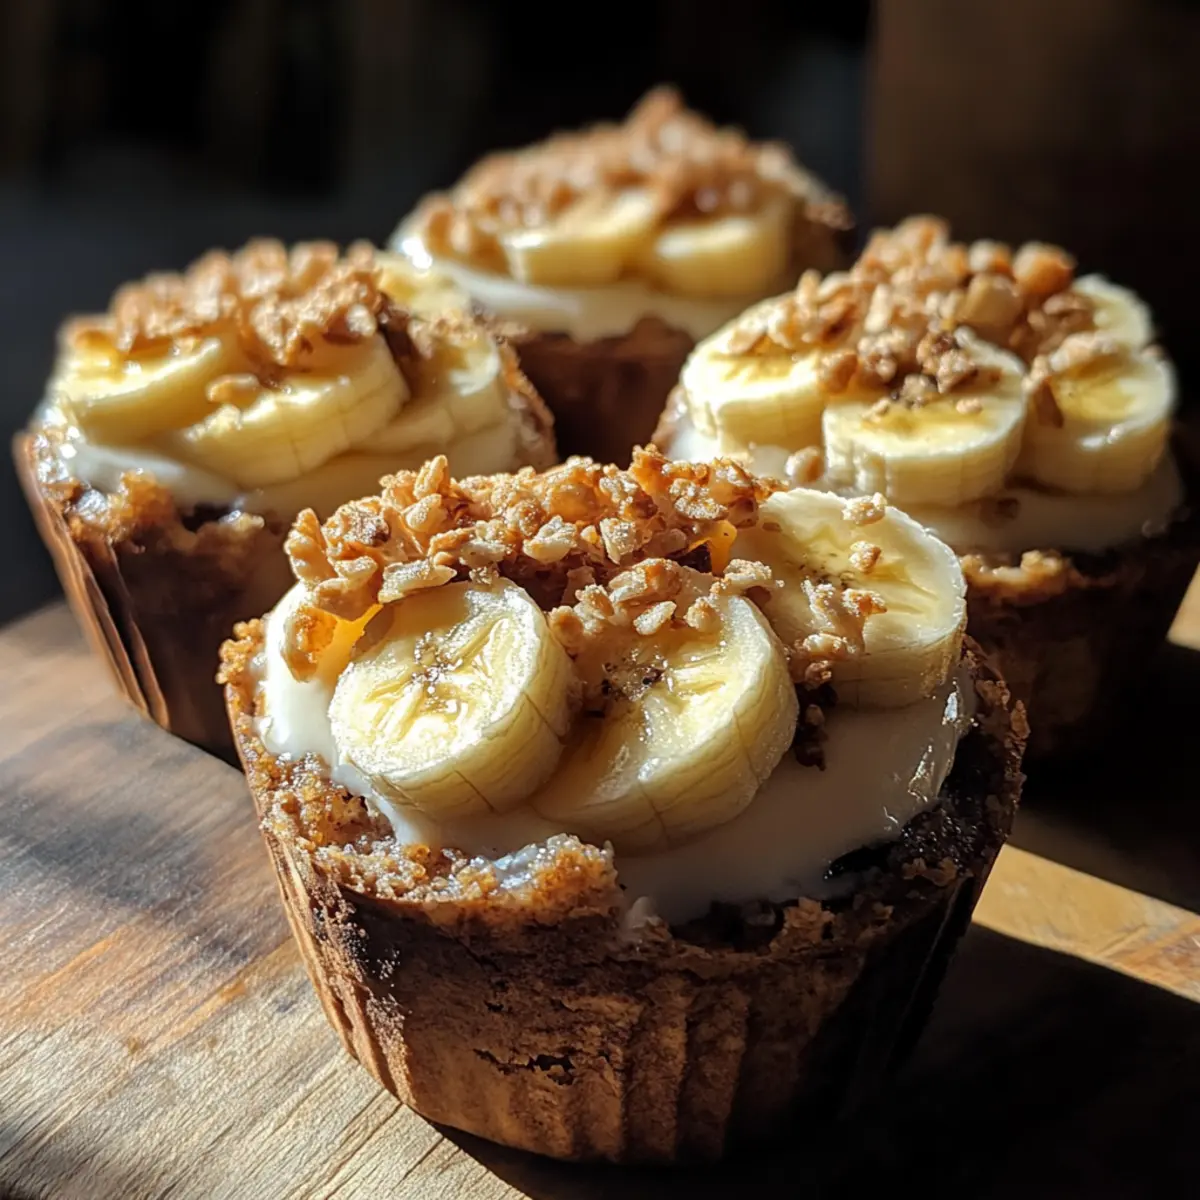
There’s something delightfully simple about transforming everyday ingredients into a treat that feels both wholesome and indulgent. That’s exactly what happened when I first tried these Baked Yogurt Banana Cups—a quick, cozy recipe that marries the natural sweetness of ripe bananas with creamy yogurt, all baked to golden perfection. Whether you’re tired of the usual snack lineup or looking to impress guests with something nutritious yet comforting, these cups are a game changer. They’re easy to assemble, packed with flavor, and perfect for breakfast, dessert, or anytime you crave a homemade delight that’s a cut above fast food. Let me share why this recipe quickly became a favorite in my kitchen and how it can brighten your day too.
Why choose Baked Yogurt Banana Cups Recipe?
Simplicity shines here: just a few everyday ingredients come together quickly. Rich creaminess from baked yogurt balances perfectly with the natural sweetness of bananas. Versatility makes it ideal for breakfast, dessert, or a healthy snack option. Guilt-free indulgence means satisfying cravings without overloading on sugar or fat. Plus, its warm, golden finish appeals to both kids and adults alike!
Baked Yogurt Banana Cups Ingredients
For the Cups
- Ripe Bananas – Use naturally sweet bananas for the perfect balance in this Baked Yogurt Banana Cups Recipe.
- Greek Yogurt – Choose full-fat for creaminess or low-fat for a lighter version without sacrificing texture.
- Honey – Adds gentle sweetness and helps caramelize the top when baked.
- Vanilla Extract – A splash lifts the flavors, giving a warm, comforting aroma.
- Cinnamon – Sprinkle for a subtle spice note that complements banana beautifully.
Optional Mix-Ins
- Chopped Nuts – Walnuts or pecans add delightful crunch and extra protein.
- Dark Chocolate Chips – For a hint of indulgence that melts into creamy pockets.
- Dried Fruits – Raisins or cranberries bring bursts of tartness and chewiness.
How to Make Baked Yogurt Banana Cups Recipe
- Preheat Oven: Set the oven to 350°F and grease a 12-cup muffin tin lightly with cooking spray or butter, ensuring easy removal and even browning along the cups’ edges.
- Prepare Bananas: Peel 2 large ripe bananas and slice each in half crosswise. Use a small spoon or melon baller to scoop out a shallow well in each half for the yogurt.
- Mix Filling: In a medium bowl, whisk together 1 cup Greek yogurt, 2 tablespoons honey, ½ teaspoon vanilla extract, and a pinch of cinnamon until smooth and creamy.
- Fill Cups: Spoon the yogurt mixture into each banana well, filling almost to the top. Leave a little space for expansion and prevention of overflow.
- Bake: Place the muffin tin on the center rack and bake for 12–15 minutes, until yogurt edges set, centers gently jiggle, and tops turn lightly golden.
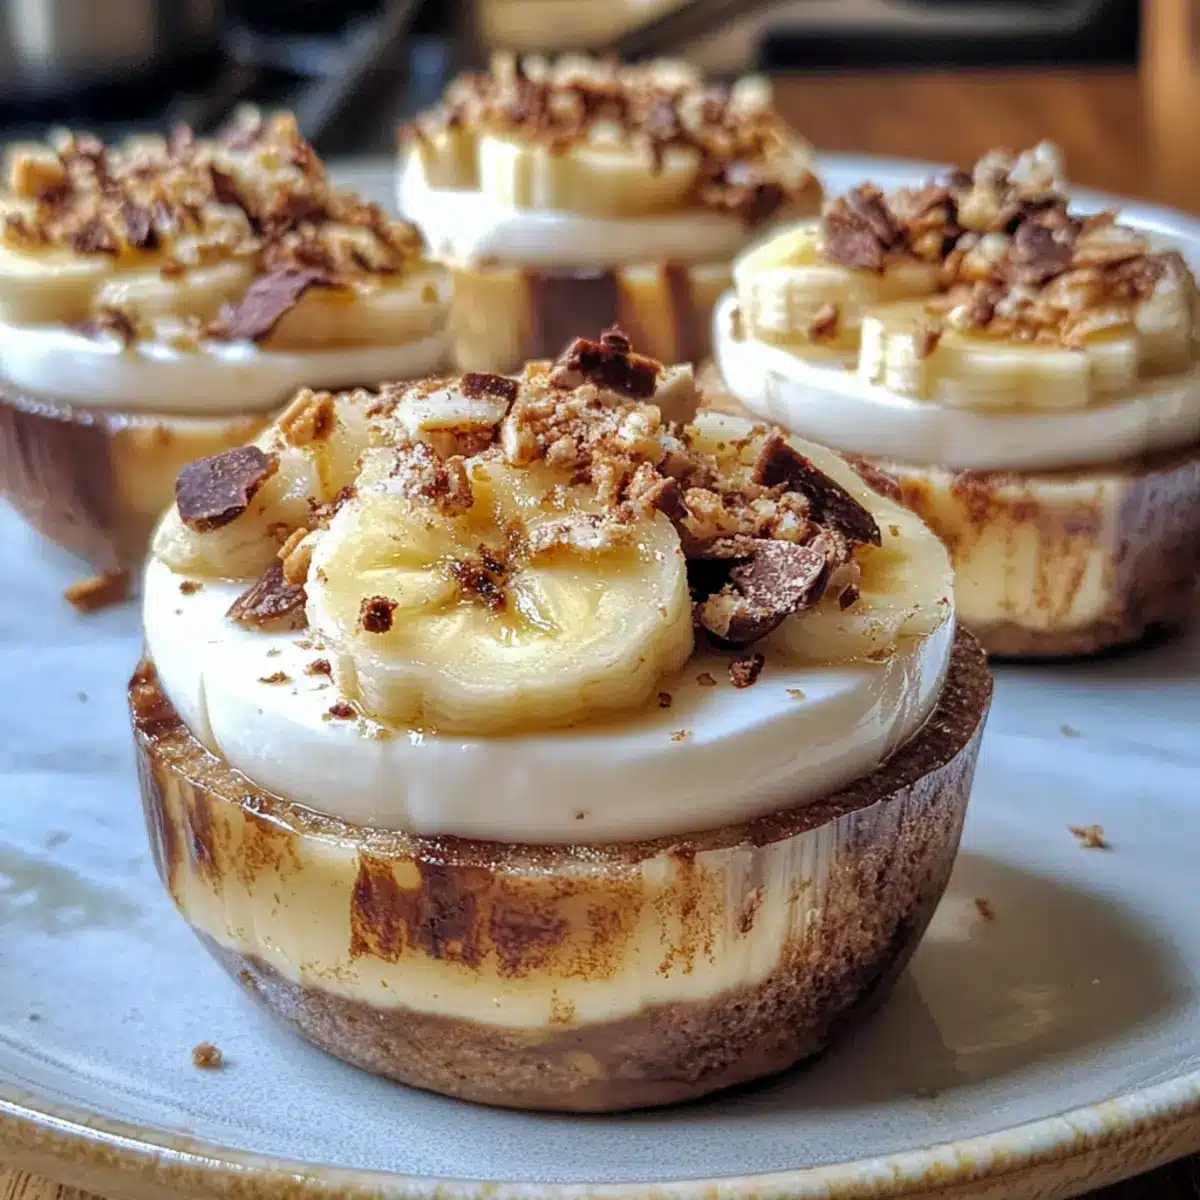
- Cool & Serve: Let the cups rest in the tin for 5 minutes, then transfer to a wire rack or plate. Serve warm, garnished if desired.
Optional: Sprinkle chopped walnuts over each cup for extra crunch.
Exact quantities are listed in the recipe card below.
What to Serve with Baked Yogurt Banana Cups Recipe?
There’s something delightful about creating a complete meal experience that complements the cozy goodness these cups provide.
-
Fresh Fruit Salad: A blend of seasonal fruits adds brightness and a refreshing crunch to balance the creaminess.
-
Granola: Crisp, nutty granola sprinkled on top brings an added layer of texture and stays perfectly crunchy.
-
Maple Syrup Drizzle: A light drizzle enhances the natural sweetness of bananas, elevating each bite and adding a touch of indulgence.
-
Herbal Tea: A warm cup of chamomile or mint tea offers a calming finish, making your snack feel even cozier.
-
Chocolate Almond Milk: This creamy, chocolatey drink pairs splendidly with the oat cups, satisfying cravings for dessert with added nutrients.
-
Nut Butter Spread: A dollop of almond or peanut butter on the side provides a protein punch and makes for a satisfying addition.
-
Greek Yogurt Parfait: Layer with berries and granola, creating a delightful, roomier yogurt treat that echoes the flavors in the baked cups.
-
Honey-Lemon Dressing: Drizzling this zesty concoction on a simple green salad next to your yogurt cups adds brightness and balances the meal beautifully.
Make Ahead Options
These Baked Yogurt Banana Cups are perfect for meal prep enthusiasts! You can prepare the banana halves and yogurt filling up to 24 hours in advance. Simply scoop out the bananas and mix the yogurt with honey, vanilla, and cinnamon, then refrigerate both components separately. This way, your bananas won’t brown, and the yogurt stays fresh. When you’re ready to bake, fill the banana wells with yogurt and bake as directed, enjoying that delightful aroma of fresh baked goodness wafting through your kitchen. With this make-ahead strategy, you’ll save time and still serve up warm, creamy treats that are just as delicious as if you made them from scratch!
Baked Yogurt Banana Cups Recipe Variations
Feel free to play around and add your own twist to these delightful cups—get ready to tantalize your taste buds!
- Nut-Free: Substitute Greek yogurt with dairy-free yogurt and omit nuts to cater to allergies while keeping it creamy and delicious.
- Sweetener Swap: Use maple syrup or agave nectar instead of honey for a different flavor profile and a vegan option.
- Spice It Up: Add a pinch of nutmeg or a dash of cardamom for an aromatic twist that takes these cups to the next level.
- Fruit Fusion: Replace half the bananas with applesauce or mashed strawberries for a fruity burst and added moisture in every cup.
- Chocolate Heaven: Mix in cocoa powder with the yogurt filling or top with chocolate drizzle for a rich, decadent variation.
- Protein Boost: Stir in a scoop of your favorite protein powder to the yogurt mixture for a satisfying and nutritious snack option.
- Coconut Delight: Fold in shredded coconut for a tropical feel, pairing wonderfully with the creamy yogurt and sweet bananas.
- Crunchy Toppings: Before serving, add granola or toasted coconut flakes on top for a satisfying crunch that contrasts beautifully with the soft cups.
Versatility is the key, and I can’t wait to see what delicious creations you come up with!
Expert Tips for Baked Yogurt Banana Cups Recipe
- Choose Ripe Bananas: Use bananas that are ripe but not overly mushy to hold their shape while baking and bring natural sweetness.
- Prevent Overflow: Leave a small gap when filling yogurt into banana cups to avoid spillage during baking for a clean presentation.
- Use Greek Yogurt: Opt for thick Greek yogurt for that rich, creamy texture essential to this Baked Yogurt Banana Cups Recipe’s luscious finish.
- Watch Baking Time: Bake just until edges set and tops are golden to keep the yogurt creamy inside, avoiding drying out the cups.
- Enhance Flavor: Add a pinch of cinnamon or a dash of vanilla extract to elevate the warm, comforting aroma of your baked cups.
How to Store and Freeze Baked Yogurt Banana Cups
Fridge: Keep baked yogurt banana cups in an airtight container for up to 3 days. This ensures they stay fresh and ready for your next treat.
Freezer: For longer storage, freeze individual cups wrapped in plastic wrap, then placed in a freezer bag for up to 2 months. Thaw in the fridge overnight before enjoying.
Reheating: To enjoy warm, simply pop the thawed cups in a preheated oven at 350°F for about 5–7 minutes. This will restore their creamy texture and delightful flavor.
Serving Suggestions: When serving, consider topping with a drizzle of honey or a sprinkle of cinnamon to enhance the taste of the baked yogurt banana cups recipe.
Baked Yogurt Banana Cups Recipe FAQs
How ripe should the bananas be for the Baked Yogurt Banana Cups Recipe?
I recommend using bananas that are ripe but still firm—yellow with some brown spots. This sweetness balances perfectly without turning mushy, helping the cups hold their shape while baking.
What’s the best way to store leftover baked yogurt banana cups?
Store them in an airtight container in the fridge for up to 3 days. This keeps them fresh and creamy without losing flavor. If you plan to eat them within a day, just cover them lightly with plastic wrap.
Can I freeze baked yogurt banana cups, and how should I do it?
Absolutely! Wrap each cooled cup tightly in plastic wrap, place them in a freezer bag, and freeze for up to 2 months. When ready, thaw overnight in the fridge. Reheat in a 350°F oven for 5–7 minutes to bring back that warm, creamy goodness.
Why did my yogurt filler overflow while baking, and how can I prevent this?
Overflow usually happens if the yogurt is filled too close to the top or if it’s very thin. Leave a small gap when filling to allow expansion, and use thick Greek yogurt, which sets better. Baking at a steady 350°F and watching closely towards the end helps prevent spills.
Are there any dietary concerns with this recipe for people with allergies or pets?
This recipe contains dairy and bananas, which some people and pets might be sensitive to. Do not feed these cups to pets, especially cats or dogs, as yogurt and bananas can upset their stomachs. For nut allergies, skip optional mix-ins like walnuts or pecans to keep it safe.
Easy Baked Yogurt Banana Cups Recipe for a Creamy, Guilt-Free Treat
Ingredients
Equipment
Method
- Preheat Oven: Set the oven to 350°F and grease a 12-cup muffin tin lightly.
- Prepare Bananas: Peel the bananas and slice each in half crosswise. Scoop out a shallow well in each half.
- Mix Filling: Whisk together Greek yogurt, honey, vanilla extract, and cinnamon until smooth.
- Fill Cups: Spoon the yogurt mixture into each banana well, filling almost to the top.
- Bake: Bake for 12–15 minutes until edges set and tops turn lightly golden.
- Cool & Serve: Let the cups rest for 5 minutes, then transfer to a wire rack or plate.