


There are some recipes that just become instant family legends, and this Easy Cheese Bomb Bread is unequivocally one of them in my household. The first time I made these, I was looking for a quick, crowd-pleasing appetizer for an impromptu game night. I had some refrigerated biscuit dough, a block of cheese, and a craving for something warm, gooey, and utterly irresistible. Little did I know, I was about to stumble upon pure cheesy gold. The moment these golden orbs emerged from the oven, glistening with garlic butter and香气扑鼻 (xiāngqì pūbí – wafting a fragrant aroma), my family descended upon them like hungry wolves. The silence that followed, broken only by satisfied “mmmms” and the occasional happy sigh, was testament to their deliciousness. Since then, these cheese bombs have become a staple – for parties, as a side with soup, or even just a “we deserve a treat” kind of snack. They are ridiculously easy to make, yet deliver an explosion of flavor and texture that feels incredibly indulgent. The soft, slightly chewy bread giving way to a molten core of cheese, all enrobed in a savory garlic butter glaze… it’s a culinary experience that’s both comforting and exciting. Trust me, once you try these, you’ll be making them again and again.
Easy Cheese Bomb Bread: The Ultimate Cheesy Delight
Prepare to be amazed by how simple it is to create these pockets of cheesy joy. This recipe transforms humble ingredients into an appetizer or snack that will have everyone reaching for more. Perfect for parties, game days, or just a cozy night in, these cheese bombs are a guaranteed hit.
Ingredients: What You’ll Need
To create these irresistible cheese bombs, you’ll need a few simple, readily available ingredients. The magic lies in their combination and the easy preparation method.
- For the Cheese Bombs:
- 1 can (16.3 oz / 462g) refrigerated biscuit dough (e.g., Pillsbury Grands! or similar large biscuits, typically 8 biscuits per can)
- 4 oz (approx. 113g) block of sharp cheddar cheese, cut into 8 (½-inch) cubes
- 4 oz (approx. 113g) block of mozzarella cheese (low-moisture, part-skim), cut into 8 (½-inch) cubes
- Alternatively, you can use 8 oz (approx. 226g) of your favorite melting cheese, like Monterey Jack, Colby, or a blend, cut into 16 cubes if you want a mix in each bomb, or 8 larger cubes if using one type per bomb.
- For the Garlic Butter Topping:
- 4 tablespoons (1/4 cup / 57g) unsalted butter, melted
- 2 cloves garlic, minced (or 1 teaspoon garlic powder)
- 1 tablespoon fresh parsley, finely chopped (or 1 teaspoon dried parsley)
- 1/4 teaspoon salt (optional, adjust if your biscuits are already salty)
- Pinch of black pepper (optional)
- 1 tablespoon grated Parmesan cheese (optional, for extra flavor)
Why these ingredients work:
- Refrigerated Biscuit Dough: This is the shortcut to heaven! It’s pre-made, rises beautifully, and provides that soft, slightly chewy bread texture. Using large biscuits gives you enough dough to properly encase the cheese.
- Cheddar & Mozzarella Cheese: This combination is a classic for a reason. Cheddar provides a sharp, tangy flavor, while mozzarella delivers that iconic, satisfying cheese pull and mild, creamy taste. Using block cheese and cubing it yourself ensures better melting than pre-shredded cheese, which often contains anti-caking agents.
- Garlic Butter Topping: This is what takes the cheese bombs from good to absolutely divine. Melted butter carries the flavor of fresh garlic and parsley deep into the nooks and crannies of the baked dough, adding richness, aroma, and a beautiful golden sheen. Parmesan adds an extra savory, umami kick.
Instructions: Crafting Your Cheese Bombs
Follow these simple steps to cheesy perfection. The process is straightforward and fun, making it a great recipe to involve kids in!
- Preheat and Prepare:
- Preheat your oven to 375°F (190°C).
- Lightly grease a 9-inch round cake pan, a pie dish, or a small cast-iron skillet. You can also line it with parchment paper for easier cleanup.
- Prepare the Dough:
- Open the can of biscuit dough and separate the biscuits.
- Take one biscuit and gently flatten it with your fingers or a rolling pin into a circle about 3-4 inches in diameter. Be careful not to tear the dough. The goal is to make it large enough to comfortably wrap around the cheese.
- Stuff with Cheese:
- Place one cube of cheddar cheese and one cube of mozzarella cheese (or one larger cube of your chosen cheese) in the center of the flattened biscuit dough.
- Pro-Tip: For an extra cheesy experience, you can use slightly larger cheese cubes, but be mindful not to overstuff, which could cause leakage.
- Seal the Bombs:
- Carefully bring the edges of the dough up and around the cheese cubes.
- Pinch the seams together tightly to completely seal the cheese inside, forming a ball. Ensure there are no gaps where the cheese can escape during baking. Roll it gently between your palms to create a smooth, round shape.
- Repeat with the remaining biscuits and cheese cubes.
- Arrange in Pan:
- Place the sealed cheese bombs seam-side down in the prepared baking dish. You can arrange them snugly next to each other, allowing them to touch, which will create a pull-apart bread effect. If you prefer individual rolls, leave a little space between them.
- Prepare the Garlic Butter Topping:
- In a small bowl, combine the melted butter, minced garlic (or garlic powder), chopped fresh parsley (or dried parsley), optional salt, pepper, and optional grated Parmesan cheese. Stir well to combine.
- Brush with Topping:
- Generously brush the tops of the cheese bombs with the garlic butter mixture, ensuring each one is well-coated. If you have any leftover topping, you can reserve it to brush on again after baking.
- Bake to Golden Perfection:
- Place the baking dish in the preheated oven.
- Bake for 15-20 minutes, or until the cheese bombs are golden brown on top and the dough is cooked through. The exact baking time may vary depending on your oven and the size of your biscuits.
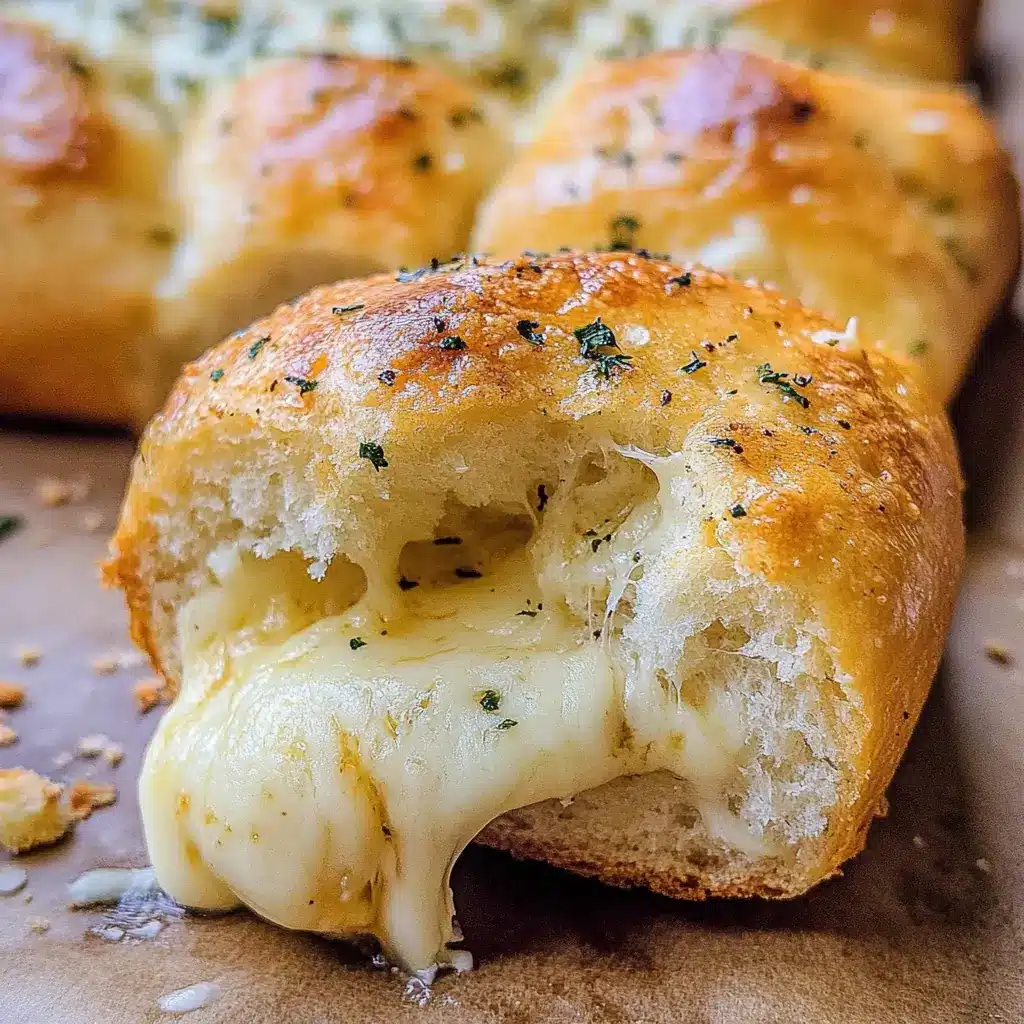
- Indicator of Doneness: They should look puffed up, golden, and you might see a tiny bit of cheese peeking out (which is perfectly fine and delicious!).
- Rest and Serve:
- Once baked, carefully remove the baking dish from the oven.
- If you reserved any garlic butter, you can brush it on the hot cheese bombs now for an extra layer of flavor and shine.
- Let the cheese bombs cool in the pan for about 5-10 minutes before serving. This allows the molten cheese inside to set slightly, preventing a volcanic cheese eruption when bitten into.
- Serve warm and watch them disappear!
Nutrition Facts
- Servings: This recipe makes 8 cheese bombs.
- Calories per serving (1 cheese bomb): Approximately 250-350 calories.
Disclaimer: Nutritional information is an estimate and can vary depending on the specific brands of ingredients used, the exact size of the cheese cubes, and any modifications made to the recipe. For precise nutritional data, it’s recommended to use a nutrition calculator with your specific ingredients.
The primary calorie contributors are the biscuit dough, cheese, and butter. While undeniably indulgent, these are best enjoyed as a treat or appetizer.
Preparation Time
One of the best things about this recipe is how quick it is to come together!
- Prep Time: 10-15 minutes (This includes opening the dough, cubing the cheese, stuffing, and sealing the bombs).
- Cook Time: 15-20 minutes
- Total Time: Approximately 25-35 minutes
This makes it an ideal recipe for last-minute cravings, unexpected guests, or when you just want a delicious, warm snack without spending hours in the kitchen.
How to Serve Your Delicious Cheese Bomb Bread
These Easy Cheese Bomb Breads are versatile and can be enjoyed in numerous ways. Here are some serving suggestions to elevate your cheesy experience:
- As an Appetizer:
- Arrange them on a platter for a party or gathering. They are fantastic finger food.
- Serve with a side of marinara sauce for dipping – it’s like a mini pizza explosion!
- Offer a creamy ranch dip or a zesty garlic aioli for a different flavor profile.
- As a Side Dish:
- Pair them with a hearty bowl of tomato soup or a minestrone. They are perfect for soaking up savory broths.
- Serve alongside a fresh green salad for a balanced and satisfying lunch.
- They make a fantastic alternative to garlic bread with pasta dishes like spaghetti Bolognese or lasagna.
- For Game Day or Movie Night:
- Present them in the baking dish they were cooked in for a rustic, shareable snack.
- Have a selection of dips available so everyone can customize their experience.
- With a Kick:
- For those who like it spicy, serve with a side of hot sauce or a spicy sriracha mayo.
- Kid-Friendly Snack:
- Kids adore these! Serve them as an after-school snack or a fun weekend treat. Just ensure they’ve cooled enough to handle.
Presentation Tips:
- Garnish with a little extra fresh parsley just before serving for a pop of color.
- If you used Parmesan in the topping, a light sprinkle of extra Parmesan on the warm bombs looks and tastes great.
- Serve them warm! This is when the cheese is at its gooiest and most irresistible.
Additional Tips for Cheese Bomb Perfection (5 Tips)
Unlock the full potential of your Easy Cheese Bomb Bread with these expert tips:
- Cheese Choice is Key:
- While cheddar and mozzarella are a fantastic duo, don’t be afraid to experiment! Gruyère offers a nutty flavor, Pepper Jack adds a spicy kick, Provolone provides a smooth melt, and even a small cube of cream cheese mixed with shredded cheese can make the filling extra creamy. Always use block cheese and cube it yourself for the best melt. Avoid pre-shredded cheese if possible, as its anti-caking agents can hinder melting.
- Don’t Overstuff, Seal Tightly:
- It’s tempting to pack as much cheese as possible into each bomb, but overstuffing is the primary culprit for cheese leakage during baking. Use reasonably sized cubes and ensure you stretch the dough enough to fully encase the cheese. Pinch the seams very well. A little bubble of cheese escaping is okay, but you don’t want a full blowout.
- Get Creative with Fillings & Toppings:
- Fillings: Add a small piece of cooked bacon, a tiny dollop of pesto, a slice of jalapeño, or some chopped pepperoni along with the cheese for a flavor upgrade.
- Toppings: Instead of parsley, try other herbs like dried oregano, Italian seasoning, or chives in your garlic butter. A sprinkle of “Everything Bagel” seasoning on top before baking is also delicious.
- Make-Ahead & Reheating:
- Make-Ahead: You can assemble the cheese bombs, place them in the baking dish, cover with plastic wrap, and refrigerate for up to 4 hours before baking. You might need to add a few extra minutes to the baking time if baking from cold.
- Reheating: Leftover cheese bombs (if any!) can be stored in an airtight container in the refrigerator for up to 2-3 days. Reheat in an oven or toaster oven at 350°F (175°C) for 5-8 minutes, or until warmed through and the cheese is melty again. Microwaving can make them a bit tough, so oven reheating is preferred.
- Dough Variations for Different Textures:
- While refrigerated biscuit dough is the easiest, you can also use:
- Pizza Dough: Store-bought or homemade pizza dough works well. Divide it into small portions, flatten, fill, and seal. The texture will be chewier, more like a traditional bread roll.
- Crescent Roll Dough: For a flakier, more buttery result, try using crescent roll dough. You may need to adjust the shaping slightly.
- Homemade Yeast Dough: If you’re feeling ambitious, a simple homemade yeast roll dough will take these to another level.
- While refrigerated biscuit dough is the easiest, you can also use:
FAQ Section: Your Cheese Bomb Questions Answered
Here are answers to some frequently asked questions about making Easy Cheese Bomb Bread:
- Q: Can I use different types of cheese?
- A: Absolutely! The best cheeses are good melters. Cheddar, mozzarella, Monterey Jack, Colby, Provolone, Gruyère, Fontina, and Pepper Jack are all excellent choices. You can use a single type or a combination. For the best melt, buy cheese in blocks and cube it yourself rather than using pre-shredded cheese.
- Q: My cheese bombs leaked a lot of cheese during baking. What did I do wrong?
- A: This usually happens for a couple of reasons:
- Overfilling: Too much cheese for the amount of dough.
- Not Sealing Properly: The seams weren’t pinched together tightly enough, creating an escape route for the melting cheese.
- Dough Too Thin: If the dough was stretched too thin in one spot, it might have torn.
Ensure you use an appropriate amount of cheese and focus on creating a very secure seal all around. A tiny bit of ooze is fine and often desirable, but you don’t want them to empty out.
- A: This usually happens for a couple of reasons:
- Q: Can I make these cheese bombs ahead of time?
- A: Yes, you can assemble them a few hours in advance. Place the unbaked, sealed cheese bombs in your prepared baking dish, cover tightly with plastic wrap, and refrigerate for up to 4 hours. When ready to bake, you might need to add 2-5 minutes to the baking time since they’ll be starting from cold.
- Q: How do I store and reheat leftover cheese bombs?
- A: Store any leftovers in an airtight container in the refrigerator for up to 3 days. To reheat and bring back their glory, place them on a baking sheet in a preheated oven at 350°F (175°C) for about 5-8 minutes, or until warmed through and the cheese is gooey again. Avoid the microwave if possible, as it can make the bread tough.
- Q: Can I add other ingredients inside the cheese bombs?
- A: Yes! This recipe is very adaptable. Consider adding small pieces of cooked bacon, crumbled cooked sausage, finely chopped jalapeños (for a kick), a pinch of Italian herbs, a small piece of pepperoni, or even a tiny dollop of cream cheese along with your cubed cheese for extra creaminess. Just be careful not to overfill, as this increases the risk of leakage.

Easy Cheese Bomb Bread Recipe
Ingredients
- For the Cheese Bombs:
- 1 can (16.3 oz / 462g) refrigerated biscuit dough (e.g., Pillsbury Grands! or similar large biscuits, typically 8 biscuits per can)
- 4 oz (approx. 113g) block of sharp cheddar cheese, cut into 8 (½-inch) cubes
- 4 oz (approx. 113g) block of mozzarella cheese (low-moisture, part-skim), cut into 8 (½-inch) cubes
- Alternatively, you can use 8 oz (approx. 226g) of your favorite melting cheese, like Monterey Jack, Colby, or a blend, cut into 16 cubes if you want a mix in each bomb, or 8 larger cubes if using one type per bomb.
- For the Garlic Butter Topping:
- 4 tablespoons (1/4 cup / 57g) unsalted butter, melted
- 2 cloves garlic, minced (or 1 teaspoon garlic powder)
- 1 tablespoon fresh parsley, finely chopped (or 1 teaspoon dried parsley)
- 1/4 teaspoon salt (optional, adjust if your biscuits are already salty)
- Pinch of black pepper (optional)
- 1 tablespoon grated Parmesan cheese (optional, for extra flavor)
Instructions
- Preheat and Prepare:
- Preheat your oven to 375°F (190°C).
- Lightly grease a 9-inch round cake pan, a pie dish, or a small cast-iron skillet. You can also line it with parchment paper for easier cleanup.
- Prepare the Dough:
- Open the can of biscuit dough and separate the biscuits.
- Take one biscuit and gently flatten it with your fingers or a rolling pin into a circle about 3-4 inches in diameter. Be careful not to tear the dough. The goal is to make it large enough to comfortably wrap around the cheese.
- Stuff with Cheese:
- Place one cube of cheddar cheese and one cube of mozzarella cheese (or one larger cube of your chosen cheese) in the center of the flattened biscuit dough.
- Pro-Tip: For an extra cheesy experience, you can use slightly larger cheese cubes, but be mindful not to overstuff, which could cause leakage.
- Seal the Bombs:
- Carefully bring the edges of the dough up and around the cheese cubes.
- Pinch the seams together tightly to completely seal the cheese inside, forming a ball. Ensure there are no gaps where the cheese can escape during baking. Roll it gently between your palms to create a smooth, round shape.
- Repeat with the remaining biscuits and cheese cubes.
- Arrange in Pan:
- Place the sealed cheese bombs seam-side down in the prepared baking dish. You can arrange them snugly next to each other, allowing them to touch, which will create a pull-apart bread effect. If you prefer individual rolls, leave a little space between them.
- Prepare the Garlic Butter Topping:
- In a small bowl, combine the melted butter, minced garlic (or garlic powder), chopped fresh parsley (or dried parsley), optional salt, pepper, and optional grated Parmesan cheese. Stir well to combine.
- Brush with Topping:
- Generously brush the tops of the cheese bombs with the garlic butter mixture, ensuring each one is well-coated. If you have any leftover topping, you can reserve it to brush on again after baking.
- Bake to Golden Perfection:
- Place the baking dish in the preheated oven.
- Bake for 15-20 minutes, or until the cheese bombs are golden brown on top and the dough is cooked through. The exact baking time may vary depending on your oven and the size of your biscuits.
- Indicator of Doneness: They should look puffed up, golden, and you might see a tiny bit of cheese peeking out (which is perfectly fine and delicious!).
- Rest and Serve:
- Once baked, carefully remove the baking dish from the oven.
- If you reserved any garlic butter, you can brush it on the hot cheese bombs now for an extra layer of flavor and shine.
- Let the cheese bombs cool in the pan for about 5-10 minutes before serving. This allows the molten cheese inside to set slightly, preventing a volcanic cheese eruption when bitten into.
- Serve warm and watch them disappear!
Nutrition
- Serving Size: One Normal Portion
- Calories: 250-350


