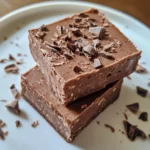
There’s something wonderfully refreshing about a dessert that comes together without turning on the oven—especially when it combines rich cocoa with creamy yogurt in a way that feels indulgent but light. I stumbled upon this No-Bake Cocoa Yogurt Squares recipe on a day when the summer heat made firing up the kitchen impossible, and it quickly became my go-to treat. Not only is it incredibly simple, but the balance of smooth cocoa flavor with the tangy yogurt creates a dessert that’s both satisfying and guilt-free. Whether you’re craving a quick homemade sweet or looking to impress guests with minimal effort, these squares deliver that crowd-pleasing magic every time.
Why love this No-Bake Cocoa Yogurt Squares Recipe?
Effortless delight: No oven needed means less heat and hassle in the kitchen. Creamy texture: Smooth yogurt blends perfectly with rich cocoa for a luscious bite. Quick prep: Whip it up in minutes, ideal for busy days or last-minute cravings. Versatile treat: Great for a snack, dessert, or even a light breakfast option. Crowd-pleaser: Its delicate balance of tangy and chocolatey flavors wins over all tastes.
No-Bake Cocoa Yogurt Squares Ingredients
For the Cocoa Yogurt Base
- Greek yogurt – provides creamy richness and protein to keep the squares light yet satisfying.
- Unsweetened cocoa powder – delivers that deep, chocolaty flavor without extra sugar.
- Honey or maple syrup – adds natural sweetness to balance the tang of yogurt.
- Vanilla extract – enhances the cocoa’s aroma and brings warmth to the flavor profile.
For the Crust
- Digestive biscuits or graham crackers – crushed finely to form a crunchy, buttery base.
- Melted butter – binds the crust together while adding richness and flavor.
Optional Toppings
- Dark chocolate chips – sprinkle on top for extra bursts of chocolate goodness.
- Chopped nuts – add crunch and a nutty contrast to the creamy squares.
- Fresh berries – brighten the dessert with a pop of color and natural tartness, perfect in this No-Bake Cocoa Yogurt Squares Recipe.
How to Make No-Bake Cocoa Yogurt Squares
-
For the Crust:
-
Crush biscuits: Place digestive biscuits in a zip-top bag and finely crush with a rolling pin until you achieve a sandy texture, about 2 minutes.
-
Combine butter: In a medium bowl, stir the crushed biscuits with melted butter until the crumbs stick together and form a moist, sandy mixture ready to press into the pan.
-
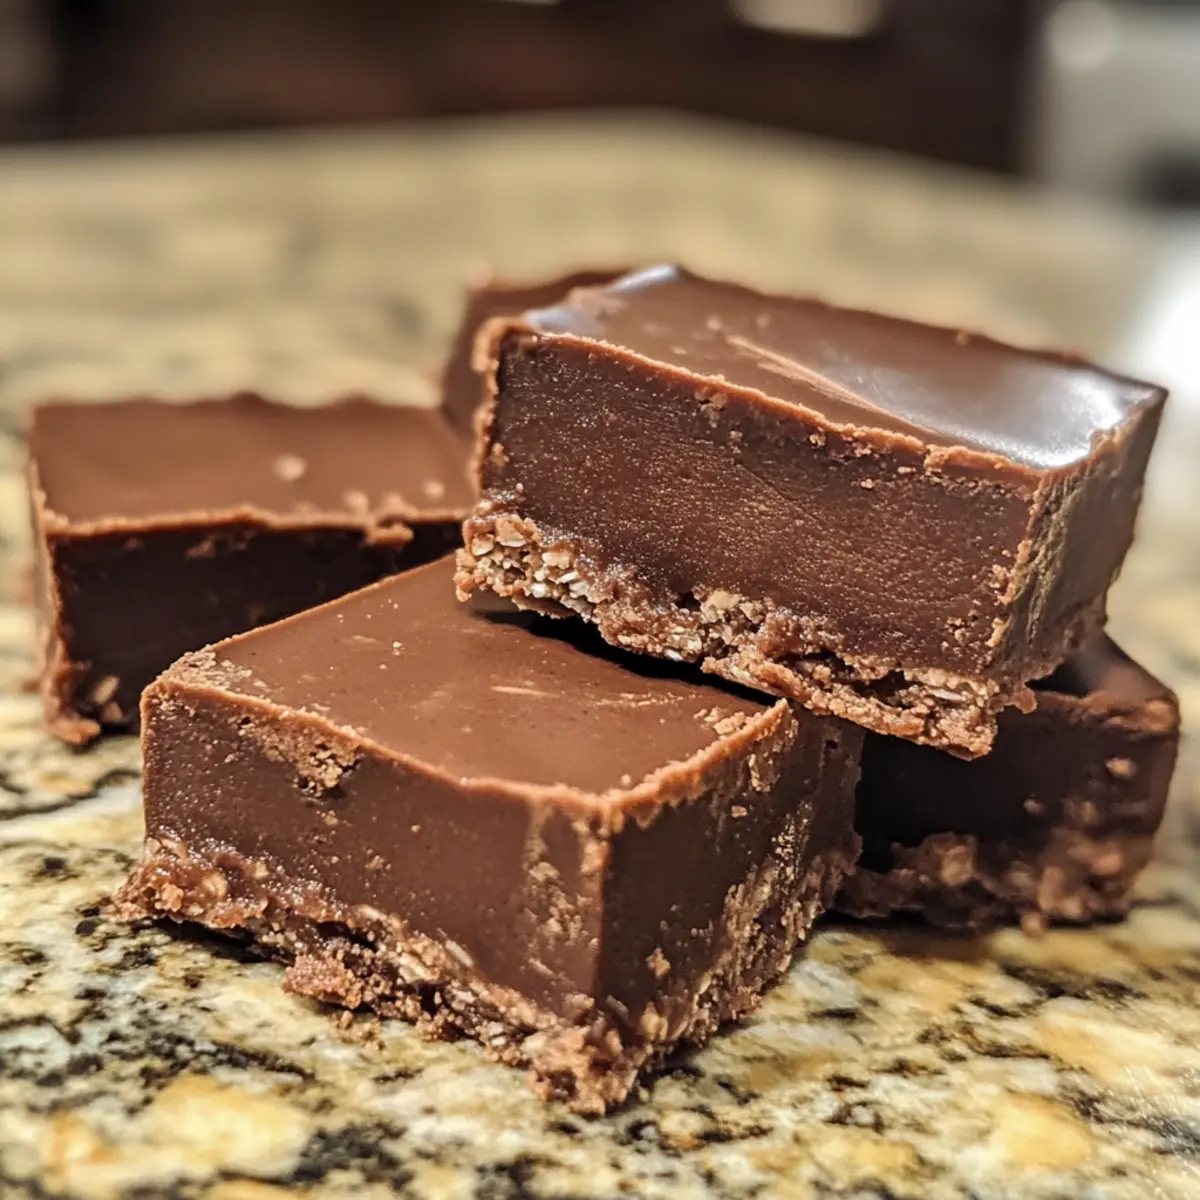
Press crust: Press the buttery biscuit mixture firmly and evenly into the lined pan, creating a compact ¼-inch layer; use the bottom of a glass for extra smoothness.
For the Cocoa Yogurt Base:
- Whisk filling: In a separate bowl, whisk together Greek yogurt, cocoa powder, honey, and vanilla extract until smooth, shiny, and free of lumps, about 1 minute.
- Spread filling: Pour the chocolate yogurt mixture over the crust, using a spatula to smooth the top into an even, glossy layer that fills every corner of the pan.
- Chill squares: Cover the pan with plastic wrap and refrigerate for at least 3 hours, or until the yogurt layer is firm to the touch and ripe for cutting.
For the Toppings:
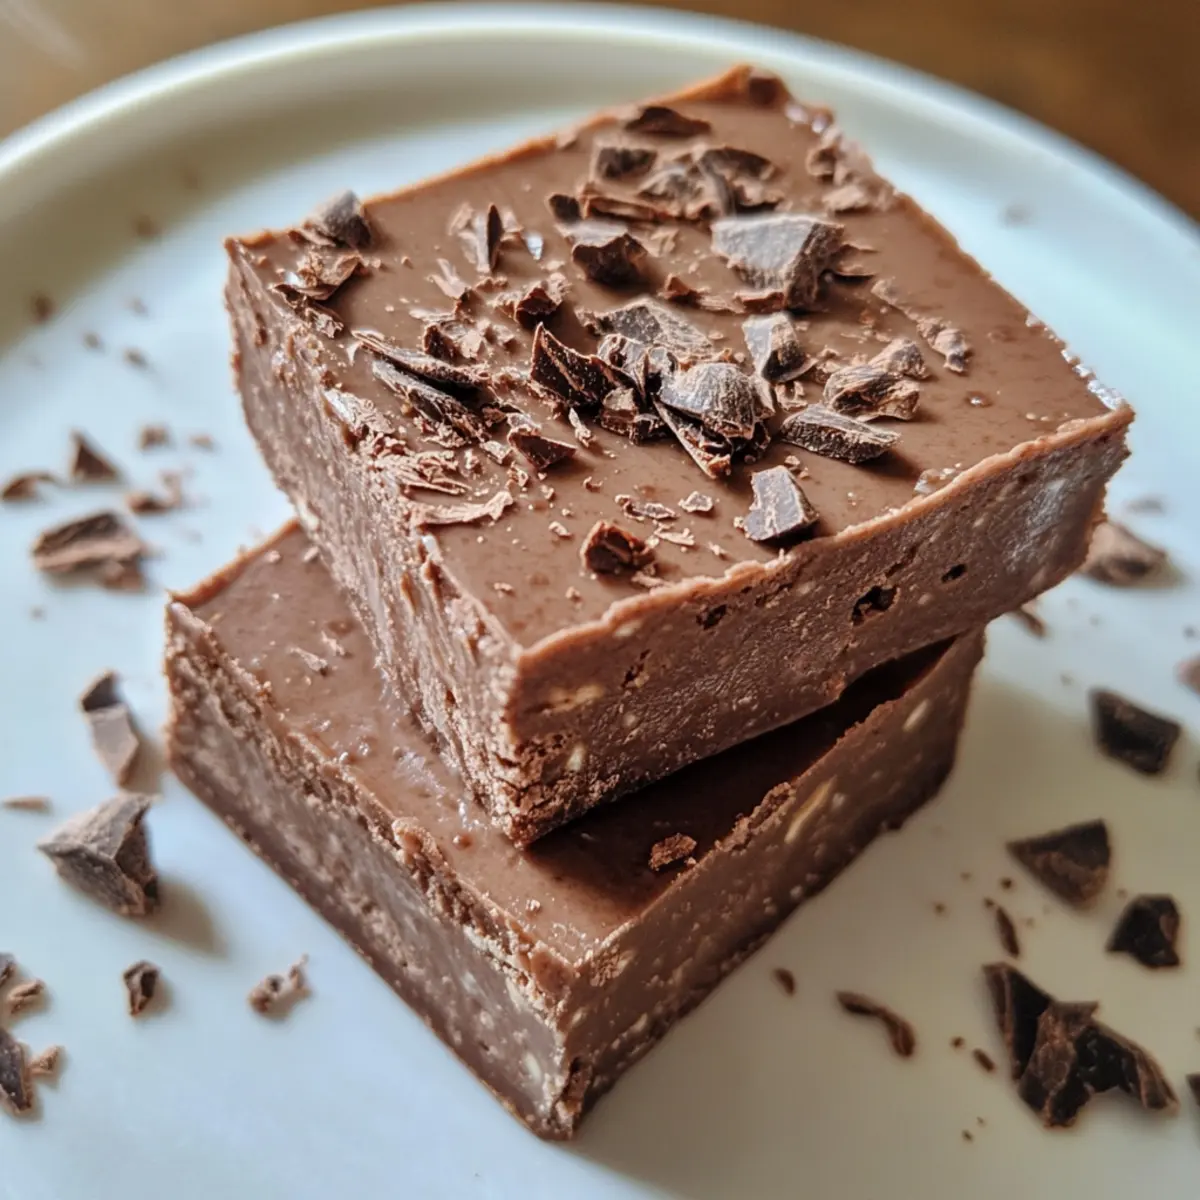
- Add toppings: Just before serving, sprinkle chocolate chips, chopped nuts, or fresh berries over the chilled squares to add color, crunch, and bright flavor contrasts.
Optional: Drizzle melted dark chocolate for extra richness.
Exact quantities are listed in the recipe card below.
Expert Tips for No-Bake Cocoa Yogurt Squares Recipe
- Use full-fat yogurt: Choosing full-fat Greek yogurt ensures a creamier texture and richer flavor, making your no-bake cocoa yogurt squares delightfully indulgent.
- Avoid overmixing: Whisk cocoa powder gently into the yogurt to prevent lumps while preserving the smooth, glossy finish that makes this dessert irresistible.
- Firm crust matters: Press the biscuit base firmly and evenly to prevent crumbling when cutting the squares; a compact crust holds together beautifully.
- Chill adequately: Refrigerate for at least three hours to allow the yogurt filling to set properly—rushing this step results in runny squares.
- Customize toppings thoughtfully: Add nuts or berries just before serving to maintain their crunch and freshness, enhancing both texture and appearance.
How to Store and Freeze No-Bake Cocoa Yogurt Squares
Fridge: Store the squares in an airtight container for up to 5 days; this keeps them fresh and creamy without losing flavor.
Freezer: For longer storage, freeze the squares for up to 2 months. Cut into portions, wrap each piece in plastic, and place them in a freezer-safe container.
Thawing: To enjoy frozen cocoa yogurt squares, thaw them in the fridge overnight. This ensures they maintain their creamy texture.
Reheating: These squares are best served chilled, so no reheating needed—just slice and enjoy straight from the fridge!
What to Serve with No-Bake Cocoa Yogurt Squares?
Create the perfect finish to your delicious dessert with thoughtful pairings that enhance every bite.
- Fresh Berries: The bright tartness of strawberries or raspberries adds a refreshing contrast, balancing the rich cocoa flavors beautifully.
- Whipped Cream: A dollop of lightly sweetened whipped cream on the side offers airy elegance, making each square feel indulgent and light.
- Nutty Granola: Sprinkle a bit of crunchy granola for texture; its toasty notes harmonize delightfully with the creamy yogurt base.
For a truly memorable experience, serve these squares with a glass of chilled almond milk. The nutty undertones provide a lovely complement to the sweetness of the dessert, making each bite and sip a delightful combination.
- Mint Tea: A soothing cup of mint tea helps cleanse the palate and enhances the dessert experience with its refreshing aroma and taste.
- Dark Chocolate Coffee: Pairing your squares with a rich dark chocolate coffee brings out the cocoa in the dessert and creates a warm, comforting moment.
- Coconut Flakes: Toasted coconut flakes on top can introduce a tropical flair and delightful chewiness that echoes the creamy yogurt’s texture.
No-Bake Cocoa Yogurt Squares Variations
Feel free to explore these delightful twists that take your no-bake squares to new heights of deliciousness.
-
Nut-Free: Swap out Greek yogurt with coconut yogurt for a nut-free option that still delivers creaminess. Its subtle coconut flavor offers a refreshing change.
-
Vegan: Use plant-based yogurt and maple syrup for a completely vegan dessert. The flavor remains rich while accommodating dietary needs, allowing everyone to indulge.
-
Spiced: Add a pinch of cinnamon or a dash of cayenne pepper to the cocoa mixture for a warmth that enhances the chocolate. This unexpected twist can awaken your taste buds in delightful ways.
-
Fruit-Infused: Stir in your favorite fruit puree, like raspberry or mango, into the cocoa yogurt base. This not only adds vibrant color but also a fresh fruity flavor that brightens each bite.
-
Texture Heaven: Incorporate crushed graham crackers into the yogurt mixture for added crunch. This textural contrast creates a more exciting eating experience and makes every bite interesting.
-
Choco-Mint: Add peppermint extract to the yogurt base for a refreshing chocolate-mint flavor. It’s reminiscent of your favorite holiday treats and adds a festive twist.
-
Layered Delight: Create a layered dessert by alternating the cocoa yogurt with fruit layers such as strawberry or blueberry. This visual appeal and variety of flavors will wow your guests.
-
Caramel Drizzle: Just before serving, drizzle a rich caramel sauce over the top for a decadent finish that adds sweetness and an extra layer of indulgence.
Each variation brings its own unique flair, inviting you to create a treat that speaks to your preferences and makes every gathering a little sweeter!
Make Ahead Options
These No-Bake Cocoa Yogurt Squares are perfect for busy home cooks looking to save time on dessert! You can prepare the crust and store it in the refrigerator for up to 3 days before adding the yogurt filling. Simply crush the digestive biscuits and mix them with melted butter, then press them into your pan and cover tightly. When you’re ready to serve, whisk together the yogurt base and pour it over the crust—this process only takes a few minutes! For the best results, chill the entire dessert for at least 3 hours before serving to ensure it sets properly. This way, you’ll enjoy delightful, creamy squares anytime with minimal last-minute effort!
Easy No-Bake Cocoa Yogurt Squares Recipe FAQs
What kind of yogurt works best for No-Bake Cocoa Yogurt Squares?
I recommend using full-fat Greek yogurt for the creamiest, richest texture. It holds up well and balances the cocoa’s bitterness beautifully. Low-fat or non-dairy yogurts can work too but may make the dessert less creamy or alter the taste slightly.
How should I store leftover No-Bake Cocoa Yogurt Squares?
Store any leftovers in an airtight container in the fridge for up to 5 days. Keeping them chilled maintains their creamy texture and prevents the crust from getting soggy. Make sure to cover them well to avoid absorbing other fridge odors.
Can I freeze No-Bake Cocoa Yogurt Squares, and how do I thaw them properly?
Absolutely! These squares freeze wonderfully for up to 2 months. Cut into single-serving pieces, wrap each tightly in plastic wrap, then place them in a freezer-safe container or zip-top bag. When you’re ready to enjoy, thaw them in the refrigerator overnight to retain the creamy texture and prevent sogginess.
What if my cocoa yogurt filling is too runny or doesn’t set well?
This usually means it hasn’t chilled long enough or the yogurt you used was too watery. Make sure to use thick Greek yogurt and chill the squares at least 3 hours—overnight is even better! If it’s still loose, adding a spoonful of gelatin or a bit of cream cheese next time can help firm it up while keeping that luscious smoothness.
Are No-Bake Cocoa Yogurt Squares safe for pets or people with dairy allergies?
While delicious, these squares contain dairy and cocoa, both of which can be harmful to many pets, so keep them out of reach. For people with dairy allergies, you can try using plant-based yogurts like coconut or almond varieties, but be aware this may change the texture and flavor somewhat. Always check ingredient labels carefully!
Easy No-Bake Cocoa Yogurt Squares Recipe for a Creamy Treat
Ingredients
Equipment
Method
- Place digestive biscuits in a zip-top bag and finely crush with a rolling pin until sandy, about 2 minutes.
- In a medium bowl, stir the crushed biscuits with melted butter until mixture is moist and sticks together.
- Press the mixture firmly and evenly into the lined pan, creating a compact ¼-inch layer.
- In a separate bowl, whisk together Greek yogurt, cocoa powder, honey, and vanilla extract until smooth and shiny, about 1 minute.
- Pour the chocolate yogurt mixture over the crust and smooth the top into an even layer.
- Cover the pan with plastic wrap and refrigerate for at least 3 hours until firm.
- Just before serving, sprinkle chocolate chips, chopped nuts, or fresh berries over the squares.