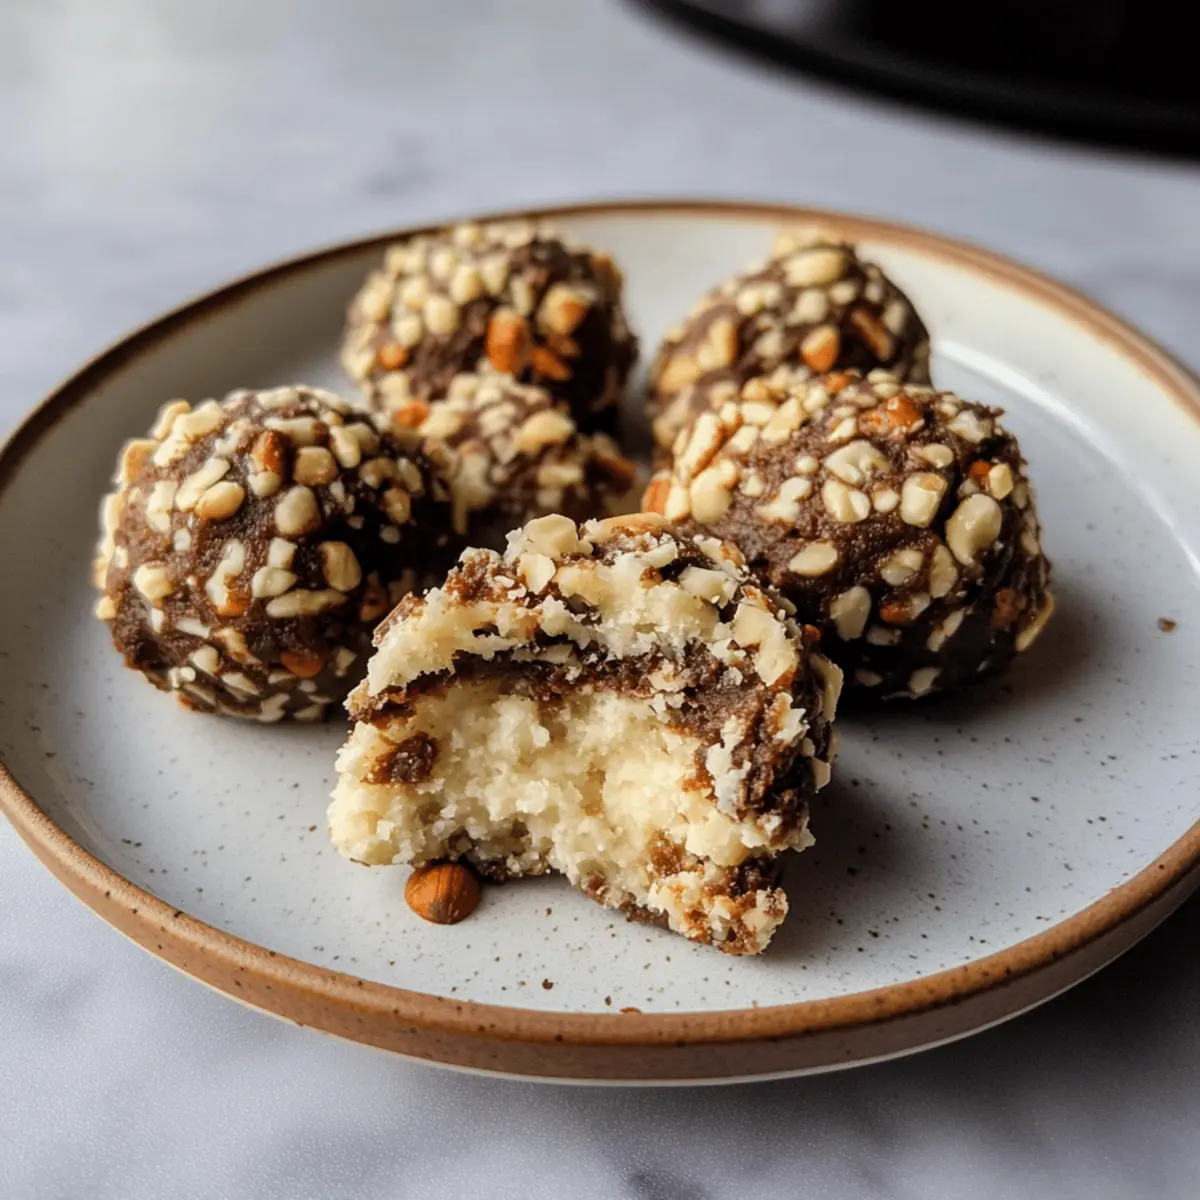
There’s something wonderfully addictive about the rich blend of chocolate and hazelnuts, isn’t there? That first bite of these Chocolate Hazelnut Bliss Balls instantly reminded me why homemade treats always steal the show. Whipped up in minutes and packed with wholesome ingredients, they’re the perfect pick-me-up when you want a guilt-free indulgence that doesn’t sacrifice on flavor. Whether you’re a busy chef looking to impress guests with effortless elegance or someone tired of the usual grab-and-go snacks, these bliss balls bring a delightful twist to your kitchen repertoire. Let me show you how easy it is to whip up a batch that’s as nourishing as it is delicious!
Why choose Chocolate Hazelnut Bliss Balls?
Irresistible flavor: The luscious combo of chocolate and toasted hazelnuts creates a dreamy, nutty taste. Quick and easy: You’ll have these ready in under 15 minutes, no baking required! Wholesome ingredients: Packed with natural goodness, they satisfy your sweet tooth guilt-free. Perfect snack size: Take them anywhere for a nutritious energy boost. Crowd-pleasers: Impress family and friends with elegant homemade treats everyone loves.
Chocolate Hazelnut Bliss Balls Ingredients
For the Bliss Balls
- Medjool Dates – Use soft, pitted dates to naturally sweeten and bind your bliss balls.
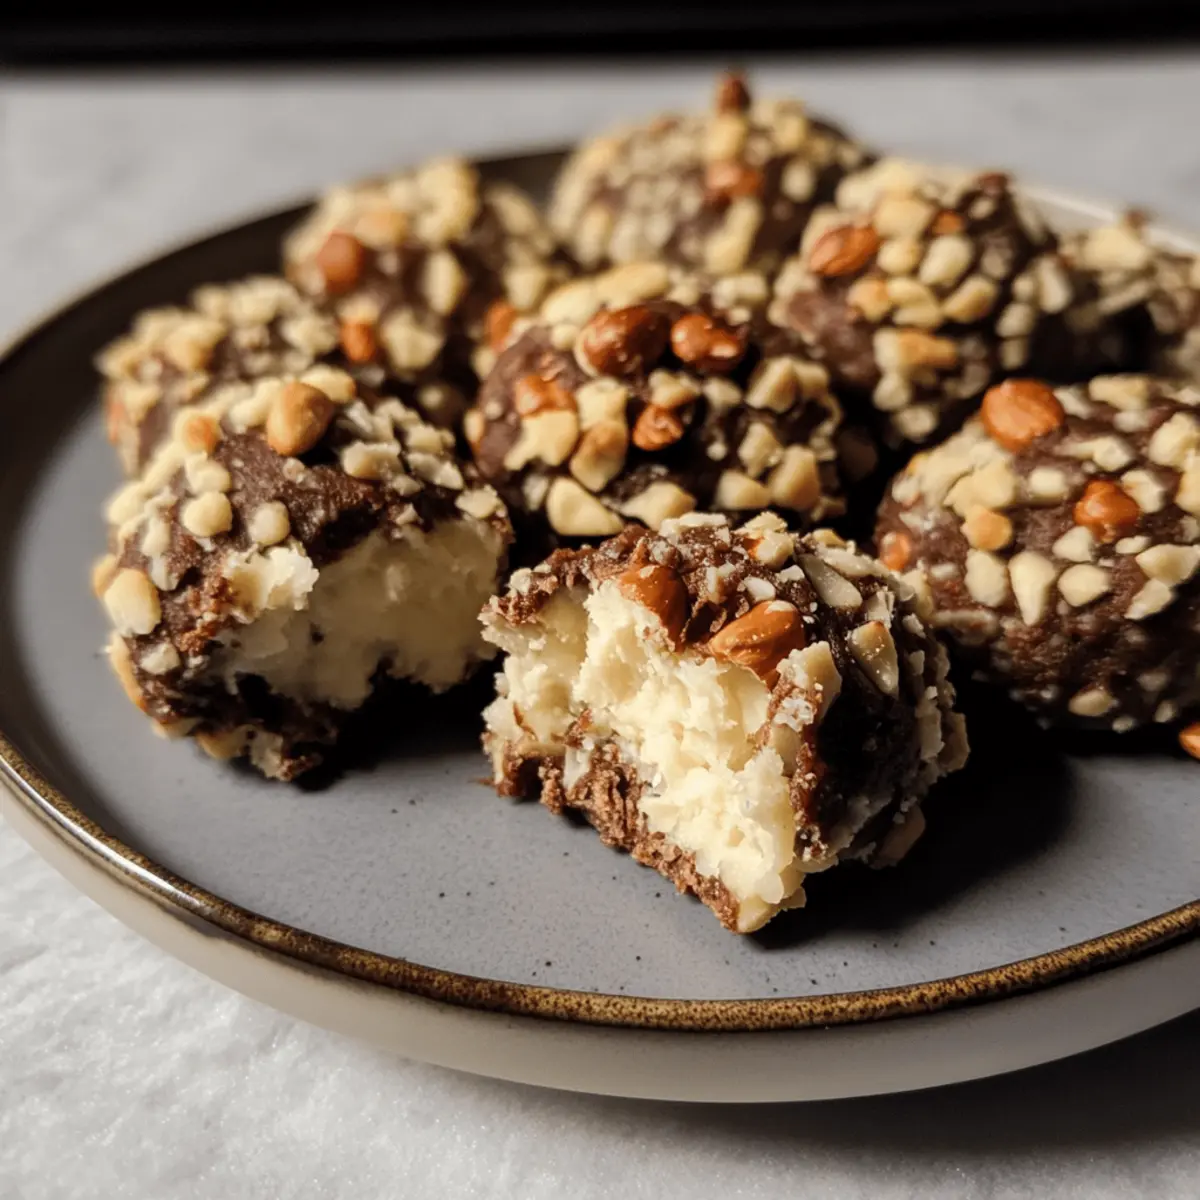
- Raw Hazelnuts – Toast them lightly for an irresistible nutty crunch that complements the chocolate.
- Unsweetened Cocoa Powder – Adds rich chocolate depth without extra sugar, key to these Chocolate Hazelnut Bliss Balls.
- Maple Syrup – A natural sweetener that enhances flavor and keeps the texture moist.
- Vanilla Extract – A splash brightens the overall taste with warm, aromatic notes.
- Sea Salt – Just a pinch to balance sweetness and intensify flavors.
For Rolling & Garnish
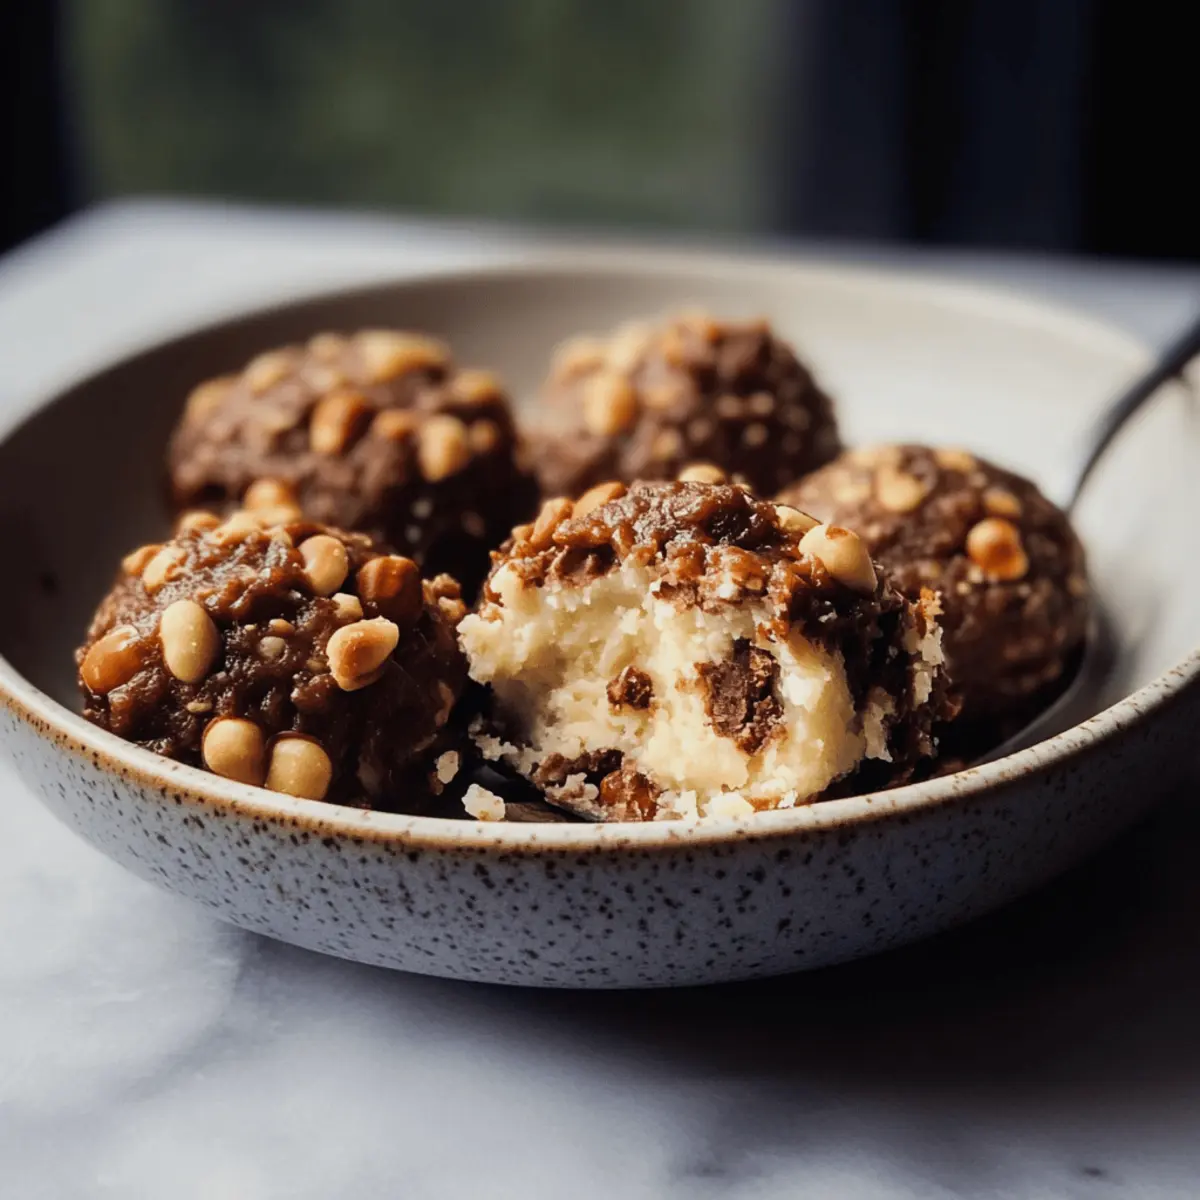
- Chopped Hazelnuts – Roll the balls in these for extra crunch and a gorgeous finish.
- Cocoa Powder or Shredded Coconut – Optional coatings that add variety and visual appeal.
How to Make Chocolate Hazelnut Bliss Balls
- Toast Hazelnuts: Preheat your oven to 350°F. Spread raw hazelnuts on a baking sheet and toast for 10 minutes until fragrant and golden-brown. Let them cool completely before using.
- Blend Dates: Place soft Medjool dates and a generous drizzle of maple syrup into your food processor. Blend until the mixture becomes sticky, smooth, and holds together in a slightly crumbly mass.
- Combine Ingredients: To the sticky date blend, add unsweetened cocoa powder, cooled toasted hazelnuts, vanilla extract, and a pinch of sea salt. Pulse until a uniform, chocolate-hazelnut dough forms.
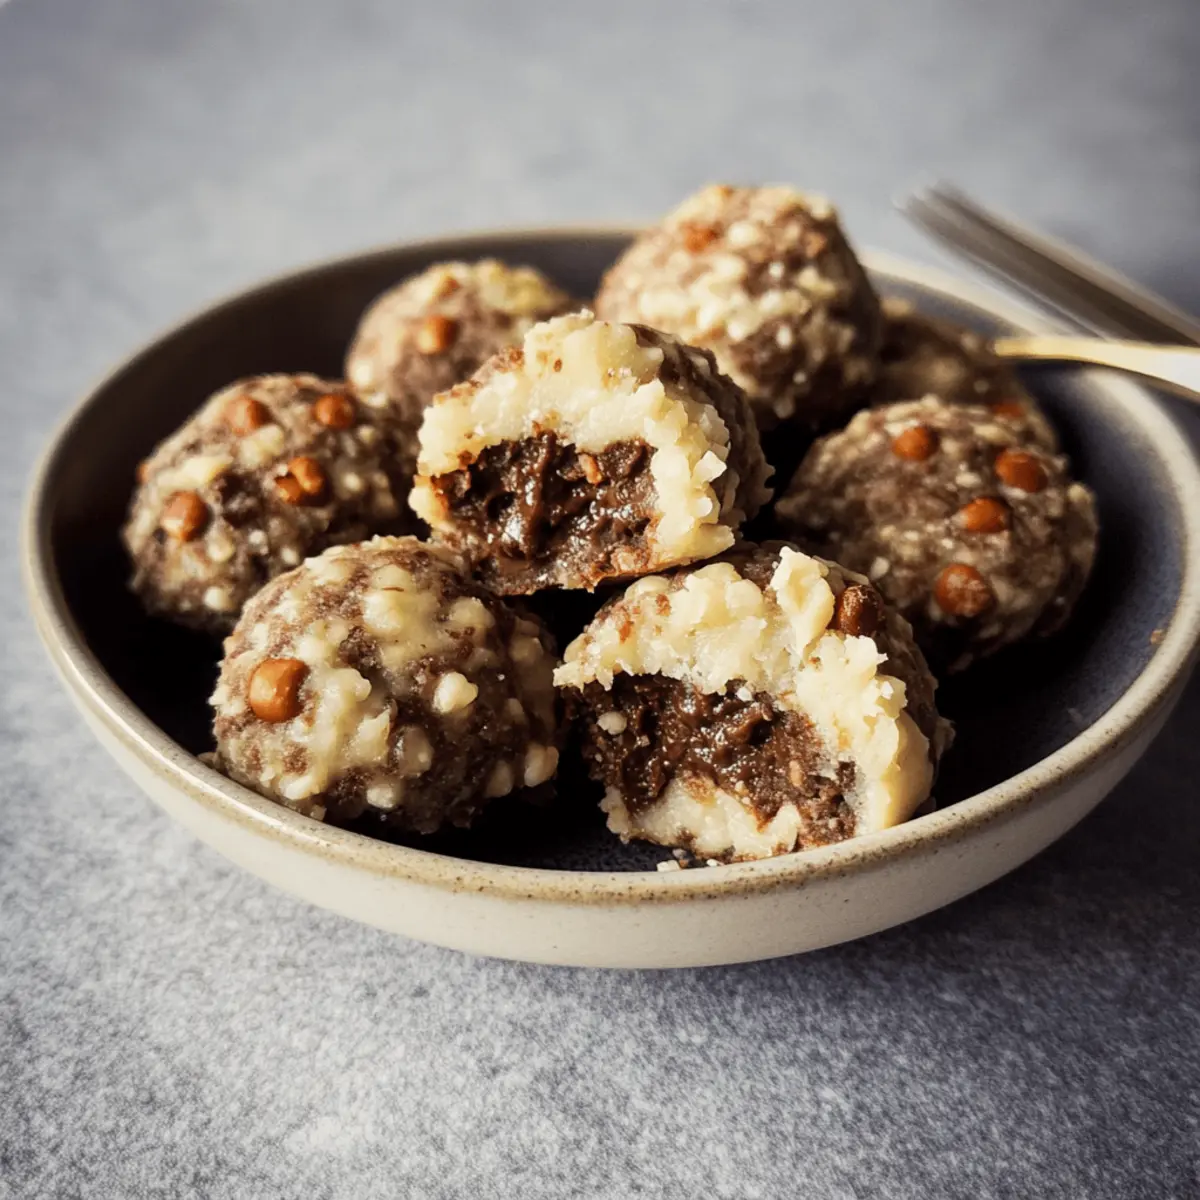
- Shape Balls: Scoop out about one tablespoon of dough, then roll between your palms to form smooth, one-inch balls. Work quickly to maintain the dough’s pliable texture in warm hands.
- Roll Coating: Pour chopped hazelnuts, cocoa powder, or shredded coconut onto a plate. Roll each bliss ball gently to coat with your favorite garnish for added texture and flavor.
- Chill Bliss Balls: Arrange finished bliss balls on a parchment-lined tray. Cover loosely and chill in the refrigerator for at least 30 minutes until firm and ready to serve.
Optional: Drizzle with melted dark chocolate for an elegant finish.
Exact quantities are listed in the recipe card below.
Make Ahead Options
These Chocolate Hazelnut Bliss Balls are a fantastic choice for meal prep, allowing you to enjoy a nourishing snack anytime with minimal effort. You can prepare the bliss ball mixture up to 24 hours in advance; just blend your ingredients and store the mixture in an airtight container in the refrigerator. Additionally, if you want to save time on busy days, shape the balls into their final form and refrigerate them for up to 3 days before serving. To maintain their delightful texture and flavor, keep them covered and chilled. When it’s time to indulge, simply roll them in your chosen toppings and enjoy blissful, guilt-free treats that taste just as delicious as when they were freshly made!
How to Store and Freeze Chocolate Hazelnut Bliss Balls
Fridge: Store the bliss balls in an airtight container in the fridge for up to 1 week. This keeps them fresh and ready for a quick snack.
Freezer: Freeze the bliss balls in a single layer on a baking sheet, then transfer to a freezer bag for up to 3 months. They make for a delightful, chilled treat any time!
Reheating: For optimal flavor, let the frozen bliss balls thaw at room temperature for about 15–20 minutes before enjoying. This restores their chewy texture and enhances the chocolatey goodness.
Portioning: If you plan to enjoy them gradually, consider rolling smaller batches to avoid thawing the entire batch at once, ensuring the Chocolate Hazelnut Bliss Balls remain fresh.
What to Serve with Chocolate Hazelnut Bliss Balls?
There’s nothing quite like a delightful spread of treats to accompany these indulgent bites, enhancing your moment of bliss.
-
Fresh Fruit Salad: A medley of berries and citrus provides a refreshing contrast, balancing the rich flavors of the bliss balls with their natural sweetness.
-
Creamy Yogurt Dip: This luxurious dip adds a smooth, tangy richness that perfectly enhances the chocolatey hazelnut flavor, making every bite even more delightful.
-
Herbal Tea: Choose a calming chamomile or mint infusion that complements the bliss balls. This warm drink will create a soothing atmosphere while you indulge.
-
Nutty Granola: Sprinkle some homemade or store-bought granola around your bliss balls. The crunch and earthy taste bring texture and elevate your treat presentation beautifully.
-
Chocolate Drizzle: For an elegant touch, drizzle melted dark chocolate over your bliss balls. This enriching act not only enhances visual appeal but multiplies the delightful cocoa experience!
-
Coconut Macaroons: These chewy delights echo the nutty flavors of the chocolate hazelnut bliss balls, creating a harmonious pairing that satisfies all sweet cravings.
-
Espresso or Cold Brew: Pair these bliss balls with a bold coffee for an energizing afternoon pick-me-up that beautifully contrasts their sweet richness.
-
Cheese Platter: Include some mild cheese like Brie or goat cheese, which adds creamy sophistication, complementing the chocolate with a savory twist.
Expert Tips for Chocolate Hazelnut Bliss Balls
- Use soft Medjool dates: For the perfect sticky base, choose fresh, plump Medjool dates; dry ones won’t bind your bliss balls properly.
- Toast hazelnuts well: Light roasting unlocks rich flavor—don’t skip this step or the nutty depth will be missing from the Chocolate Hazelnut Bliss Balls.
- Pulse, don’t overblend: Blend just until combined to keep a pleasant texture; overprocessing creates a paste that’s too smooth.
- Roll quickly: If the dough warms too much, it gets sticky and hard to shape—work fast or chill briefly before shaping.
- Chill before serving: Refrigerating for at least 30 minutes firms up the bliss balls and enhances their delightful chewiness.
- Get creative with coatings: Switching up coatings like shredded coconut or cocoa powder elevates both flavor and appearance easily.
Chocolate Hazelnut Bliss Balls Variations & Substitutions
Feel free to let your creativity shine as you customize these blissful treats, making them uniquely yours!
-
Nut-Free: Substitute raw hazelnuts with sunflower seeds for a safe, nut-free version that still packs a punch of flavor.
-
Vegan: Use agave syrup instead of maple syrup to keep your bliss balls 100% plant-based while still sweet and delicious.
-
Coconut Twist: Add shredded coconut into the mixture for extra chewiness and a tropical flair that makes these treats even more enjoyable.
-
Protein Boost: Mix in a scoop of your favorite protein powder to enhance the nutritional value, perfect for post-workout snacks.
-
Choco-Mint: Fold in a few drops of peppermint extract for a refreshing twist that elevates the chocolate flavor beautifully.
-
Fruit Zest: Incorporate a handful of dried cherries or cranberries for a burst of tartness that complements the sweetness of the dates.
-
Spicy Kick: Add a dash of cayenne pepper or chili powder for a surprising layer of heat, creating a marvelous contrast to the rich chocolate.
-
Different Nuts: Swap out hazelnuts for almonds or pecans, each offering its unique flavor profile while still remaining mouthwateringly delicious.
Embrace these variations and make the Chocolate Hazelnut Bliss Balls your own delicious masterpieces!
Chocolate Hazelnut Bliss Balls Recipe FAQs
What type of dates should I use for Chocolate Hazelnut Bliss Balls?
I recommend using soft, plump Medjool dates for the best sticky, natural sweetness and binding. If your dates are dry or hard, soak them in warm water for 10 minutes to soften before blending.
How long can I store the bliss balls in the fridge?
You can safely store them in an airtight container in the refrigerator for up to 1 week. This keeps them fresh, chewy, and ready for a quick, wholesome snack anytime.
Can I freeze Chocolate Hazelnut Bliss Balls and how?
Absolutely! Lay the bliss balls out on a parchment-lined baking sheet in a single layer and freeze for 1 to 2 hours. Once firm, transfer them to a freezer-safe bag or container and store for up to 3 months. When ready to enjoy, thaw at room temperature for 15 to 20 minutes to bring back their chewy, melt-in-your-mouth texture.
What if my bliss balls won’t stick together?
This sometimes happens if the dates aren’t soft enough or if the mixture is too dry. Try pulsing a few extra dates or adding a small drizzle of maple syrup to increase stickiness. If the dough feels too sticky to handle, chill it in the refrigerator for 10-15 minutes before rolling.
Are these bliss balls safe for pets or people with nut allergies?
Since these bliss balls contain hazelnuts, they are not safe for dogs or anyone with nut allergies. For a nut-free version, you can swap hazelnuts for seeds like sunflower or pumpkin seeds, but be sure to check with your vet or doctor before sharing any treats with pets or those with allergies.
Irresistible Chocolate Hazelnut Bliss Balls You’ll Love Making
Ingredients
Equipment
Method
- Toast Hazelnuts: Preheat your oven to 350°F. Spread raw hazelnuts on a baking sheet and toast for 10 minutes until fragrant and golden-brown. Let them cool completely before using.
- Blend Dates: Place soft Medjool dates and a generous drizzle of maple syrup into your food processor. Blend until the mixture becomes sticky, smooth, and holds together in a slightly crumbly mass.
- Combine Ingredients: To the sticky date blend, add unsweetened cocoa powder, cooled toasted hazelnuts, vanilla extract, and a pinch of sea salt. Pulse until a uniform, chocolate-hazelnut dough forms.
- Shape Balls: Scoop out about one tablespoon of dough, then roll between your palms to form smooth, one-inch balls. Work quickly to maintain the dough’s pliable texture in warm hands.
- Roll Coating: Pour chopped hazelnuts, cocoa powder, or shredded coconut onto a plate. Roll each bliss ball gently to coat with your favorite garnish for added texture and flavor.
- Chill Bliss Balls: Arrange finished bliss balls on a parchment-lined tray. Cover loosely and chill in the refrigerator for at least 30 minutes until firm and ready to serve.