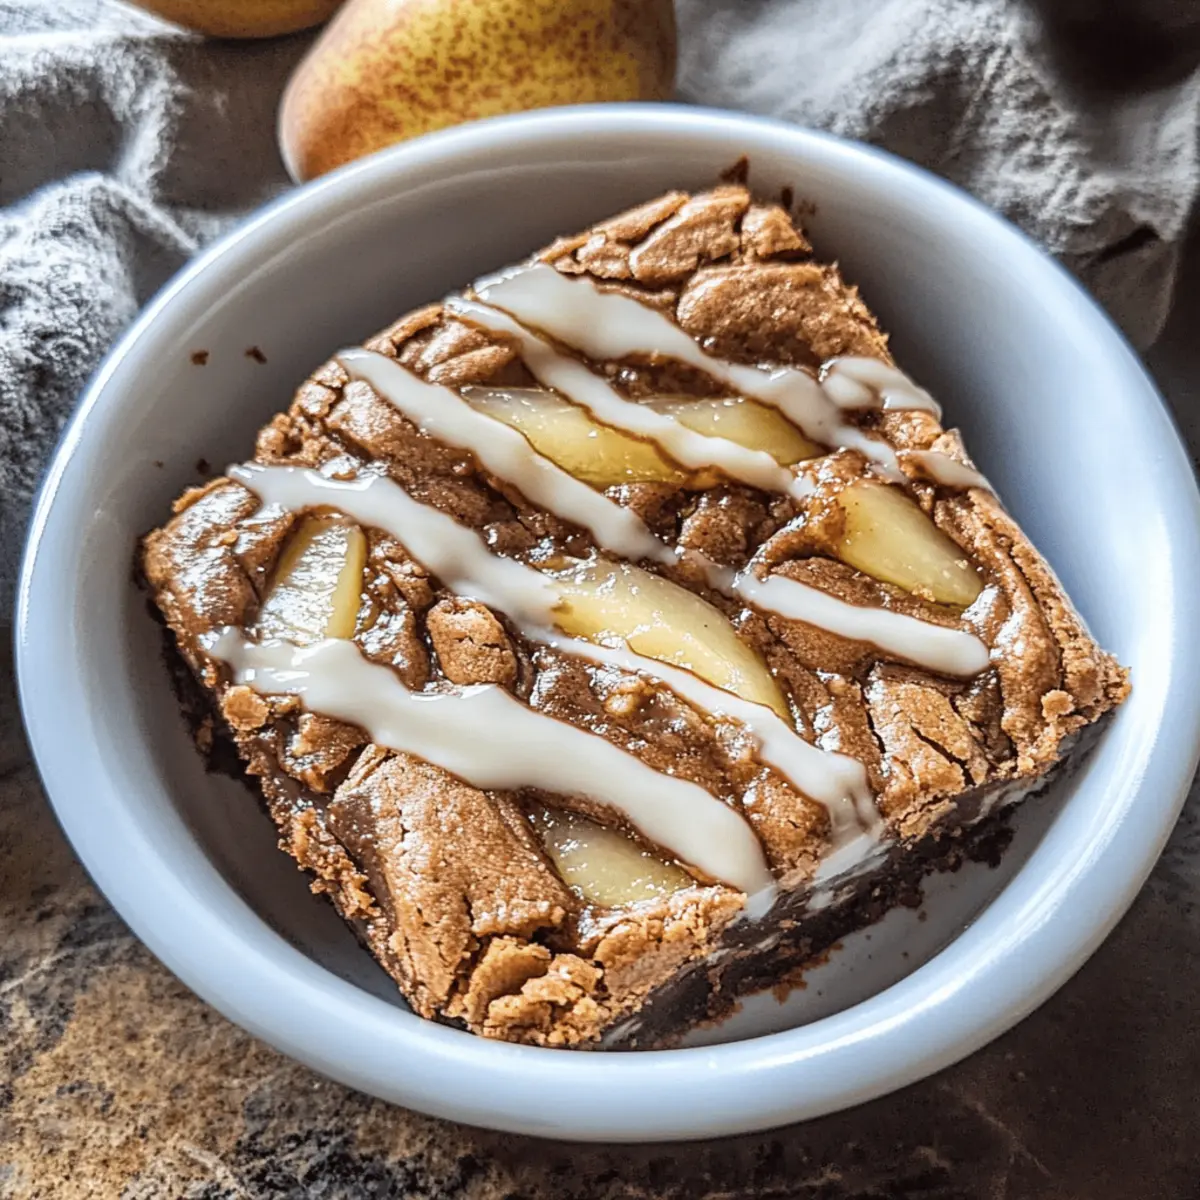
There’s something wonderfully unexpected about the marriage of rich cocoa and juicy pears in a dessert bar that melts in your mouth. The first time I baked Cocoa-Pear Melt Bars, I was searching for a treat that felt indulgent yet fresh—a break from the usual chocolate overload. What surprised me was how the subtle sweetness of ripe pears perfectly balanced the deep, comforting notes of cocoa, creating a harmony that’s as cozy as it is elegant. Whether you’re craving a quiet moment with a cup of coffee or looking to impress friends with a dessert that’s both simple and sophisticated, these bars deliver a delightful bite every time. Let me take you through this easy, crowd-pleasing recipe that turns humble ingredients into a memorable homemade delight.
Why choose Cocoa-Pear Melt Bars?
Unique Flavor Combo: The unexpected blend of rich cocoa and juicy pears offers a fresh take on classic dessert bars. Easy to Make: Simple steps mean you’ll have a homemade treat ready in no time, even if you’re short on experience. Perfect Balance: Sweet pears and deep cocoa create a harmonious flavor profile that’s both cozy and sophisticated. Versatile Enjoyment: Ideal for a quiet coffee break or impressing guests at your next gathering. Crowd-Pleasing Texture: Soft, melt-in-your-mouth bars that satisfy every bite without being overly sweet.
Cocoa-Pear Melt Bars Ingredients
For the Pear Filling
- Ripe Pears – Choose firm but juicy pears to provide natural sweetness and a tender texture.
- Lemon Juice – A splash keeps the pears vibrant and prevents browning while enhancing flavor.
- Sugar – Just enough to balance the pear’s natural tartness without overpowering the cocoa elements.
For the Cocoa Base
- Unsweetened Cocoa Powder – The star ingredient giving these bars their deep, rich chocolate flavor.
- All-Purpose Flour – Provides structure for that soft, melt-in-your-mouth texture chefs and home bakers adore.
- Butter – Adds richness and helps create a tender crumb in the bars.
- Brown Sugar – Offers subtle molasses notes that pair beautifully with cocoa and ripened pears.
- Eggs – Bind ingredients while adding moisture for a perfect melt.
- Vanilla Extract – A subtle flavor booster that enhances the overall warmth of the recipe.
Optional Topping
- Chopped Nuts – Walnuts or pecans add a delightful crunch and wholesome contrast.
- Sea Salt Flakes – A pinch sprinkled on top elevates the rich cocoa flavors and highlights the pear’s sweetness.
How to Make Cocoa-Pear Melt Bars
- Preheat & Prep: Preheat oven to 350°F, then line a 9×9-inch pan with parchment paper, leaving a slight overhang for easy bar removal.
- Whisk Dry Mix: In a bowl, whisk together unsweetened cocoa powder, all-purpose flour, and brown sugar until fully combined and deep chocolate in color.
- Blend Wet Ingredients: Add softened butter, eggs, and vanilla extract to the dry mix, stirring until a glossy, thick batter forms—smooth and slightly fudgy.
- For the Pear Filling:
- Toss Pears: In a separate bowl, combine diced pears, lemon juice, and sugar; gently toss until fruits soften and are evenly coated in a sweet, tangy glaze.
- Layer Bars: Spread half the cocoa batter into your prepared pan, pressing gently; dollop pear mixture evenly, then spoon remaining batter on top to create a marbled effect.
- Bake to Perfection: Bake at 350°F for 25–30 minutes, until edges are set and a toothpick inserted in the center comes out with a few moist crumbs.
- Cool & Slice: Let bars cool completely in the pan for 15 minutes, then lift out using parchment. Chill briefly before slicing into neat squares.
Optional: Top with chopped nuts or a sprinkle of sea salt flakes.
Exact quantities are listed in the recipe card below.
Cocoa-Pear Melt Bars Variations
Feel free to let your creativity shine by exploring these delightful twists on Cocoa-Pear Melt Bars!
-
Gluten-Free: Substitute all-purpose flour with a gluten-free blend for a safe indulgence that retains the soft, chewy texture.
-
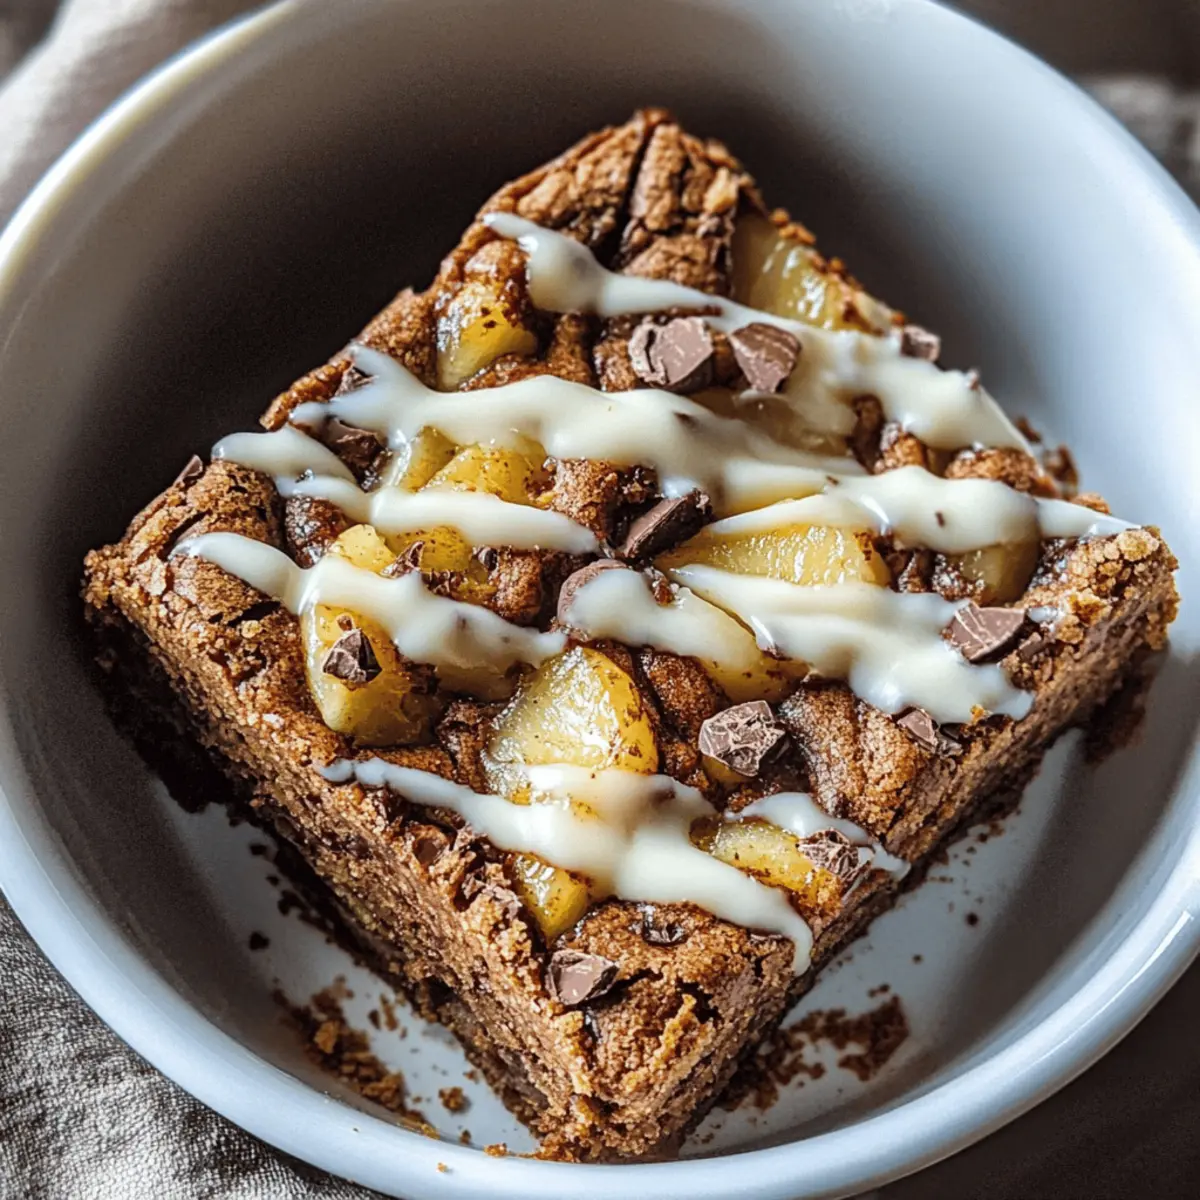
Nutty Delight: Add chopped walnuts or pecans to the cocoa base for a crunchy contrast that complements the pear’s sweetness beautifully.
-
Fruit Fusion: Experiment with other fruits like apples or peaches; each brings a unique flair and freshness to the melt bars.
-
Extra Chocolate: Stir in chocolate chips or chunks into the batter for an intense chocolate experience in every satisfying bite.
-
Spicy Kick: Incorporate a pinch of cinnamon or chili powder for an unexpected warmth that enhances the cocoa flavors and excites your palate.
-
Lower Sugar: Try coconut sugar in place of brown sugar for a caramel-like flavor with a lower glycemic index, making it a healthier option.
-
Vegan Version: Replace eggs with flax eggs and butter with coconut oil to create a compassionate treat without sacrificing the delightful melt-in-your-mouth texture.
-
Cheesecake Twist: Spread a layer of cream cheese mixed with a bit of sugar and vanilla between the batter and pear filling for a luscious cheesecake vibe in these melt bars.
What to Serve with Cocoa-Pear Melt Bars?
Elevate your Cocoa-Pear Melt Bars experience by pairing them with delightful accompaniments that enhance every bite.
-
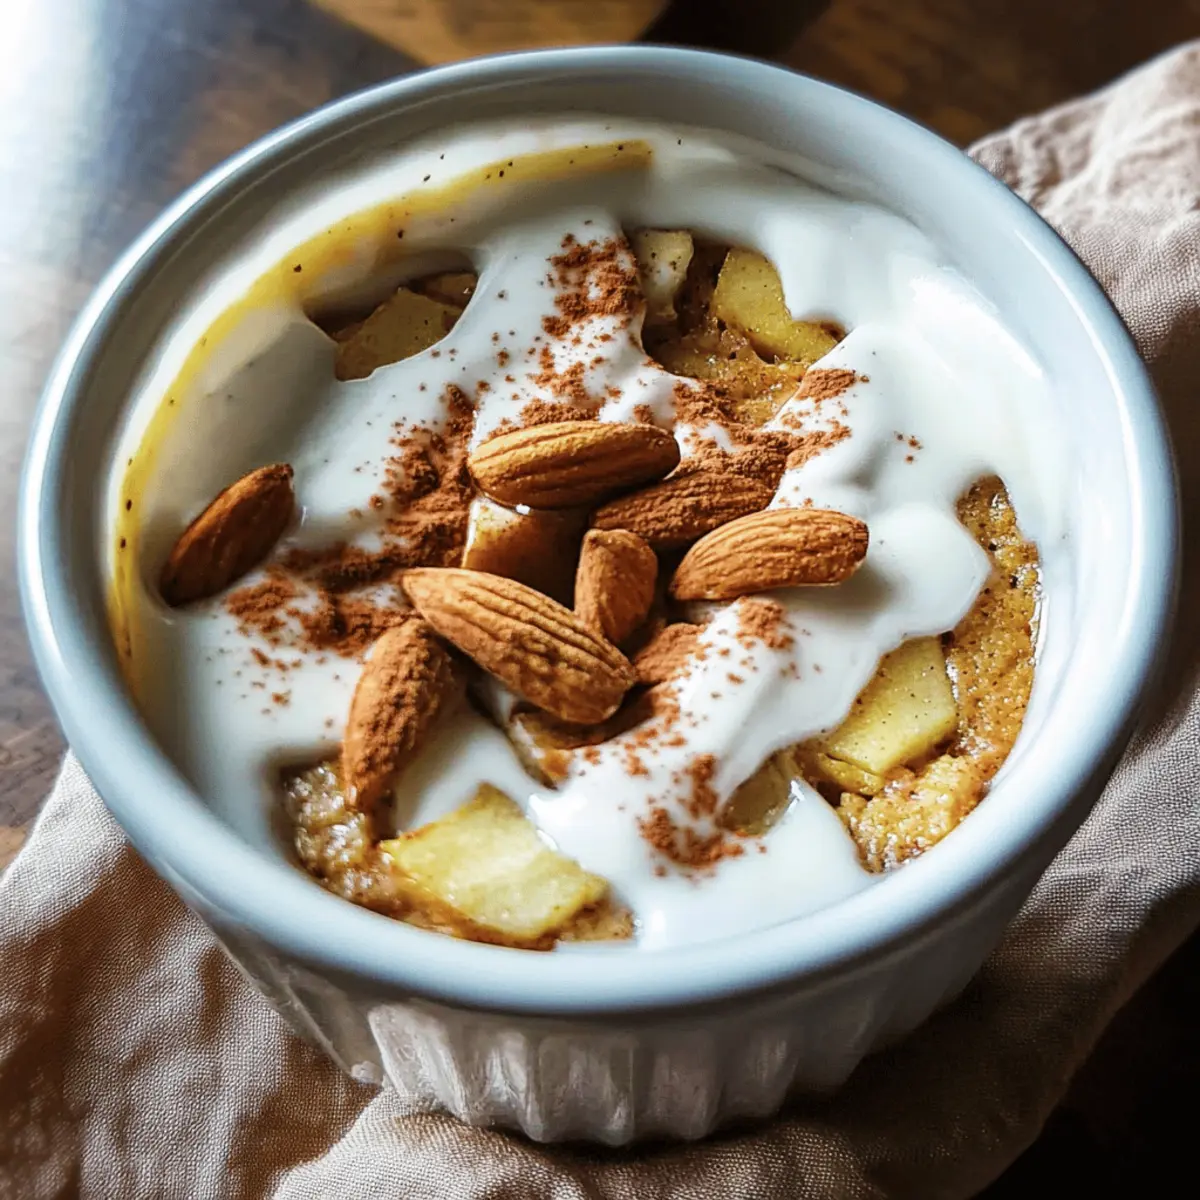
Rich Vanilla Ice Cream: The creamy sweetness of vanilla ice cream pairs beautifully, enhancing the chocolate and pear flavors while adding a luscious contrast.
-
Fresh Whipped Cream: Light and airy, this classic topping adds a touch of elegance and a soothing texture to each decadent bite of the bars.
-
Coffee or Espresso: A warm cup of coffee or a robust espresso complements the richness of cocoa, creating a cozy dessert moment that feels indulgent.
-
Caramel Sauce: Drizzling warm caramel over your Cocoa-Pear Melt Bars adds a touch of gooey sweetness that beautifully bridges the fruitiness of the pears with the chocolatey base.
-
Chopped Nuts: Sprinkle chopped walnuts or pecans on top for a crunch that enhances texture and provides a nutty contrast to the soft, melt-in-your-mouth bars.
-
Sea Salt Flakes: A pinch of flaky sea salt brings out the deep flavors of cocoa, making each bite a balanced celebration of sweet and savory.
-
Herbal Tea: A soothing cup of herbal tea, like chamomile or mint, can refresh your palate and provide a light counterpart to the rich flavors of the bars.
-
Berries on the Side: Fresh strawberries or raspberries add a tart brightness that cuts through the sweetness and complements the delicate pear filling.
Each pairing enhances your dessert experience, making every occasion feel special and satisfying.
How to Store and Freeze Cocoa-Pear Melt Bars
Room Temperature: Store cooked bars in an airtight container at room temperature for up to 3 days, keeping them soft and fresh for your indulgent snacks.
Fridge: If you prefer a chilled treat, keep Cocoa-Pear Melt Bars in the refrigerator for up to 5 days—just bring them to room temperature before enjoying for the best flavor.
Freezer: For longer storage, wrap individual bars tightly in plastic wrap and place them in a freezer-safe container. They’ll stay fresh for up to 3 months; just thaw overnight in the fridge before indulging.
Reheating: For a warm dessert experience, microwave a bar for 10-15 seconds until slightly warmed through, enhancing that melt-in-your-mouth texture.
Make Ahead Options
These Cocoa-Pear Melt Bars are perfect for busy home cooks looking to save time without sacrificing flavor! You can prepare the pear filling up to 24 hours in advance by tossing the diced pears with lemon juice and sugar, then refrigerating to keep them fresh and vibrant. Additionally, you can mix the cocoa base batter and store it in the fridge for up to 3 days before baking. When you’re ready to enjoy, simply layer the pear filling into the cocoa batter, bake, and cool as directed. This way, you’ll have a delightful homemade treat ready with minimal effort, just as delicious and satisfying as if it were freshly made!
Expert Tips for Cocoa-Pear Melt Bars
- Choose Ripe Pears: Use firm yet juicy pears to avoid a mushy filling and ensure a fresh, natural sweetness that complements the cocoa.
- Prevent Browning: Toss the diced pears with lemon juice immediately after cutting to keep them vibrant and prevent discoloration in your bars.
- Don’t Overmix Batter: Stir just until combined to keep the cocoa base tender and prevent dense, tough bars.
- Layer Carefully: Spread the batter gently to maintain distinct cocoa and pear layers, achieving that beautiful marbled effect.
- Watch Baking Time: Bake until a toothpick has moist crumbs, not completely dry, for the perfect melt-in-your-mouth texture.
- Enhance Flavor: Sprinkle sea salt flakes on top after baking to brighten the cocoa notes and balance the pear’s sweetness naturally.
Cocoa-Pear Melt Bars Recipe FAQs
How do I select the best pears for Cocoa-Pear Melt Bars?
I recommend choosing pears that are firm yet juicy—think Bartlett or Anjou varieties. Avoid overly soft or bruised pears as they can turn mushy during baking and affect the texture of your bars.
What’s the best way to store Cocoa-Pear Melt Bars to keep them fresh?
Store your bars in an airtight container at room temperature for up to 3 days to maintain softness. If you prefer them chilled, refrigerate for up to 5 days but bring them back to room temp before serving to enjoy peak flavor.
Can I freeze Cocoa-Pear Melt Bars? If so, how?
Absolutely! Wrap each bar individually in plastic wrap, then place them in a freezer-safe container or bag. They’ll keep well for up to 3 months. When you want to indulge, thaw them overnight in the fridge, then warm gently in the microwave for 10-15 seconds to revive that melt-in-your-mouth magic.
What should I do if the pear filling becomes too watery while baking?
This can happen if the pears are overly ripe or watery. To prevent this, toss the diced pears with lemon juice and sugar before layering to draw out excess moisture, then gently pat them dry with a paper towel. Also, avoid overmixing the batter, which can make the bars denser and less able to absorb moisture.
Are Cocoa-Pear Melt Bars safe for pets or people with allergies?
These bars contain common allergens like eggs, dairy (butter), and gluten (flour), so they aren’t suitable for pets or individuals with those allergies. If needed, you can experiment with egg substitutes and gluten-free flour, but flavor and texture may vary. Always keep treats like these out of reach of pets to ensure their safety.
Irresistible Cocoa-Pear Melt Bars: The Ultimate Homemade Treat
Ingredients
Equipment
Method
- Preheat oven to 350°F, then line a 9×9-inch pan with parchment paper.
- In a bowl, whisk together unsweetened cocoa powder, all-purpose flour, and brown sugar until combined.
- Add softened butter, eggs, and vanilla extract; stir until a thick batter forms.
- In a separate bowl, combine diced pears, lemon juice, and sugar; toss until evenly coated.
- Spread half the cocoa batter into the pan, dollop pear mixture evenly, then spoon remaining batter on top.
- Bake at 350°F for 25–30 minutes until set; cool in pan for 15 minutes before slicing.