

There’s something utterly irresistible about the creamy, crunchy harmony of peanut butter and Oreos coming together without ever turning on the oven. One afternoon, craving a decadent dessert that didn’t demand hours or oven heat, I whipped up this No-Bake Oreo Peanut Butter Pie—and it quickly became a household favorite. Imagine silky peanut butter filling nestled in a crunchy Oreo crust, topped with a cloud of whipped cream and a sprinkle of cookie crumbs. Whether you’re looking to impress guests with minimal effort or just treat yourself after a long day, this pie is a game changer—deliciously rich, unbelievably easy, and perfect for any season. Let me share how you can make this crowd-pleaser in no time!
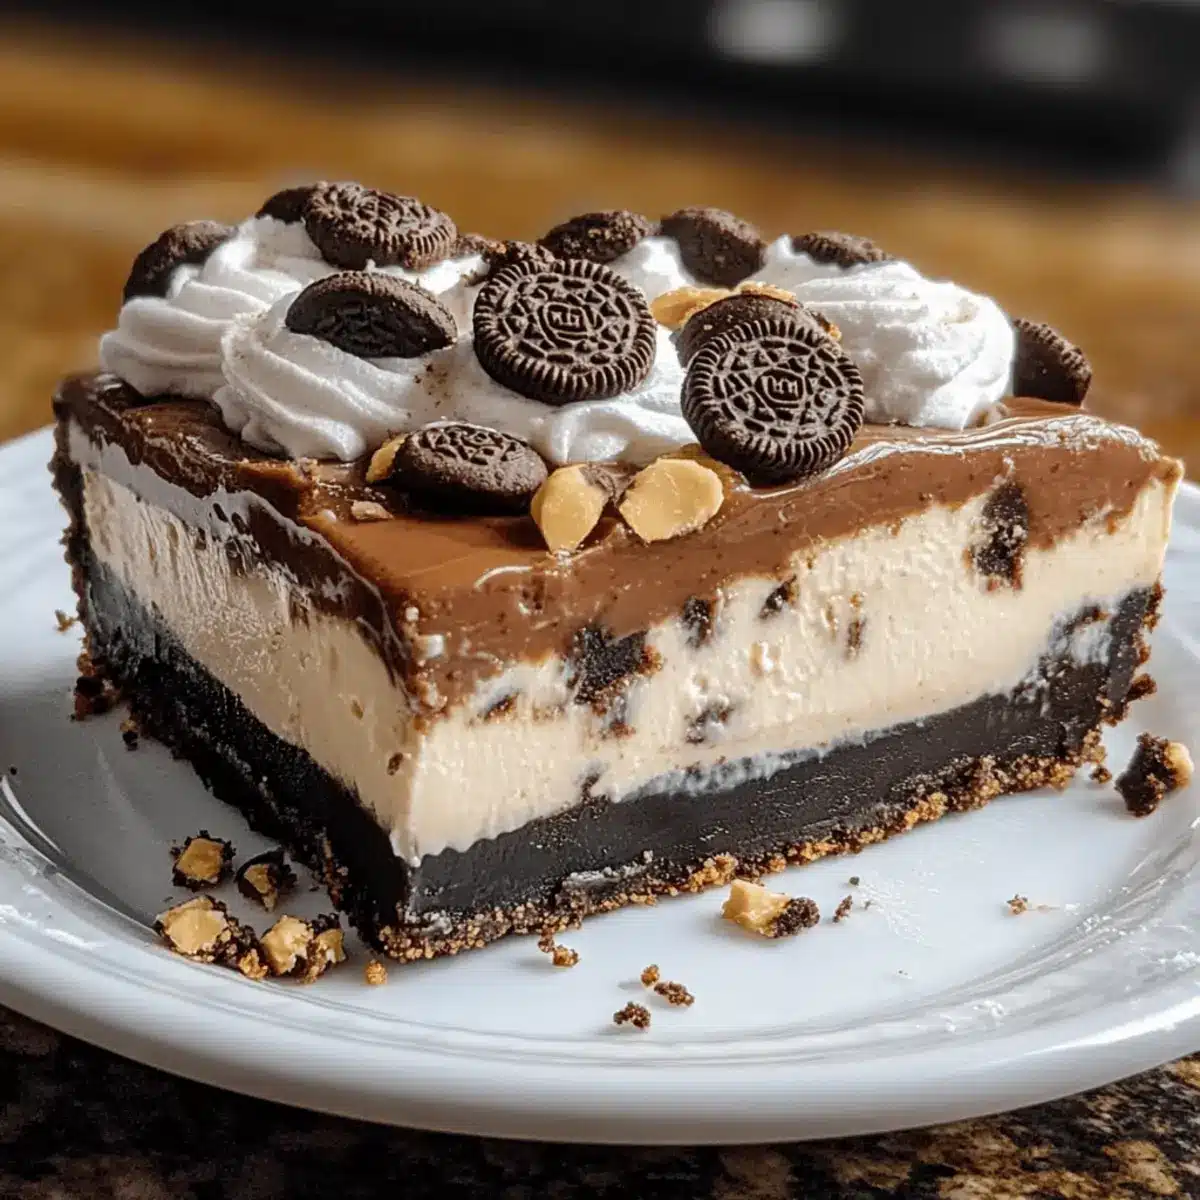
Why choose No-Bake Oreo Peanut Butter Pie?
Effortless Delight: No oven needed means this pie comes together in minutes. Decadent Flavor: The rich peanut butter melds perfectly with crunchy Oreo crust for a mouthwatering combo. Versatile Treat: Ideal for parties, quick dessert fixes, or anytime indulgence. Crowd-Pleaser: Sweet, creamy, and satisfying—a guaranteed hit with family and friends. Textural Bliss: Creamy filling contrasts beautifully with crisp cookie bites, making every slice pure joy.
No-Bake Oreo Peanut Butter Pie Ingredients
For the Oreo Crust
- Oreo Cookies – Crushed finely to create a crunchy base that holds the pie together perfectly.
- Unsalted Butter – Melted and mixed with Oreo crumbs to bind the crust without overpowering the flavor.
For the Peanut Butter Filling
- Creamy Peanut Butter – Choose natural for a richer taste or classic for a sweeter, smooth filling in this no-bake Oreo peanut butter pie.
- Cream Cheese – Softened to add tang and a velvety texture that balances peanut butter’s richness.
- Powdered Sugar – Whisked in to sweeten the filling gently while keeping it smooth.
- Heavy Whipping Cream – Whipped to stiff peaks and folded in for lightness and that dreamy, airy bite.
For the Topping
- Whipped Cream – A fluffy crown that adds softness and elegance to the indulgent pie.
- Extra Oreo Crumbs – Sprinkled on top for crunch and visual appeal, inviting you to dig in.
How to Make No-Bake Oreo Peanut Butter Pie
For the Crust:
- Crush: Place 24 Oreo cookies in a zip-top bag and crush until fine crumbs form, about 2 minutes with a rolling pin.
- Mix: Combine Oreo crumbs with 5 tablespoons melted butter in a medium bowl until the mixture looks and feels like wet sand, about 1 minute.
- Press: Firmly press the mixture into the bottom and up the sides of a 9-inch pie pan; chill for 10 minutes.
For the Filling & Assembly:
- Beat: In a large bowl, whip 8 ounces softened cream cheese with 1 cup creamy peanut butter until smooth and fluffy, about 2 minutes.
- Sweeten: Stir in 1 cup powdered sugar gradually, scraping down the sides with a spatula, until the filling is sweet and perfectly smooth.
- Fold: Gently fold 1 cup whipped heavy cream into the peanut butter mixture until no streaks remain, about 30 seconds for perfect lightness.
- Fill: Spoon the peanut butter filling into the chilled crust, smoothing the top into an even layer with an offset spatula.
- Chill: Refrigerate the pie for at least 4 hours, or until firm, for clean slices and a set filling.
For the Topping:
- Whip: Beat 1 cup heavy whipping cream with 2 tablespoons powdered sugar on high speed until stiff peaks form, about 3 minutes.
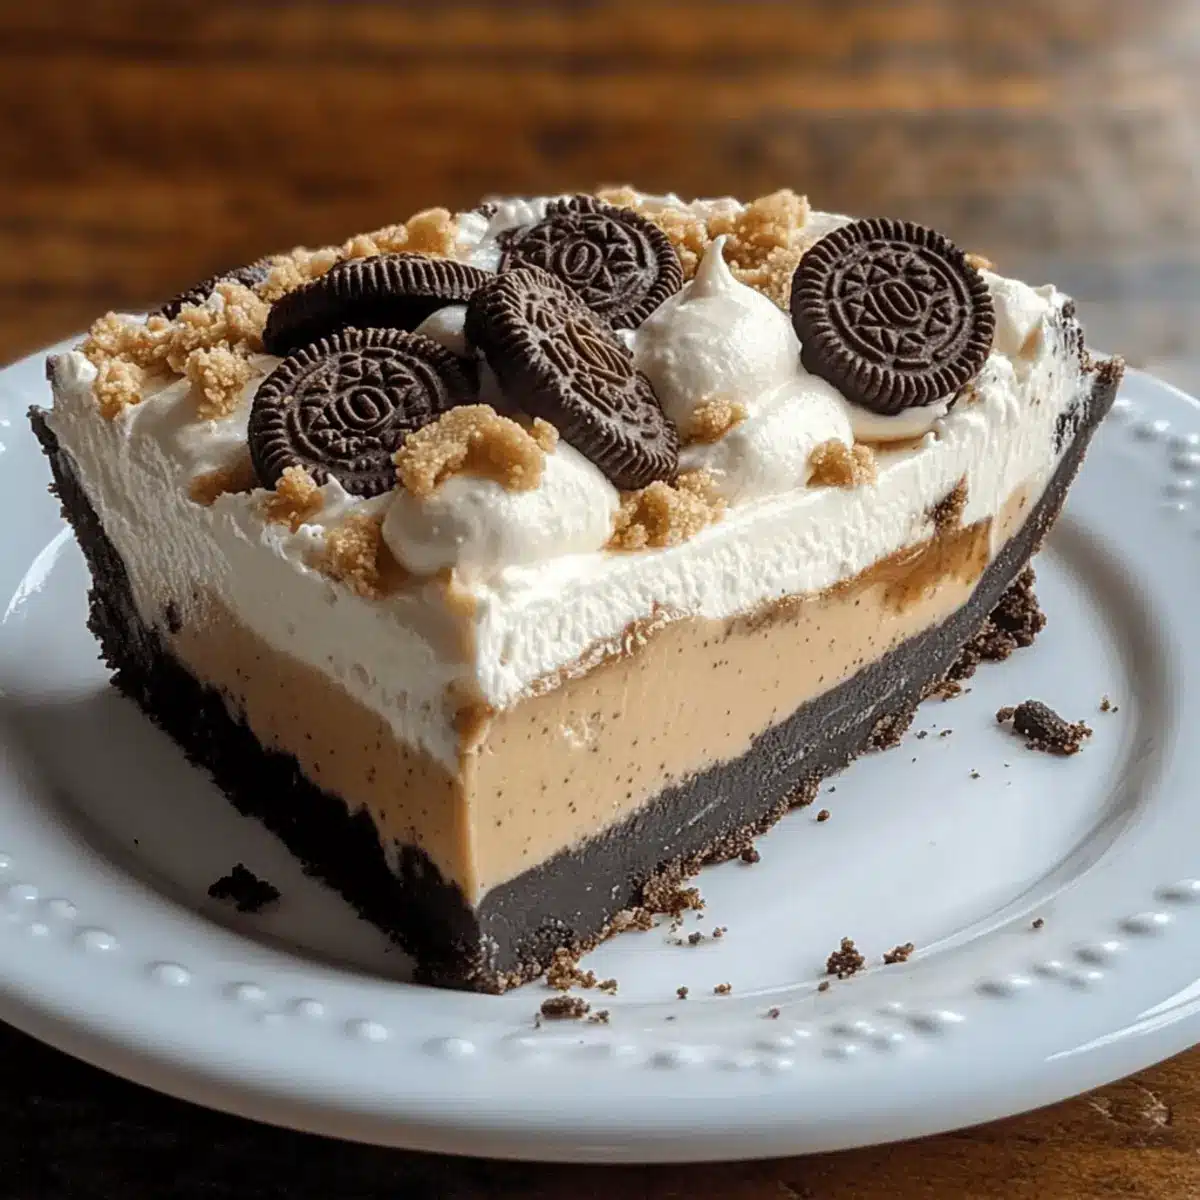
- Decorate: Pipe or spread whipped cream over the pie, then sprinkle extra Oreo crumbs on top for contrast and added crunch.
Optional: Garnish with chopped peanuts for extra crunch and nuttiness.
Exact quantities are listed in the recipe card below.
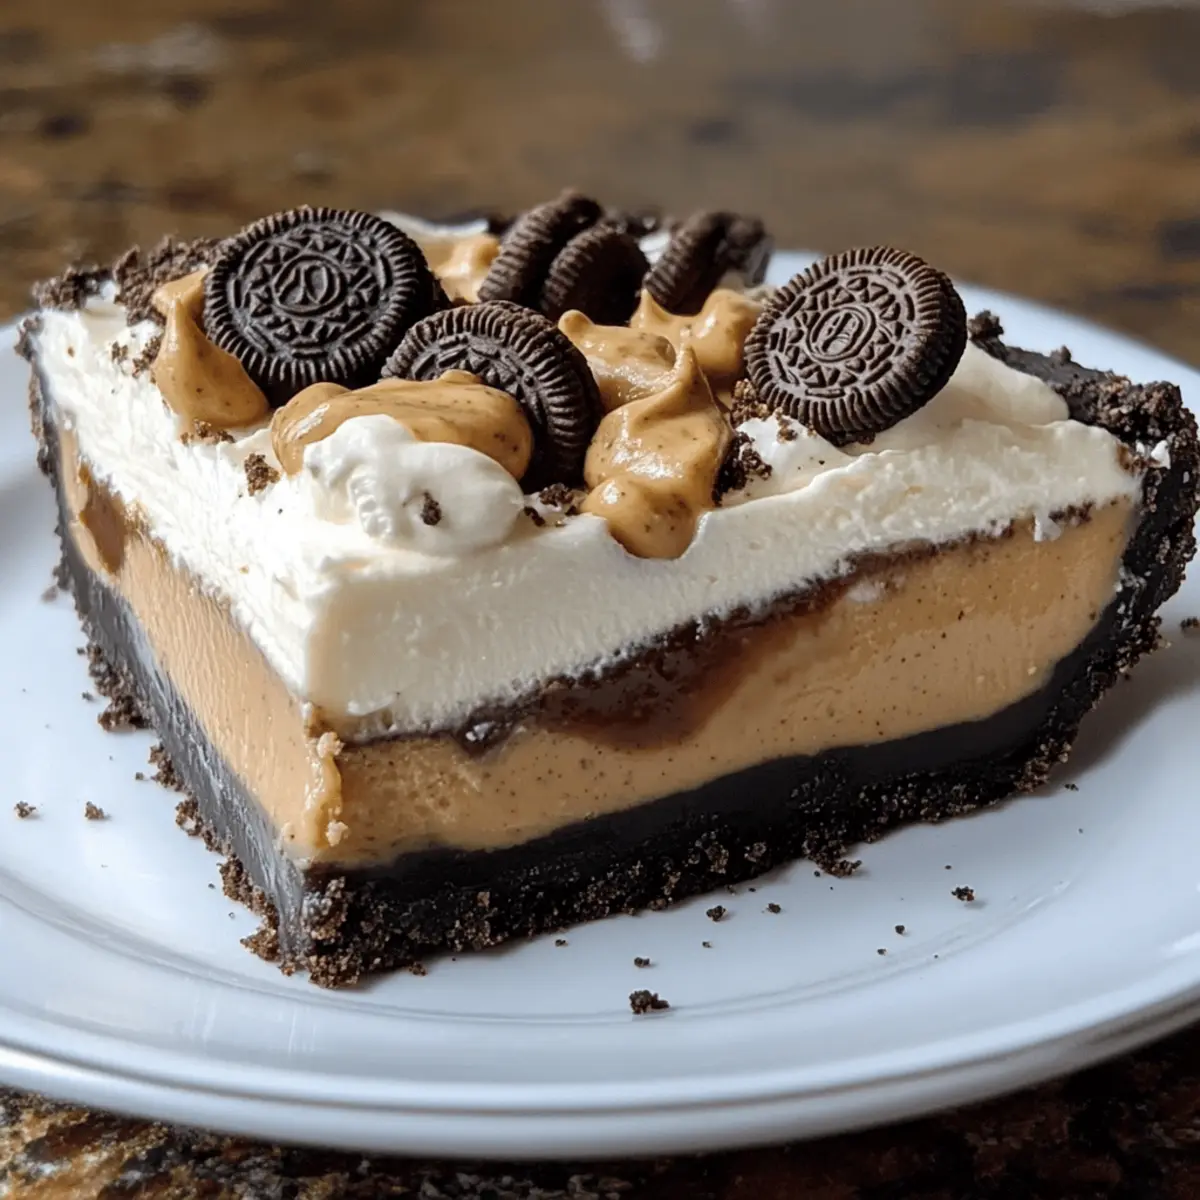
What to Serve with No-Bake Oreo Peanut Butter Pie?
Indulging in a slice of creamy dessert heaven is lovely, but pairing it with the right complements makes it even better.
-
Fresh Berries: The tartness of strawberries or raspberries contrasts beautifully with the pie’s sweetness, adding a refreshing flair.
-
Chocolate Sauce: Drizzling warm chocolate sauce over each slice elevates the dessert experience to a whole new level of indulgence.
-
Vanilla Ice Cream: A scoop of creamy vanilla ice cream on the side creates a delightful balance of rich and cool textures.
Imagine each bite: smooth peanut butter and crunchy Oreos alongside a cold scoop of ice cream. It’s a match made in dessert heaven.
-
Coffee or Espresso: A strong cup of coffee or espresso perfectly enhances the rich flavors of peanut butter and chocolate, making each taste more intense.
-
Milkshake: Whip up a simple milkshake using chocolate or vanilla ice cream for a fun twist that mirrors the pie’s flavors.
-
Peanut Butter Cookies: For die-hard peanut butter fans, a few chewy peanut butter cookies alongside the pie will create a delightful sweet harmony.
-
Chocolate-Covered Pretzels: The salty crunch of chocolate-covered pretzels is a fun contrast to the pie’s sweetness, providing a fun and crunchy side treat.
-
Mint Tea: A refreshing mint tea can cleanse the palate, enhancing the dessert flavors without overwhelming them – perfect for winding down with a sweet treat.
Expert Tips for No-Bake Oreo Peanut Butter Pie
- Perfect Crust Texture: Crush Oreos finely but not too powdery; this helps the crust hold together firmly without becoming soggy.
- Room Temperature Ingredients: Use softened cream cheese and peanut butter to blend smoothly and avoid lumps in the filling.
- Whip Cream Gently: Fold whipped heavy cream slowly into the peanut butter mix to keep it light and airy without deflating.
- Chill Time Matters: Refrigerate at least 4 hours to ensure the pie sets firmly for clean, satisfying slices.
- Avoid Over-Sweetening: Gradually add powdered sugar to balance sweetness so the rich peanut butter shines through naturally.
How to Store and Freeze No-Bake Oreo Peanut Butter Pie
Fridge: Keep the pie in an airtight container in the refrigerator for up to 5 days to maintain its creamy texture and freshness.
Freezer: For longer storage, freeze the pie (without the whipped cream topping) for up to 2 months. Wrap it tightly in plastic wrap and then foil to prevent freezer burn.
Thawing: When ready to enjoy, transfer the pie to the fridge to thaw overnight. Once thawed, top with fresh whipped cream and extra Oreo crumbs before serving.
Leftovers: Any leftover slices should be stored in an airtight container in the fridge, best enjoyed within 2 days for optimal flavor and texture.
Variations & Substitutions for No-Bake Oreo Peanut Butter Pie
Unleash your creativity with these exciting twists and swaps for your pie!
- Gluten-Free: Substitute regular Oreos with gluten-free Oreos for a delicious treat that everyone can enjoy, no one will know the difference!
- Nut Butter Swap: Use almond or cashew butter instead of peanut butter for a unique flavor, perfect for those with peanut allergies or who want a new taste.
- Cream Cheese Alternative: Replace cream cheese with mascarpone for a lighter filling that still offers a velvety texture and complementary flavor.
- Vegan Version: Use coconut cream in place of heavy cream and a vegan buttery cookie for the crust; deliciously dairy-free indulgence awaits!
- Chocolate Drizzle: Pour melted chocolate over the whipped cream topping for an extra layer of decadence that elevates the presentation and flavor profile.
- Salted Caramel Swirl: Drizzle some salted caramel into the peanut butter filling for a delightful sweet-salty combination that adds depth to each bite.
- Spicy Kick: Stir in a pinch of cayenne pepper or a sprinkle of chili powder in the filling for a surprising heat that contrasts beautifully with the sweetness.
- Fruit Topping: Consider fresh strawberries or bananas on top of the whipped cream to introduce a burst of freshness and color to your decadent pie.
Feel free to mix and match these ideas for a personalized treat that’s sure to impress!
Make Ahead Options
These No-Bake Oreo Peanut Butter Pies are perfect for meal prep enthusiasts! You can prepare the Oreo crust and peanut butter filling up to 24 hours in advance. Simply crush the Oreo cookies, mix them with melted butter, and press the mixture into your pie pan; store it covered in the refrigerator. For the filling, beat together the cream cheese and peanut butter, gradually adding powdered sugar, and fold in whipped cream before transferring it to the chilled crust. Before serving, just chill the assembled pie for at least 4 hours to ensure it sets properly. This way, you can enjoy a delicious dessert with minimal last-minute effort, maintaining the pie’s creamy texture and rich flavor!
No-Bake Oreo Peanut Butter Pie Recipe FAQs
How ripe or fresh should the peanut butter and cream cheese be?
For the smoothest filling, I recommend using creamy peanut butter that’s fresh—check for no separation or off smells. The cream cheese should be softened at room temperature for at least 30 minutes to blend easily and avoid lumps.
What’s the best way to store leftover No-Bake Oreo Peanut Butter Pie?
Store your pie in an airtight container in the fridge for up to 5 days to keep it fresh and maintain that luscious texture. If you notice any moisture on the crust, blot gently with a paper towel to prevent sogginess.
Can I freeze the No-Bake Oreo Peanut Butter Pie, and how?
Absolutely! Remove the whipped cream topping first, then wrap the pie tightly in plastic wrap followed by a layer of aluminum foil. Freeze it for up to 2 months. When you’re ready to enjoy, thaw it overnight in the fridge, then add fresh whipped cream and a sprinkle of Oreo crumbs for that perfect finishing touch.
Why does my crust sometimes get soggy, and how can I fix that?
A soggy crust usually means it wasn’t compressed firmly enough or the filling was too wet. Press the Oreo crumbs firmly into the pan like wet sand and chill the crust before filling. Also, avoid overmixing the filling to keep it from releasing excess moisture.
Is this pie safe for pets or people with peanut allergies?
Since this recipe features creamy peanut butter, it’s not safe for pets or anyone with peanut allergies. If you want a nut-free version, try substituting sunflower seed butter or a soy-based spread, but test the taste and texture as it will vary.
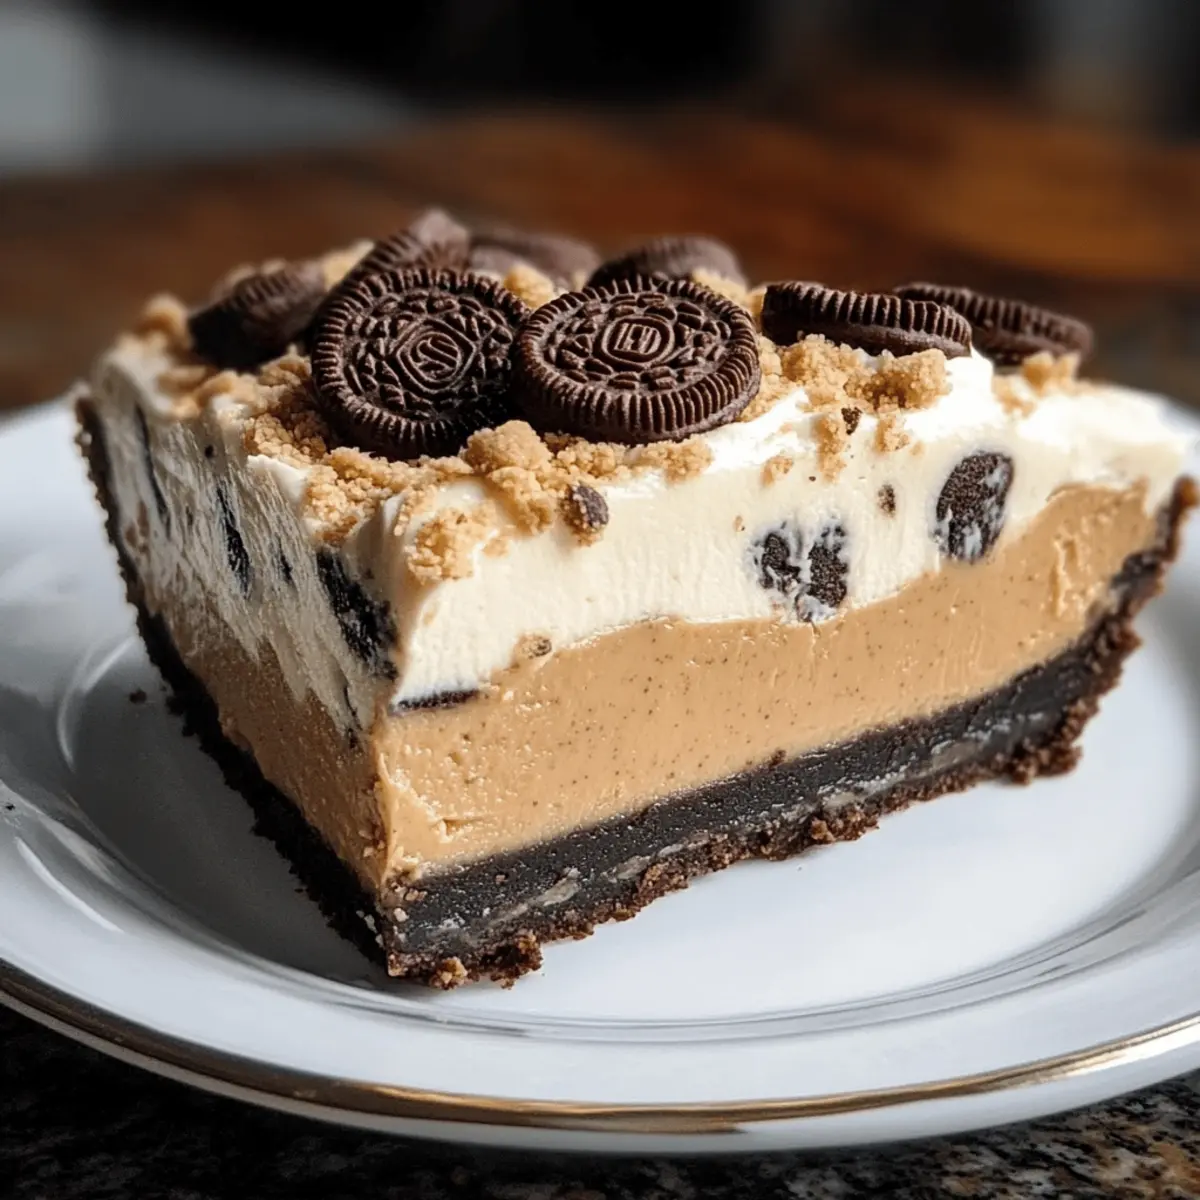
Indulgent No-Bake Oreo Peanut Butter Pie You’ll Crave Tonight
Ingredients
Equipment
Method
- Place 24 Oreo cookies in a zip-top bag and crush until fine crumbs form, about 2 minutes with a rolling pin.
- Combine Oreo crumbs with 5 tablespoons melted butter in a medium bowl until the mixture looks and feels like wet sand, about 1 minute.
- Firmly press the mixture into the bottom and up the sides of a 9-inch pie pan; chill for 10 minutes.
- In a large bowl, whip 8 ounces softened cream cheese with 1 cup creamy peanut butter until smooth and fluffy, about 2 minutes.
- Stir in 1 cup powdered sugar gradually, scraping down the sides with a spatula, until the filling is sweet and perfectly smooth.
- Gently fold 1 cup whipped heavy cream into the peanut butter mixture until no streaks remain, about 30 seconds for perfect lightness.
- Spoon the peanut butter filling into the chilled crust, smoothing the top into an even layer with an offset spatula.
- Refrigerate the pie for at least 4 hours, or until firm, for clean slices and a set filling.
- Beat 1 cup heavy whipping cream with 2 tablespoons powdered sugar on high speed until stiff peaks form, about 3 minutes.
- Pipe or spread whipped cream over the pie, then sprinkle extra Oreo crumbs on top for contrast and added crunch.