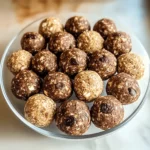
After a busy morning at work, I needed a quick snack that was both satisfying and nourishing—something I could grab on the go without any fuss. That’s when I created these No Bake Protein Balls. The best part? They come together in mere minutes, with no oven required, making them perfect for anyone tired of the usual sugary snacks or midday slumps. Each bite is packed with wholesome ingredients that fuel your day, whether you’re rushing between meetings or gearing up for your workout. If you love homemade treats that marry convenience with flavor, these little power-packed bites will become your new favorite go-to.

Why choose No Bake Protein Balls?
Quick and Easy: No oven needed—just mix and roll for a nutritious snack in minutes. Energy Boost: Packed with protein and wholesome ingredients to keep you fueled throughout the day. Versatile Flavor: Customize with your favorite nuts, seeds, or dried fruits for a personalized treat. Perfect On-the-Go: Ideal for busy schedules, workouts, or a midday pick-me-up. Healthy Satisfaction: Satisfies sweet cravings without the guilt of processed snacks.
No Bake Protein Balls Ingredients
For the Base
- Rolled Oats – Use old-fashioned oats for the perfect chewy texture in your No Bake Protein Balls.
- Nut Butter – Choose creamy peanut or almond butter to bind ingredients and add healthy fats.
- Protein Powder – Pick your favorite flavor to boost protein content and keep energy high.
For Sweetness & Flavor
- Honey or Maple Syrup – A natural sweetener that also helps hold the mixture together.
- Vanilla Extract – Adds warmth and depth of flavor without extra calories.
- Cinnamon – A pinch brightens the taste and offers a comforting aroma.
For Mix-Ins & Texture
- Chia Seeds or Flaxseeds – Sprinkle in for an omega-3 boost and a slight crunch.
- Mini Chocolate Chips or Cacao Nibs – Optional but irresistible for a hint of indulgence.
- Dried Cranberries or Raisins – Add a chewy, tart contrast that lifts the overall flavor.
How to Make No Bake Protein Balls
- Combine Dry Ingredients: In a bowl, stir rolled oats, protein powder, cinnamon, and chia seeds until mixture looks uniformly speckled and light golden.
- Stir in Wet Ingredients: Add nut butter, honey, and vanilla extract; stir until the dough holds together and feels soft, slightly sticky, and golden-brown in appearance.
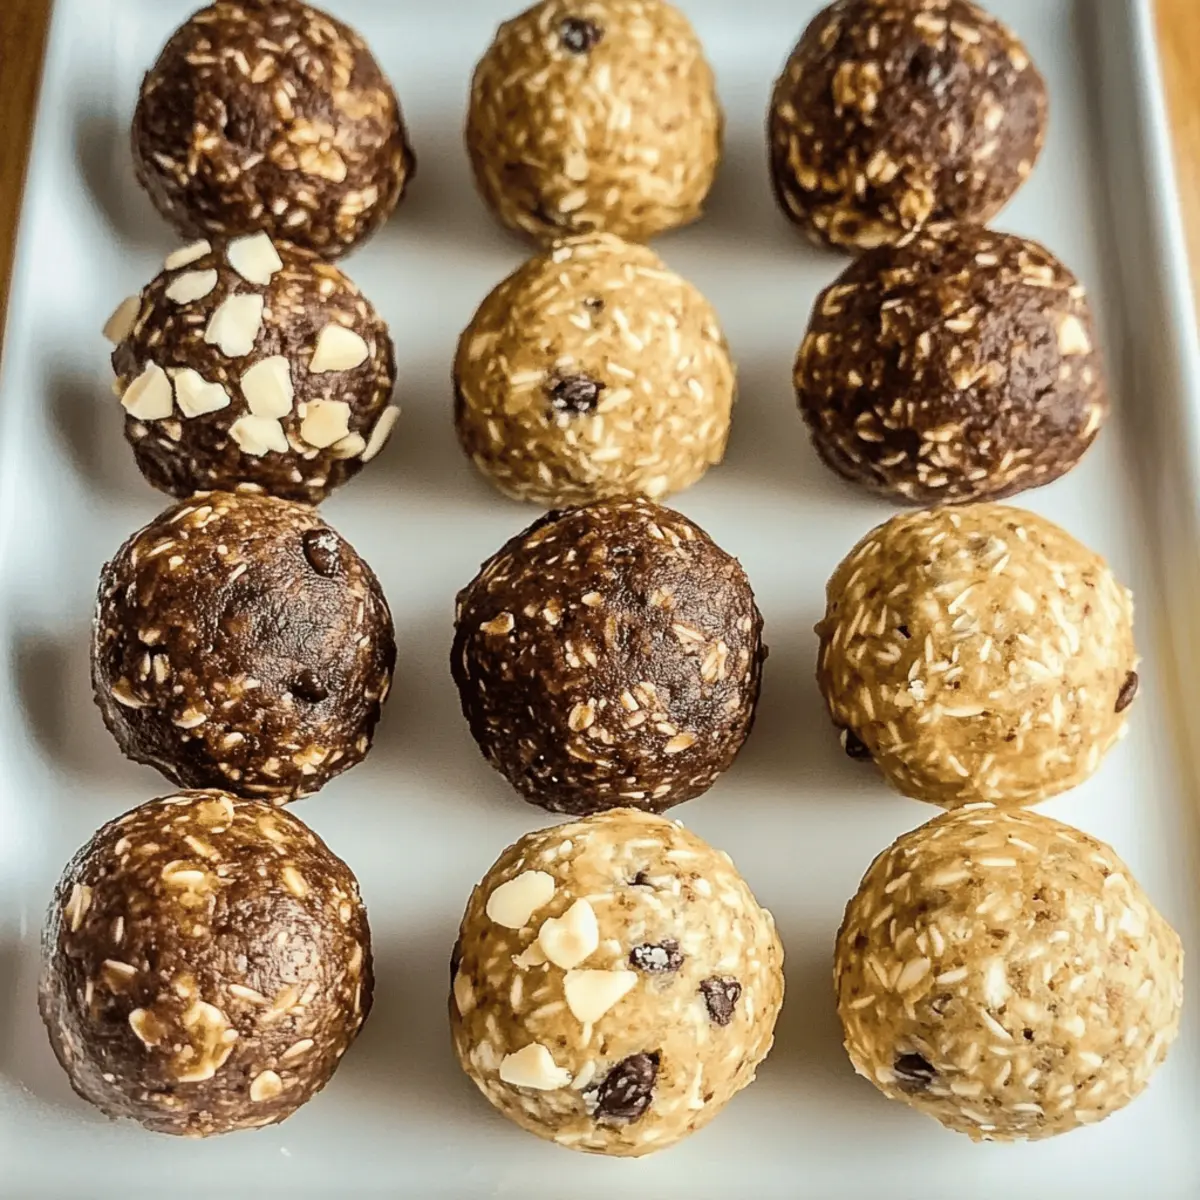
- Fold in Mix-Ins: Gently fold in chocolate chips and dried cranberries until evenly dispersed, adding pops of color and flavor to every bite.
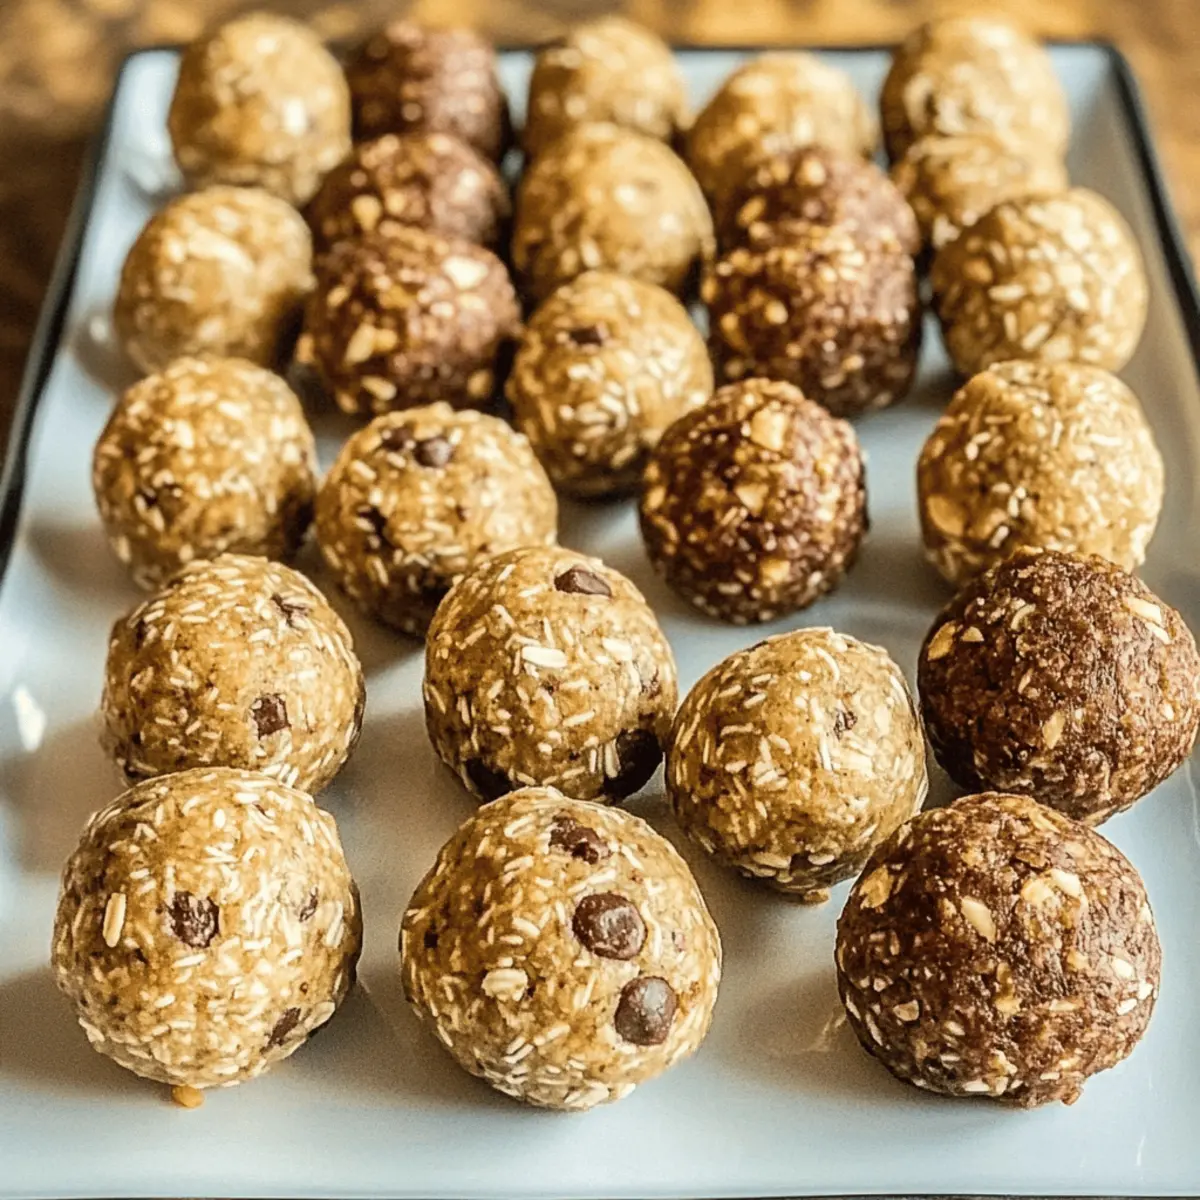
- Shape into Balls: Scoop out tablespoonfuls of dough, roll between your palms into smooth 1-inch balls, ensuring an even size for a neat presentation.
- Chill to Set: Place the balls on a parchment-lined tray and refrigerate for 30 minutes, allowing them to firm up to a perfect, biteable texture.
Optional: roll in shredded coconut for extra flair.
Exact quantities are listed in the recipe card below.
Expert Tips for No Bake Protein Balls
- Choose the Right Protein Powder: Use a high-quality protein powder that complements your flavor profile to keep your No Bake Protein Balls tasty and nourishing.
- Perfect Dough Texture: If the mixture feels too dry, add a bit more nut butter or honey; too sticky? Toss in extra oats to achieve a moldable consistency.
- Uniform Ball Size: Use a small cookie scoop or tablespoon to ensure even balls that chill and set consistently for a polished look.
- Chill Time Matters: Don’t skip the refrigeration step; it firms up the protein balls so they hold together without crumbling.
- Customize Mix-Ins: Experiment with nuts, seeds, or dried fruit to match your taste, but avoid overly wet add-ins that could make the dough soggy.
Make Ahead Options
These No Bake Protein Balls are a game-changer for meal prep enthusiasts! You can mix the dry ingredients—rolled oats, protein powder, and chia seeds—up to 3 days in advance and store them in an airtight container. Additionally, you can prepare the entire mixture, shape it into balls, and refrigerate them for up to 24 hours before serving. This way, they’ll be ready to grab when you need a quick energy boost. To maintain quality, make sure they are stored in the fridge and covered with plastic wrap or in a container to keep them fresh. When you’re ready to enjoy, simply take them out, and you’ll have a delicious, nutritious snack without any fuss!
How to Store and Freeze No Bake Protein Balls
- Room Temperature: Keep your No Bake Protein Balls in an airtight container at room temperature for up to 5 days for a quick snack on the go.
- Fridge: Store in the refrigerator for up to 2 weeks, ensuring they’re well-wrapped to retain freshness and flavor.
- Freezer: For longer storage, freeze the protein balls in a single layer on a tray first, then transfer to a freezer bag for up to 3 months.
- Reheating: No need to reheat! Enjoy them straight from the fridge or freezer for a refreshing bite of energy when you need it most.
What to Serve with No Bake Protein Balls?
Looking to complete your snack spread with delicious pairings that elevate your No Bake Protein Balls?
- Fresh Fruit Platter: Bright, juicy fruits like apples or berries add a refreshing balance to the nutty flavors and enhance your snack experience.
- Greek Yogurt Dip: A creamy yogurt dip, perhaps flavored with a hint of honey and cinnamon, offers a tangy contrast that pairs beautifully with the sweet protein balls.
- Nutty Trail Mix: Serve a mix of nuts and seeds alongside for an extra crunch and an additional protein punch, complementing the texture of the protein balls.
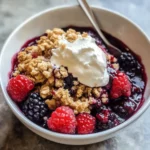
- Smoothie Bowl: Whip up a vibrant smoothie bowl loaded with greens and fruits; its creamy texture contrasts well and offers a nutritious bite.
- Herbal Tea: Sip on a fragrant herbal tea, like chamomile or peppermint, to cleanse your palate and enhance the wholesome flavors of your snacks.
- Veggie Sticks: Crisp, fresh vegetable sticks serve as a great crunchy counterpart, providing a satisfying crunch that balances the richness of the protein balls.
- Dark Chocolate: Pair with dark chocolate squares for a touch of indulgence; its bittersweet flavor rounds out the sweetness of the protein balls perfectly.
Each of these pairings brings a delightful twist to your snacking experience, enhancing the nutrition and taste of your homemade treats!
No Bake Protein Balls Variations
Feel free to get creative with your No Bake Protein Balls and add your own twist for delightful surprises!
- Nut-Free: Swap nut butter for sunflower seed butter to keep it allergen-friendly and just as tasty.
- Vegan: Use maple syrup instead of honey and ensure your protein powder is vegan to make it plant-based.
- Chocolate Lover: Add cocoa powder to the base for a rich chocolate flavor; it’s a delicious option for chocoholics.
- Crunchy Texture: Mix in chopped nuts or granola for an extra crunch that adds an irresistible texture contrast.
- Spiced Up: Incorporate a dash of cayenne or chili powder for a surprising pop of heat that enlivens your taste buds.
- Fruit-Infused: Stir in chopped dried apricots or figs for natural sweetness and a chewy, fruity burst in each bite.
- Protein Boost: Double the amount of protein powder to increase the nutritional punch—perfect for post-workout recovery.
- Coconut Delight: Roll the balls in shredded coconut for a tropical twist; it adds flavor and a beautiful presentation.
Every variation promises to bring a new flavor adventure, turning these bites into endless possibilities!
Easy No Bake Protein Balls Recipe FAQs
How do I know if my oats and nut butter are fresh enough for No Bake Protein Balls?
Use rolled oats that smell nutty and have no off or stale aroma. For nut butter, creamy texture and no separation of oil is a good sign—avoid any dark spots or sour smells which indicate rancidity.
What’s the best way to store No Bake Protein Balls to keep them fresh?
Store your protein balls in an airtight container. At room temperature, they stay fresh up to 5 days. In the fridge, wrapped well, they keep for about 2 weeks, perfect for making ahead and snacking all week long.
Can I freeze No Bake Protein Balls, and how should I do it?
Absolutely! Place the balls on a parchment-lined tray in a single layer and freeze until solid (about 1-2 hours). Then transfer them to a freezer-safe bag or container. They’ll last up to 3 months frozen and thaw quickly in the fridge or at room temperature.
What if my No Bake Protein Balls are too dry or too sticky?
If too dry, add a little more nut butter or honey, one teaspoon at a time, to make the dough easier to shape. If too sticky, sprinkle in extra oats gradually until you reach a moldable consistency—the balance is key to perfect no-bake bites.
Are No Bake Protein Balls safe for pets or people with allergies?
These balls often contain nuts, honey, and protein powders, which can be harmful or allergenic to pets and some individuals. Always check ingredient labels and never share them with pets. For allergies, substitute nut butter with seed butter and use allergy-friendly protein powders.

Easy No Bake Protein Balls Recipe for a Boost of Energy
Ingredients
Equipment
Method
- Combine Dry Ingredients: In a bowl, stir rolled oats, protein powder, cinnamon, and chia seeds until mixture looks uniformly speckled and light golden.
- Stir in Wet Ingredients: Add nut butter, honey, and vanilla extract; stir until dough holds together and feels soft, slightly sticky, and golden-brown in appearance.
- Fold in Mix-Ins: Gently fold in chocolate chips and dried cranberries until evenly dispersed, adding pops of color and flavor to every bite.
- Shape into Balls: Scoop out tablespoonfuls of dough, roll between your palms into smooth 1-inch balls for a neat presentation.
- Chill to Set: Place the balls on a parchment-lined tray and refrigerate for 30 minutes, allowing them to firm up.