


After a hectic morning when grabbing a quick, healthy snack felt impossible, I stumbled upon these no bake protein balls—and they completely changed my routine. There’s something so satisfying about blending wholesome ingredients into little bites of energy that require zero oven time. Whether you’re a busy chef needing a fast fix between meals or someone craving homemade snacks away from the fast-food grind, these protein balls are a game-changer. They’re easy to customize, packed with flavor, and perfect for keeping hunger at bay without any fuss. Let me share how you can whip up these delicious, nutritious treats in minutes—no baking required!
What makes No Bake Protein Balls irresistible?
Convenience meets nutrition: These bites require no oven, making snack prep a breeze. Customizable flavors: Mix your favorite nuts, seeds, and sweeteners for endless tasty combos. Energy-packed: Perfect for a quick boost during busy days or post-workout refuel. Kid-friendly and crowd-pleasing: Everyone loves these chewy, wholesome treats. Minimal ingredients and effort: Just a few pantry staples combine for maximum flavor and health benefits!
No Bake Protein Balls Ingredients
For the Base
- Rolled Oats – provide chewy texture and slow-releasing energy to keep you satisfied.
- Nut Butter (Peanut, Almond, or Cashew) – acts as a natural binder with healthy fats for creamy richness.
- Honey or Maple Syrup – adds natural sweetness while helping to hold the protein balls together.
For the Protein Boost
- Protein Powder (Whey, Pea, or Plant-Based) – the star ingredient for muscle fuel and lasting energy, essential for the no bake protein balls.
- Chia Seeds or Flaxseeds – boost fiber and omega-3s with a subtle crunch.
For Flavor & Texture
- Mini Chocolate Chips or Cacao Nibs – give a hint of indulgence without overpowering nutrition.
- Vanilla Extract – adds a warm, sweet aroma that brightens every bite.
- Salt – balances flavors and enhances the sweetness naturally.
Optional Mix-Ins
- Dried Fruit (Raisins, Cranberries) – bring natural chewiness and tart bursts to the mix.
- Shredded Coconut – adds a tropical flair and extra texture.
- Chopped Nuts (Walnuts, Pecans) – provide crunch and boost heart-healthy fats.
How to Make No Bake Protein Balls
- Gather Ingredients: Lay out rolled oats, protein powder, chia seeds, and mix-ins in bowls so you can see textures clearly and save prep time, ensuring a smooth assembly process.
- Combine Dry: In a large bowl, whisk together oats, protein powder, chia seeds, and a pinch of salt until evenly blended, with no powder clumps remaining.
- Stir in Wet: Spoon in nut butter, honey, and vanilla extract, then stir vigorously until the mixture turns glossy and holds together nicely when pinched—about two minutes.
- Fold in Extras: Gently fold mini chocolate chips and any optional dried fruits or nuts into the dough, distributing them evenly for balanced sweetness and delightful crunch.
- Chill & Roll: Cover the bowl and chill in the fridge for 10 minutes to firm up. Scoop tablespoon-sized portions and roll into smooth balls between your palms.
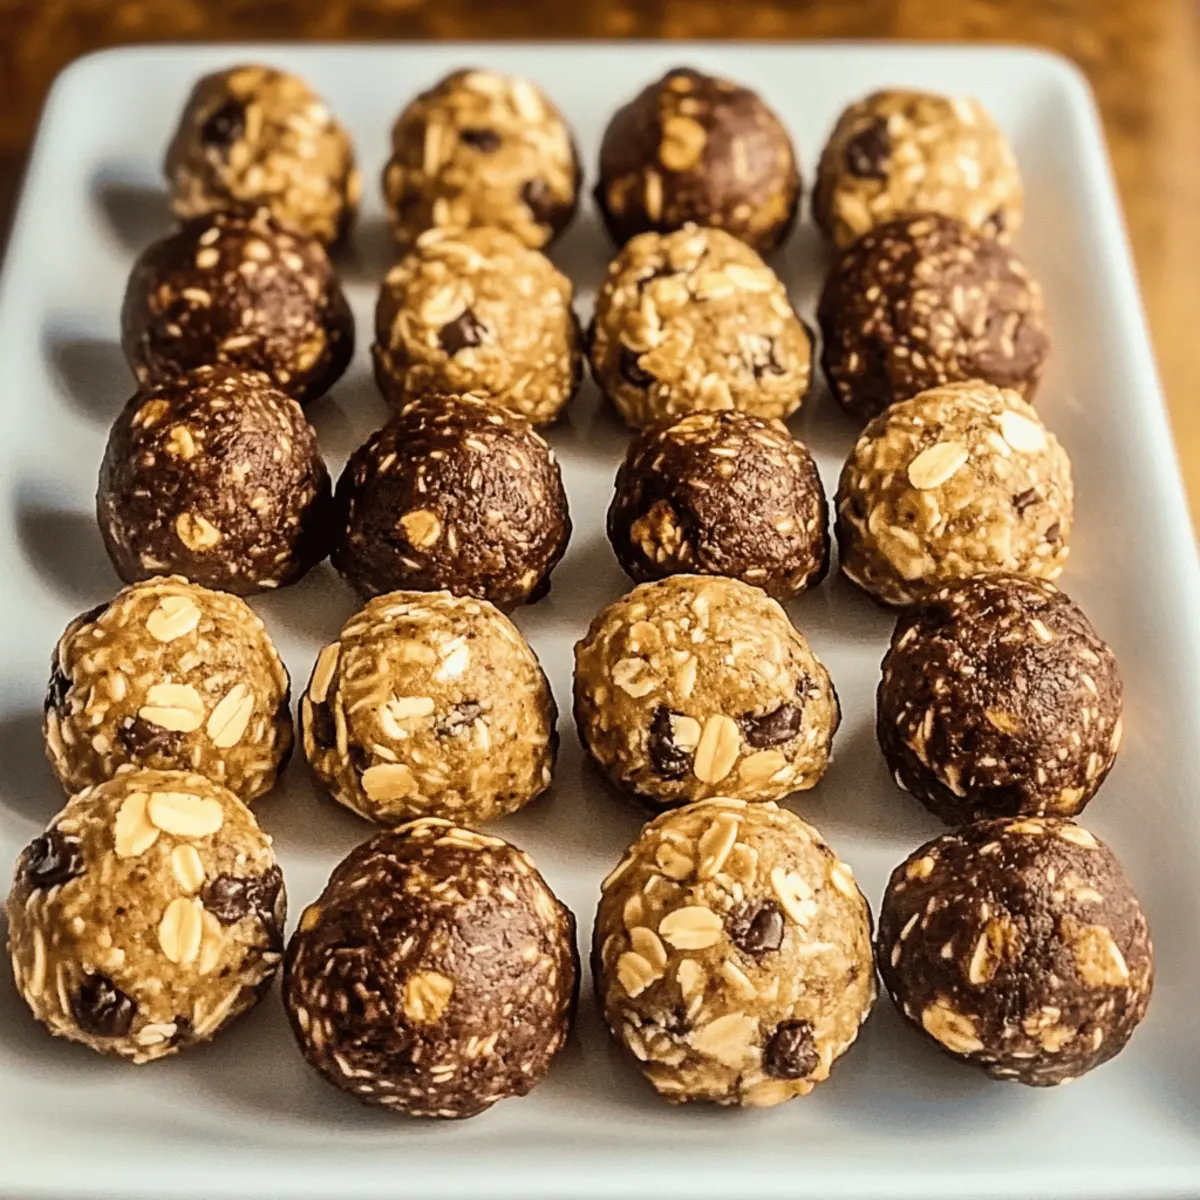
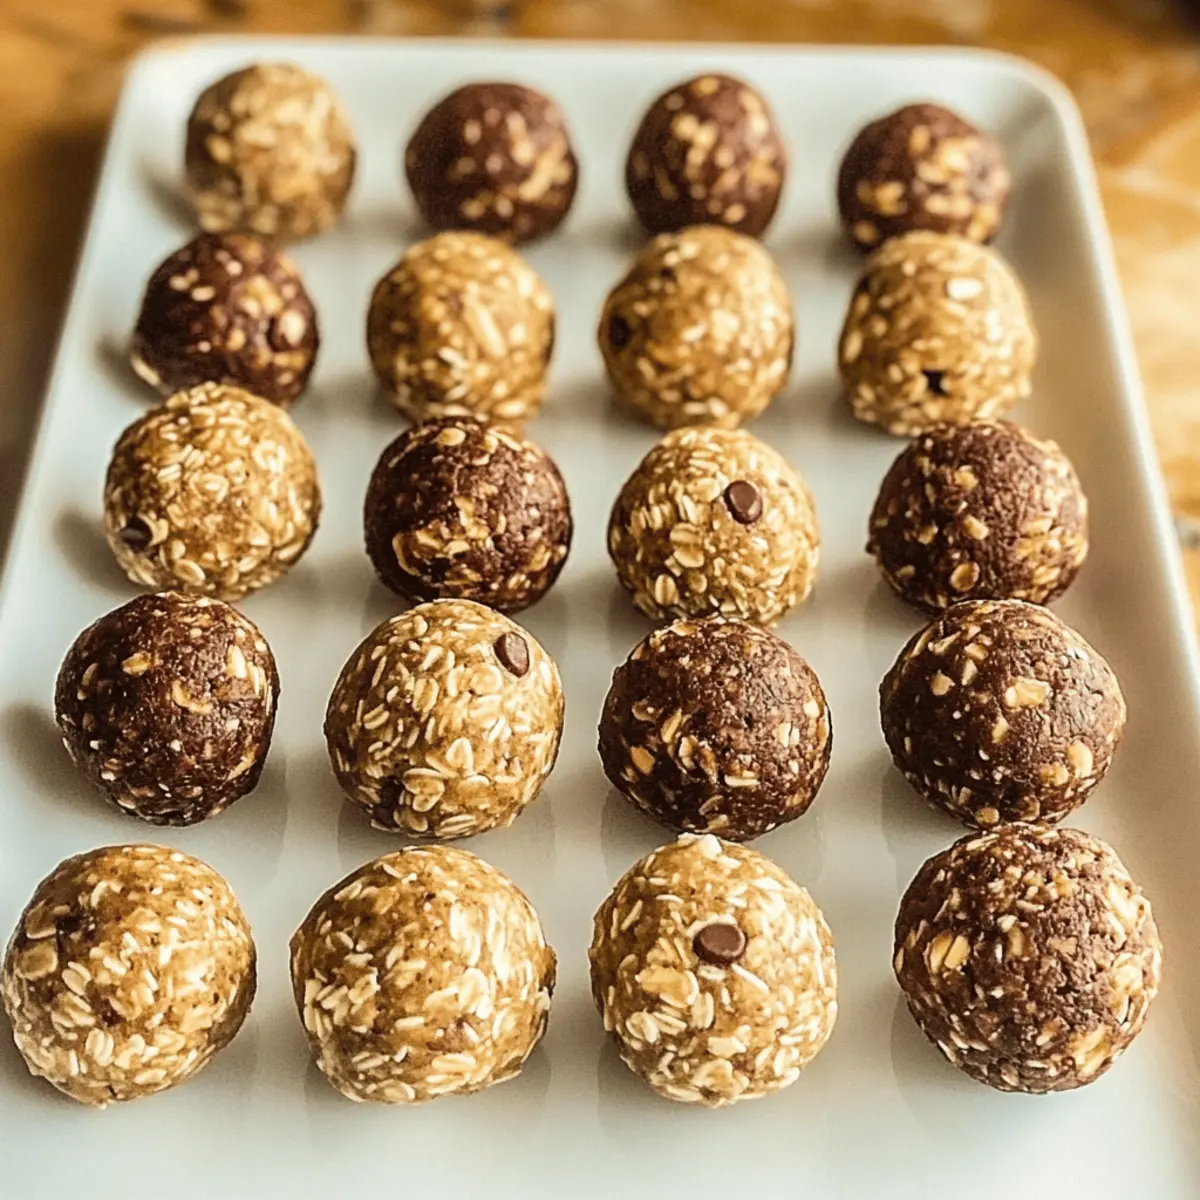
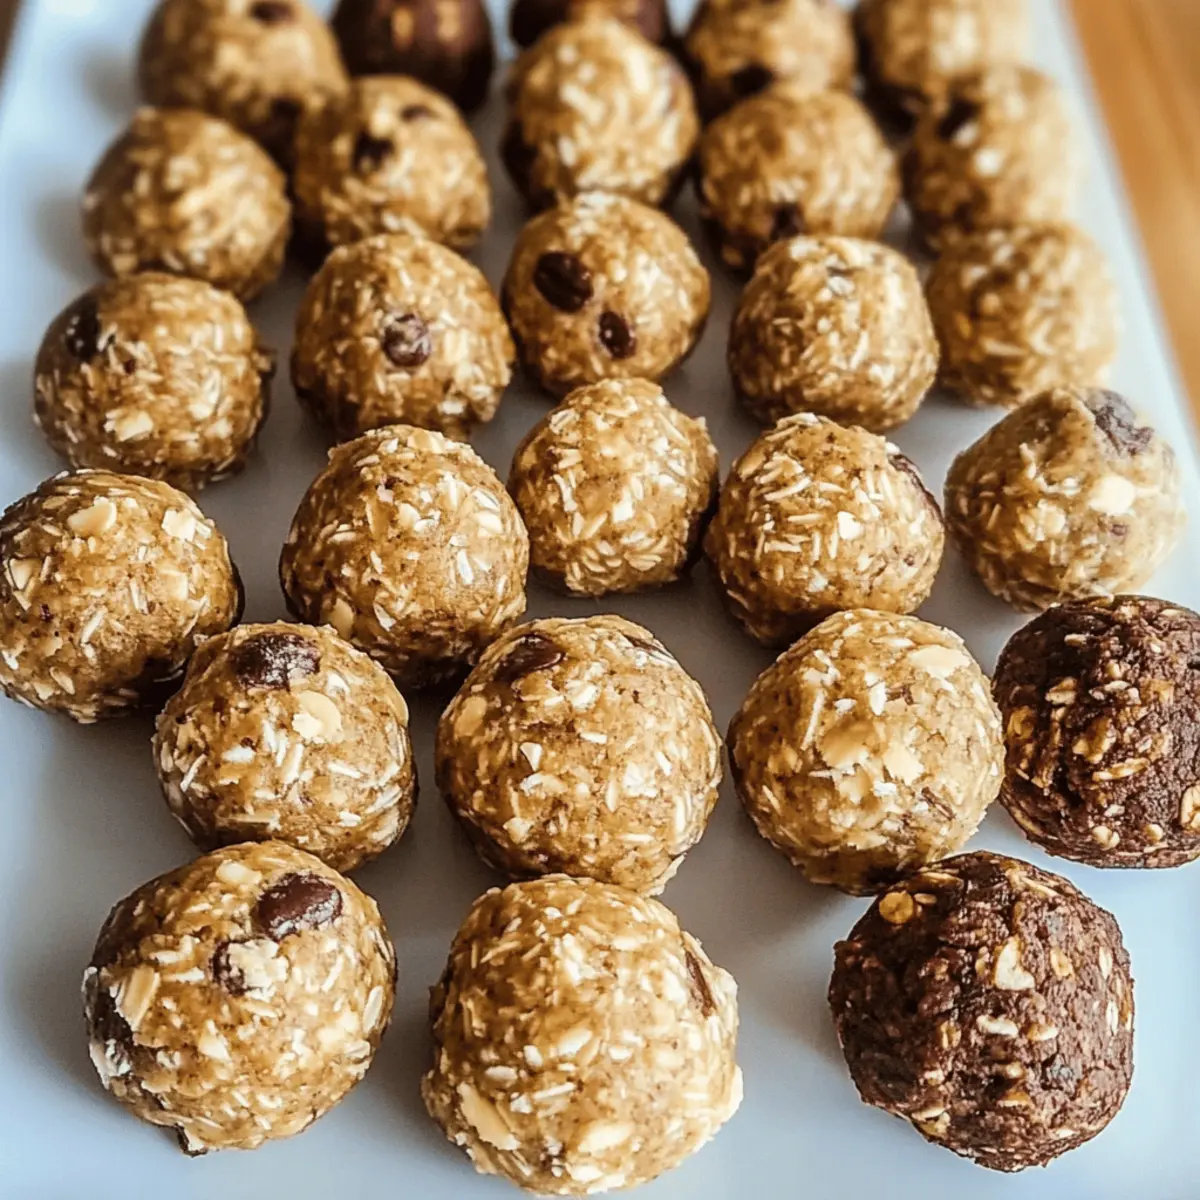
- Serve & Store: Transfer the protein balls to an airtight container. Refrigerate for up to one week and enjoy chilled or at room temperature for a quick energy boost.
Optional: Roll in shredded coconut or cocoa powder for extra flair.
Exact quantities are listed in the recipe card below.
How to Store and Freeze No Bake Protein Balls
Fridge: Keep your no bake protein balls in an airtight container for up to 1 week. This helps maintain their freshness and chewy texture.
Freezer: For longer storage, freeze the protein balls in a single layer on a baking sheet. Once frozen, transfer to an airtight bag for up to 3 months.
Thawing: To enjoy, simply remove a few from the freezer and let them sit at room temperature for about 15 minutes, or enjoy them frozen for a cool treat.
Reheating: There’s no need to reheat! These protein balls are delightful cold, making them perfect for a quick snack anytime.
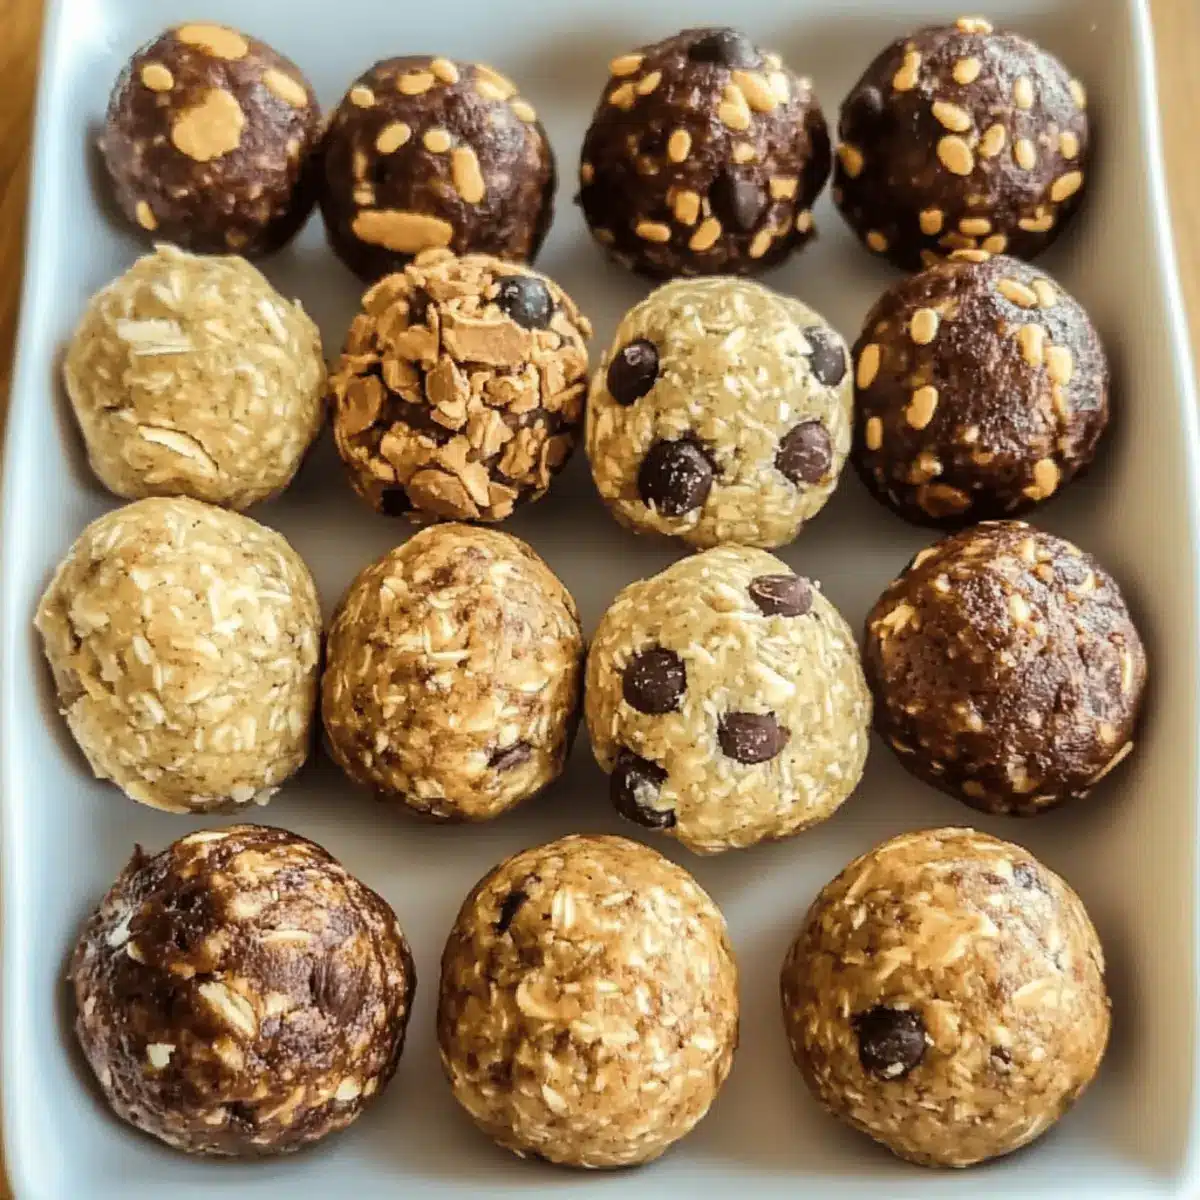
No Bake Protein Balls Variations
Get creative with your protein balls and make them uniquely yours!
-
Chocolate Lovers: Add 2 tablespoons of cocoa powder to the mixture for a rich, chocolatey delight. You can also swap in chocolate protein powder for even more decadence.
-
Nut-Free: Use sunflower seed butter instead of nut butter to keep things allergy-friendly, allowing everyone to enjoy these treats without worry.
-
Spicy Kick: Stir in a dash of cayenne pepper or cinnamon for a warm, spicy note that elevates the flavor profile. This unexpected twist makes for a delightful surprise with every bite!
-
Fruity Bliss: Incorporate dried fruits like apricots or figs, chopped into small pieces. They add a natural sweetness and chewier texture, making them a joy to munch on.
-
Protein Boost: Go beyond standard protein powders by adding hemp seeds or pumpkin seeds for added protein and a satisfying crunch. These little seeds are a powerhouse of nutrients!
-
Vegan Friendly: Substitute honey with agave syrup or maple syrup to cater to a vegan diet while keeping the natural sweetness intact.
-
Lemon Zest: For a fresh, zesty burst, add the zest of one lemon to the mixture. It brightens the flavor and gives your protein balls a refreshing finish.
-
Savory Nutty: If you’re feeling adventurous, try adding a sprinkle of sea salt and a few tablespoons of nutritional yeast for a cheesy, savory twist that’s packed with flavor!
Make Ahead Options
These No Bake Protein Balls are a dream come true for busy home cooks looking to save time! You can prepare the base of the protein balls up to 3 days in advance by mixing the dry ingredients (rolled oats, protein powder, chia seeds, and salt) and storing them in an airtight container. Also, you can measure out your nut butter and sweeteners, keeping everything prepped and ready to go. When you’re ready to enjoy your protein balls, simply combine the wet ingredients with the prepped dry mix, add in your favorite mix-ins, roll them into balls, and chill them for about 10 minutes. This way, you’ll have fresh, satisfying snacks in no time, perfect for fueling your busy days just as deliciously as if they were made from scratch on the spot!
What to Serve with No Bake Protein Balls?
Elevate your snack game by pairing these delightful protein balls with flavorful companions that bring comfort and nourishment to your day.
- Fresh Fruit Salad: A vibrant mix of seasonal fruits adds juiciness and brightness, perfectly balancing the chewy texture of the protein balls.
- Greek Yogurt Dip: Creamy and tangy, this dip serves as a delicious contrast. Try mixing in honey or cinnamon for a sweet twist that complements the protein balls beautifully.
- Nutty Granola: The crunchiness and wholesome flavors of granola provide an irresistible textural contrast. A sprinkle on top even makes for an appealing presentation.
- Hummus Platter: Serve these protein balls alongside a vibrant selection of veggies and hummus. This stand-out combo offers a variety of flavors and nutrients, keeping your snack time lively and colorful.
- Dark Chocolate-Covered Almonds: For a touch of indulgence, pair with dark chocolate-covered almonds. The rich chocolate enhances the sweetness while the almonds deliver heart-healthy fats.
- Iced Herbal Tea: Refreshing and light, a glass of iced herbal tea offers a gentle lift without overpowering the flavors. Opt for mint or chamomile to keep it refreshing.
- Peanut Butter Banana Smoothie: Blend ripe bananas, yogurt, and a scoop of nut butter for a creamy, delicious drink that echoes the flavors found in the protein balls. Great for breakfast or an afternoon pick-me-up!
- Trail Mix: Toss in some dried fruits, nuts, and seeds for an on-the-go snack that echoes the protein-packed goodness of the protein balls while offering a delightful crunch.
Tips for the Best No Bake Protein Balls
- Perfect Binding: Use slightly warmed nut butter to help the mixture stick together without drying out, ensuring your no bake protein balls hold their shape.
- Avoid Overmixing: Stir the wet and dry ingredients just until combined; overmixing can make the balls tough instead of chewy and tender.
- Chill Thoroughly: Don’t skip the chilling step—it firms the mixture, making it easier to roll and enhances the texture of these no bake protein balls.
- Customize Wisely: Balance mix-ins like nuts, seeds, or dried fruit so they complement rather than overpower the protein base for delicious bites every time.
- Store Properly: Keep the protein balls in an airtight container in the fridge to preserve freshness and prevent them from becoming too sticky or dry.
Easy No Bake Protein Balls You’ll Crave Every Day Recipe FAQs
How do I know if my nut butter is the right consistency for these protein balls?
I recommend using slightly warmed nut butter that’s smooth and spreadable but not runny. It should be thick enough to bind the ingredients but soft enough to mix easily without clumping or dry patches.
What’s the best way to store no bake protein balls to keep them fresh and chewy?
Store them in an airtight container in the refrigerator for up to one week. Make sure the container seals well to prevent moisture loss and avoid placing them near highly aromatic foods that might transfer flavors.
Can I freeze no bake protein balls, and how should I thaw them?
Absolutely! Freeze the balls arranged in a single layer on a baking sheet to prevent sticking. After about 2 hours, transfer them to a sealed freezer bag or airtight container. They last up to 3 months frozen. When you want to enjoy one, let it thaw at room temperature for 15 minutes or eat it frozen for a refreshing bite!
What if my protein balls are crumbly and fall apart?
This usually means the mixture is too dry or not mixed enough. Try adding a teaspoon of nut butter or a splash of honey and stir gently until it holds together better. Also, chilling the mixture for at least 10 minutes before rolling helps the ingredients bind firmly and stay intact.
Are no bake protein balls safe for pets or those with common allergies?
These treats are made with human-safe ingredients but may contain nuts, seeds, or sweeteners that some pets should avoid. If you have allergies, swap nut butters and protein powders for hypoallergenic options like sunflower seed butter and carefully read labels. Always consult your vet before sharing treats with furry friends!
Easy No Bake Protein Balls You’ll Crave Every Day
Ingredients
Equipment
Method
- Gather Ingredients: Lay out rolled oats, protein powder, chia seeds, and mix-ins in bowls.
- Combine Dry: In a large bowl, whisk together oats, protein powder, chia seeds, and salt until blended.
- Stir in Wet: Spoon in nut butter, honey, and vanilla extract, then stir until glossy.
- Fold in Extras: Gently fold mini chocolate chips and optional dried fruits or nuts into the dough.
- Chill & Roll: Cover the bowl and chill for 10 minutes. Scoop and roll into balls.
- Serve & Store: Transfer to an airtight container, refrigerate, and enjoy.


