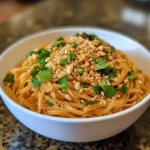
There’s something undeniably comforting about the sizzle of garlic hitting hot oil, filling the kitchen with an irresistible aroma that promises something delicious is on its way. That’s exactly the magic behind my Budget Thai Garlic Noodles—a dish that’s as wallet-friendly as it is flavor-packed. Whether you’re craving a quick dinner after a busy day or want to impress guests without spending hours or breaking the bank, this recipe delivers bold Thai-inspired flavors in under 30 minutes. Simple ingredients come together to create a satisfying, homemade noodle experience that’s anything but ordinary. Trust me, once you try these garlicky noodles, your fast-food habit might just take a backseat!
Why choose Budget Thai Garlic Noodles?
Bold Flavor: These noodles pack authentic Thai garlic goodness that wakes up your taste buds. Quick & Easy: With just a few simple steps, this meal is ready in under 30 minutes—perfect for busy nights. Budget-Friendly: Uses affordable pantry staples without sacrificing taste or satisfaction. Versatile & Crowd-Pleasing: Great solo or as a side, this recipe adapts to whatever proteins or veggies you have on hand. Comfort with a Kick: Satisfies cravings for bold, homemade food that’s anything but bland or boring.
Budget Thai Garlic Noodles Ingredients
For the Noodles and Sauce
- Rice noodles – soak or boil just until tender for perfect texture.
- Garlic cloves – finely minced to release that signature bold flavor in Budget Thai Garlic Noodles.
- Soy sauce – adds savory depth; low-sodium works well to control saltiness.
- Oyster sauce – brings a rich, slightly sweet umami punch.
- Brown sugar – balances acidity with a touch of natural sweetness.
- Sesame oil – a little goes a long way for nutty aroma and taste.
For Garnish and Extras
- Green onions – sliced thin for fresh color and mild sharpness.
- Chili flakes – optional but perfect for adding a gentle kick.
- Lime wedges – a splash brightens every bite with zesty freshness.
- Crushed peanuts – provide a satisfying crunch and nutty contrast.
How to Make Budget Thai Garlic Noodles
- Prepare Noodles: Soak rice noodles in warm water for 8–10 minutes until just tender, then drain and set aside, keeping them lightly coated in oil to prevent sticking.
- Heat Garlic: Warm sesame oil in a large skillet over medium heat. Add minced garlic and sauté for 1–2 minutes until golden brown and fragrant, stirring constantly to avoid burning.
- Mix Sauce: Stir soy sauce, oyster sauce, brown sugar, and a splash of the reserved noodle water into the garlic. Cook for 1 minute until sugar dissolves and sauce thickens.
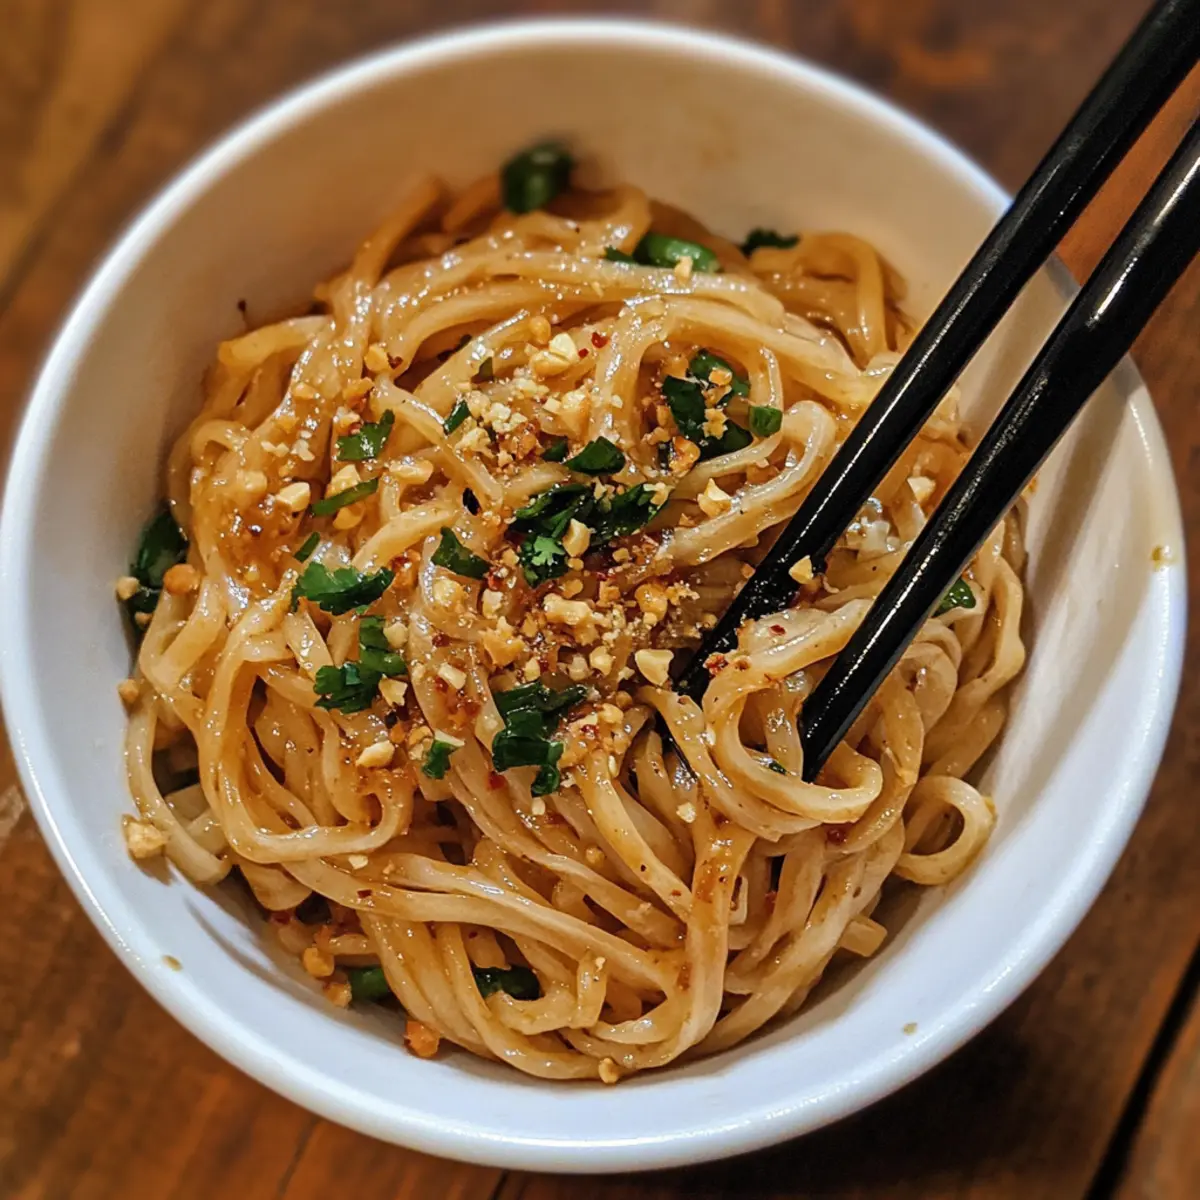
- Toss Noodles: Add drained noodles to the skillet. Using tongs, gently toss for 1–2 minutes, ensuring each strand is evenly coated in the glossy, amber-hued garlic sauce.
- Finish & Serve: Transfer noodles to plates. Garnish with sliced green onions, crushed peanuts, chili flakes, and a lime wedge. Serve immediately for best texture and flavor contrast.
Optional: Add extra chili flakes for a spicier kick.
Exact quantities are listed in the recipe card below.
How to Store and Freeze Budget Thai Garlic Noodles
Room Temperature: Keep any leftover Budget Thai Garlic Noodles at room temperature for no more than 2 hours to ensure food safety; this avoids any unwanted bacterial growth.
Fridge: Store in an airtight container in the fridge for up to 3 days. Reheat gently on the stove or in the microwave, adding a splash of water to revive moisture.
Freezer: For longer storage, freeze in a resealable freezer bag or airtight container for up to 3 months. Thaw overnight in the fridge before reheating.
Reheating: When reheating, add a bit of oil or water to help rehydrate the noodles and keep them saucy. Stir well to ensure even heating throughout.
Variations & Substitutions for Budget Thai Garlic Noodles
Feel free to get creative and tailor these noodles to your taste preferences and dietary needs!
- Gluten-Free: Use rice noodles or gluten-free soy sauce to keep the flavors intact while accommodating gluten sensitivities.
- Vegetarian: Replace oyster sauce with a vegetable-based alternative, such as mushroom sauce, for that rich umami flavor without animal products.
- Protein Boost: Stir in cooked chicken, shrimp, or tofu for a heartier dish that adds protein and transforms it into a satisfying meal.
- Extra Veggies: Toss in steamed broccoli, bell peppers, or snap peas for added nutrition, color, and crunch; simply stir-fry them briefly before adding the noodles.
- Spicy Kick: Include fresh sliced chilies or a dash of sriracha in the mixing stage for heat that you can customize according to your spice tolerance.
- Peanut Sauce Twist: Substitute the sauce mixture with a homemade or store-bought peanut sauce for a creamy, nutty flavor that’s exquisitely indulgent.
- Herbal Freshness: Add fresh basil or cilantro as a garnish to bring a vibrant herbal note and enhance the overall freshness of the dish.
- Savory Swap: Experiment with hoisin sauce instead of oyster sauce for a sweeter and more aromatic flavor profile that lends itself to a different taste adventure.
These variations and substitutions will ensure your Budget Thai Garlic Noodles are never boring and always a delight!
Expert Tips for Budget Thai Garlic Noodles
- Toast garlic carefully: Keep garlic moving in the pan and watch closely to avoid burning, which can turn these flavorful noodles bitter.
- Soak noodles just right: Don’t over-soak rice noodles; they should be pliable but still firm to avoid mushy Budget Thai Garlic Noodles.
- Use noodle water wisely: Adding a little reserved noodle water to the sauce helps achieve a silky texture and better sauce adhesion.
- Balance the sauce: Adjust brown sugar and soy sauce gradually to suit your taste and keep flavors bold yet harmonious.
- Opt for fresh garnishes: Fresh lime, green onions, and crushed peanuts brighten the dish and add essential texture contrasts.
What to Serve with Budget Thai Garlic Noodles?
Elevate your meal experience with delightful sides and accompaniments that perfectly complement the flavors of this inviting noodle dish.
-
Crispy Spring Rolls: These crunchy, veggie-stuffed treats offer a satisfying contrast, enhancing your culinary journey to Thailand.
-
Fresh Thai Salad: Brighten your plate with a zesty mix of fresh veggies and a tangy lime dressing—a perfect balance to the noodles’ richness.
-
Grilled Chicken Skewers: Juicy, marinated chicken skewers are great for protein lovers and create a delightful pairing with the garlicky flavor profile.
-
Toasted Sesame Seeds: Sprinkling these on top adds an extra nutty crunch, amplifying the textures in your meal.
-
Sweet and Spicy Dipping Sauce: Serve alongside for an added kick that mingles beautifully with the noodles, creating a delightful taste adventure.
-
Chilled Coconut Water: This refreshing drink not only hydrates but also brings a subtle sweetness that contrasts the savory noodles wonderfully.
-
Mango Sticky Rice: For dessert lovers, this sweet treat adds an exotic finish, balancing flavors while satisfying your sweet tooth.
Make Ahead Options
These Budget Thai Garlic Noodles are perfect for meal prep enthusiasts looking to save time on busy evenings! You can soak the rice noodles and prepare the sauce (including the garlic and other ingredients) up to 24 hours ahead, storing them separately in the refrigerator to maintain freshness and flavor. When ready to finish the dish, simply heat the sesame oil, sauté the prepared garlic, and mix in the sauces as directed. Toss the pre-soaked noodles into the skillet for about 1-2 minutes until everything is well-coated and heated through. By prepping these elements in advance, you’ll enjoy a delightful and satisfying meal with minimal effort!
Budget Thai Garlic Noodles Recipe FAQs
How do I know when my garlic is perfectly cooked for Budget Thai Garlic Noodles?
Aim for a golden brown color when sautéing garlic—this usually takes 1 to 2 minutes over medium heat. Avoid letting it burn, as burnt garlic tastes bitter and can overpower the dish.
Can I store leftover Budget Thai Garlic Noodles, and for how long?
Absolutely! Store leftovers in an airtight container in the fridge for up to 3 days. When ready to eat, gently reheat on the stove with a splash of water or oil to restore moisture and flavor.
Is it possible to freeze Budget Thai Garlic Noodles? What’s the best method?
Yes, freezing works well for this recipe. Let the noodles cool completely, then portion into freezer-safe bags or containers. Squeeze out excess air, seal tightly, and freeze for up to 3 months. Thaw them overnight in the fridge before reheating gently with a splash of water.
What if my rice noodles turn mushy—is there a way to prevent that?
Very common! To avoid mushy noodles, soak them only 8 to 10 minutes until just tender—no longer—and quickly drain. Toss noodles lightly with oil right after draining to prevent clumping and overcooking during stir-frying.
Can I make Budget Thai Garlic Noodles if I’m allergic to peanuts or soy?
Definitely! For peanut allergies, simply skip the crushed peanuts and try toasted sesame seeds or crushed cashews instead. For soy allergies, substitute tamari or coconut aminos for soy sauce, and use a soy-free oyster sauce alternative or mushroom sauce to keep that rich umami flavor.

Easy Budget Thai Garlic Noodles That Pack a Flavorful Punch
Ingredients
Equipment
Method
- Soak rice noodles in warm water for 8–10 minutes until just tender, then drain and set aside, keeping them lightly coated in oil.
- Warm sesame oil in a large skillet over medium heat. Add minced garlic and sauté for 1–2 minutes until golden brown and fragrant.
- Stir soy sauce, oyster sauce, brown sugar, and a splash of the reserved noodle water into the garlic. Cook for 1 minute until sugar dissolves and sauce thickens.
- Add drained noodles to the skillet. Using tongs, gently toss for 1–2 minutes, ensuring each strand is evenly coated in the garlic sauce.
- Transfer noodles to plates. Garnish with sliced green onions, crushed peanuts, chili flakes, and a lime wedge. Serve immediately.