

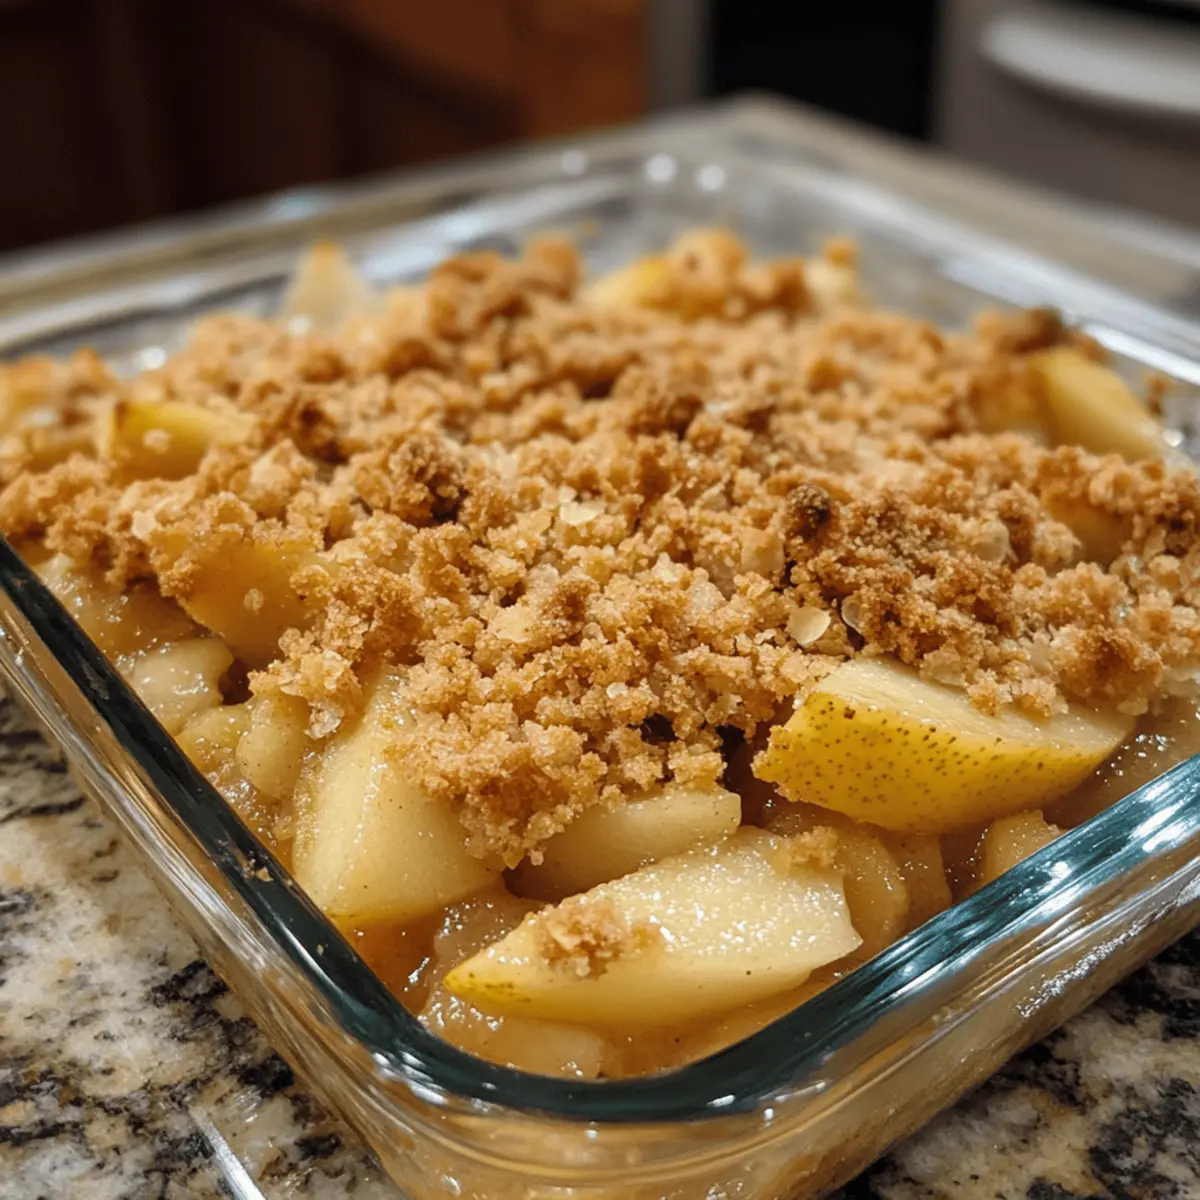
There’s something truly comforting about the warmth of baked fruit, especially when it’s a healthier twist on a classic dessert. I discovered this Healthy Baked Pear Crisp one chilly evening when I wanted something sweet but guilt-free, and it instantly became a favorite in my kitchen. The crisp topping, with its hint of cinnamon and oats, perfectly complements the tender, naturally sweet pears bubbling beneath. It’s incredibly easy to make and strikes that perfect balance between indulgence and nourishing simplicity. Whether you’re entertaining guests or craving a cozy treat after a long day, this pear crisp delivers flavors that feel both familiar and fresh — all without the heaviness of typical desserts. Give it a try, and I promise this recipe will elevate your homemade dessert game while keeping things wholesome.
Why try this Healthy Baked Pear Crisp?
Effortless Comfort: This recipe is incredibly easy to prepare, perfect for busy days or relaxed weekends. Wholesome Ingredients: It uses naturally sweet pears and oats for a guilt-free indulgence. Warm, Cozy Flavors: The cinnamon and baked fruit aroma fill your kitchen with comforting vibes. Versatile Dessert: Ideal for family dinners, entertaining, or solo treats. Light Yet Satisfying: Enjoy a crisp that’s nourishing without feeling heavy or overly sweet.
Healthy Baked Pear Crisp Ingredients
For the Pear Filling
- Ripe Pears – choose firm yet juicy pears to achieve a tender, flavorful base for your Healthy Baked Pear Crisp.
- Lemon Juice – a splash brightens the pears and prevents browning for fresh, vibrant flavor.
- Maple Syrup – natural sweetness that enhances the pears without overpowering their taste.
- Ground Cinnamon – warms up the fruit filling with cozy, familiar spice notes.
- Cornstarch – thickens the fruit juices, ensuring a luscious, not watery, filling.
For the Crisp Topping
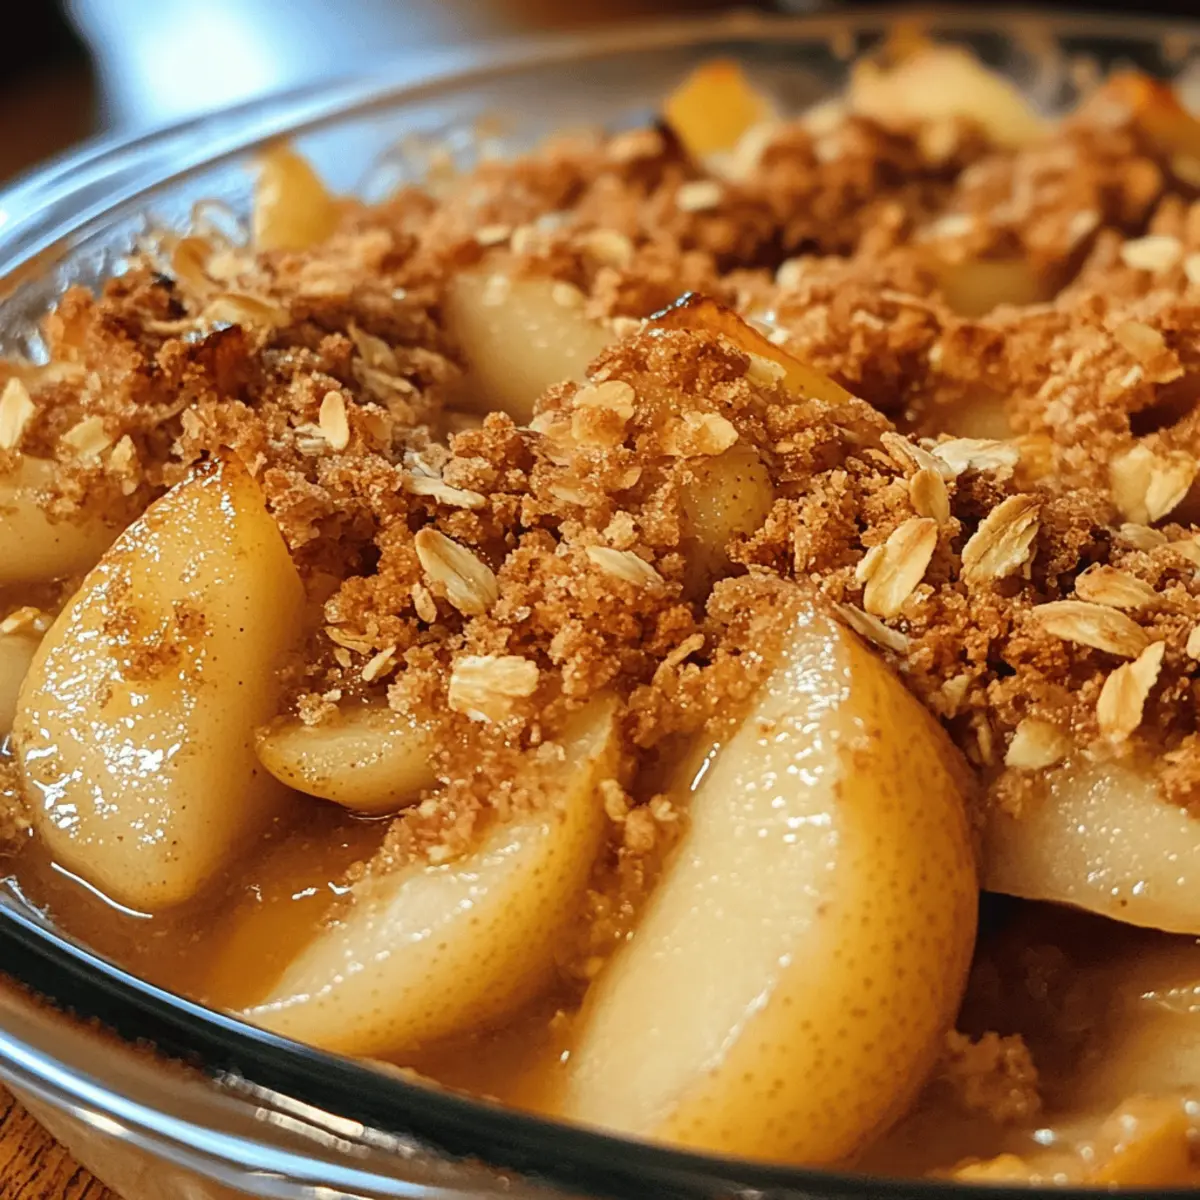
- Old-Fashioned Oats – add hearty texture and wholesome fiber for a perfectly crunchy topping.
- Almond Flour – brings a nutty richness and keeps the crisp gluten-free if desired.
- Coconut Sugar – a lower-glycemic sweetener that caramelizes beautifully in the oven.
- Ground Nutmeg – adds depth and a subtle hint of spice to complement the cinnamon.
- Unsalted Butter – melts into the oats, helping the topping turn golden and crisp.
Optional Garnish
- Chopped Pecans or Walnuts – sprinkle on top before baking to boost crunch and add earthy warmth.
- Vanilla Greek Yogurt – serve alongside for a creamy, protein-packed touch that balances sweetness.
How to Make Healthy Baked Pear Crisp
- Preheat Oven: Preheat your oven to 350°F (175°C) so the pear filling bubbles perfectly and the topping turns golden brown, creating that signature cozy aroma throughout your kitchen.
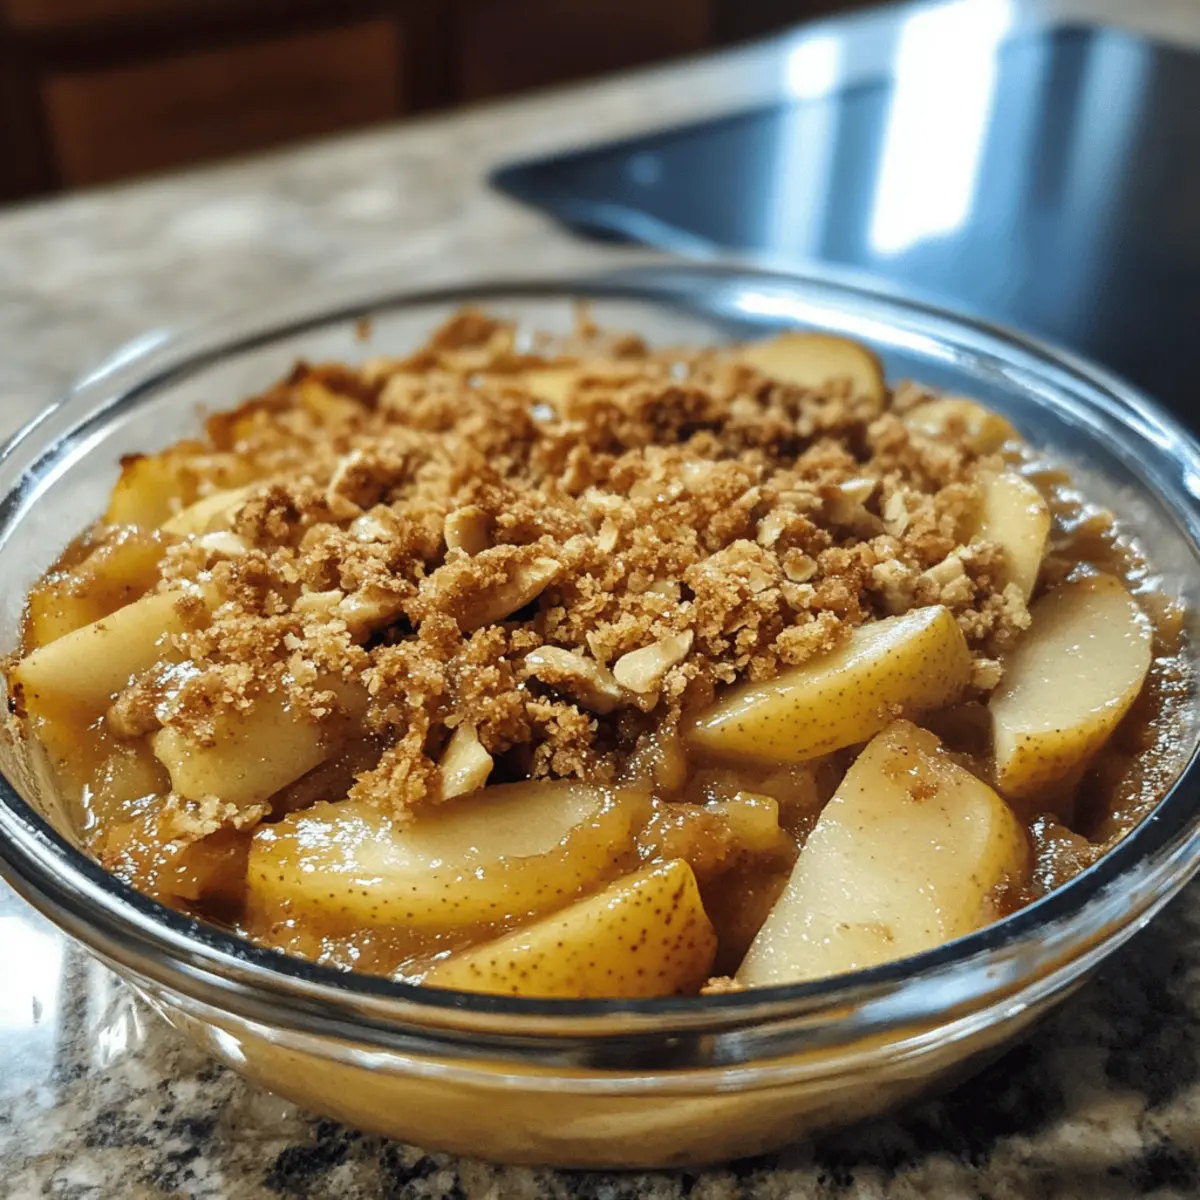
- Prepare Pear Filling: In a large bowl, toss peeled, sliced pears with fresh lemon juice, maple syrup, cinnamon, and cornstarch until each slice glistens with spice-coated sweetness.
- Transfer Filling: Spoon the pear mixture into a greased, 8×8-inch baking dish, spreading it evenly so each bite will offer juicy, tender pears beneath the crunchy topping.
For the Crisp Topping:
- Combine Dry Ingredients: In a medium bowl, stir oats, almond flour, coconut sugar, and nutmeg until evenly combined, building that robust, nutty foundation for your crunchy topping.
- Add Melted Butter: Drizzle warm melted butter over the oat mixture, tossing gently until coarse crumbs form and every oat flake glistens in rich, golden hue.
- Top and Bake: Evenly sprinkle the crunchy topping over the pears, then bake at 350°F (175°C) for 30–35 minutes until the edges are bubbling and the topping is perfectly golden brown.
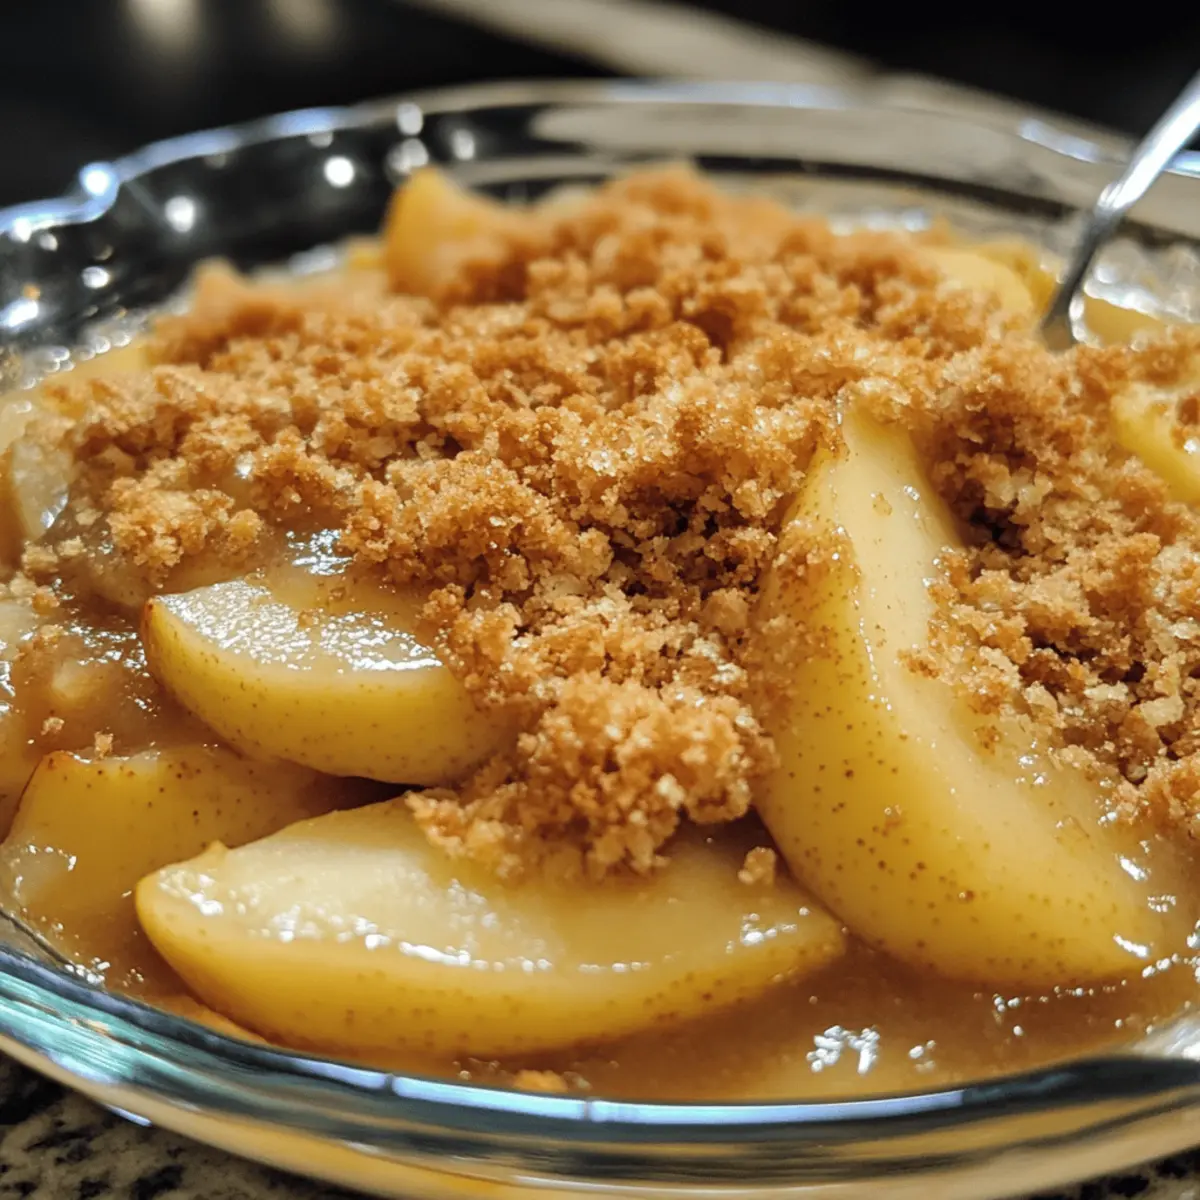
- Cool Before Serving: Allow the crisp to rest 10 minutes out of the oven so juices thicken and flavors meld, ensuring each spoonful holds tender pears and crunchy topping.
Optional: Top with a dollop of vanilla Greek yogurt for extra creaminess.
Exact quantities are listed in the recipe card below.
Make Ahead Options
These Healthy Baked Pear Crisp preparations are perfect for busy home cooks aiming to simplify dessert prep! You can prepare the pear filling up to 24 hours in advance by tossing the sliced pears with lemon juice, maple syrup, cinnamon, and cornstarch before storing it in an airtight container in the refrigerator. The crisp topping can also be made ahead — mix the dry ingredients and keep them in a sealed bag for up to 3 days. When you’re ready to enjoy, simply spread the pear filling in a baking dish, sprinkle with the topping, and bake at 350°F (175°C) for 30–35 minutes for that warm, cozy delight, just as delicious as if made fresh!
How to Store and Freeze Healthy Baked Pear Crisp
Room Temperature: Allow your Healthy Baked Pear Crisp to cool completely before covering it with foil or plastic wrap and leaving it at room temperature for up to 2 days.
Fridge: Store any leftovers in an airtight container in the fridge for up to 5 days. Reheat in the oven or microwave until warmed through for that fresh-baked taste.
Freezer: To freeze, wrap individual portions tightly in plastic wrap and then in aluminum foil. The crisp will stay fresh for up to 3 months. Thaw in the fridge before reheating.
Reheating: For best results, reheat in the oven at 350°F (175°C) for about 10-15 minutes to restore the crispiness of the topping. Enjoy your comforting dessert again!
What to Serve with Healthy Baked Pear Crisp?
There’s a warmth and sweetness just waiting to complement your delightful dessert experience.
-
Vanilla Ice Cream: This classic pairing adds a creamy contrast to the warm fruit, making every bite a blissful treat. Nothing beats the combination of cold and warm textures!
-
Spiced Chai Latte: The chai’s warmth and aromatic spices enhance the cozy flavors of the crisp, creating an inviting atmosphere.
-
Caramel Drizzle: A light drizzle of caramel adds an extra layer of sweetness, elevating the dessert without overpowering the natural pear flavor.
-
Fresh Mint Leaves: Garnishing each serving with mint adds a refreshing, vibrant touch, balancing the dessert’s warmth perfectly.
-
Greek Yogurt: This offers a protein-packed and creamy element that cools down each spoonful while adding tanginess to offset the sweetness.
-
Nutty Granola: Sprinkling some on top of your crisp not only adds crunch but also a nutty richness that beautifully complements the baked pears.
-
Herbal Tea: A warm cup of chamomile or peppermint tea provides a calming finish, enhancing the dessert’s overall soothing experience.
-
Dark Chocolate Shavings: For chocolate lovers, a touch of dark chocolate creates a sophisticated flavor pairing that feels indulgent yet balanced.
-
Lemon Sorbet: A refreshing scoop brings a citrus zing that cuts through the sweetness, making for an exciting contrast.
-
Toasted Pecans: These can be sprinkled on top for a delightful crunch, enhancing the nutty notes of the almond flour in the crisp.
Expert Tips for Healthy Baked Pear Crisp
- Choose ripe pears: Select pears that are firm yet ripe to ensure they soften perfectly without turning mushy during baking.
- Even slicing: Slice pears evenly so they cook uniformly, preventing some pieces from remaining hard while others overcook.
- Prevent browning: Toss pears immediately with lemon juice to keep their color fresh and appetizing throughout preparation and baking.
- Mix topping gently: Combine the crisp topping ingredients without overworking to keep the texture light and crumbly, not dense.
- Watch baking time: Bake until the topping is golden and the filling bubbles; underbaking can leave soggy fruit, overbaking dries it out.
- Serve warm: Let the crisp cool slightly to thicken the filling, then serve warm with yogurt or a scoop of ice cream for best flavor.
Healthy Baked Pear Crisp Variations & Substitutions
Customize your Healthy Baked Pear Crisp to match your taste and dietary preferences; the possibilities are endless!
- Gluten-Free: Substitute almond flour and oats with a gluten-free blend to accommodate dietary restrictions without sacrificing flavor.
- Spicy Kick: Add a pinch of cayenne pepper or ginger to the pear filling for a warm, unexpected twist that elevates the dessert experience.
- Vegan: Replace butter with coconut oil and use maple syrup instead of any honey for a fully plant-based option that’s still rich and delicious.
- Fruit Mix: Swap half the pears for apples or peaches to create a unique flavor profile that brings a delightful twist to the classic crisp.
- Nutty Boost: Mix in a handful of almond or pecan pieces into the topping for extra crunch and earthy depth, enhancing both texture and flavor.
- Choco-Chip Delight: Toss in some dark chocolate chips or cacao nibs within the pear filling for a decadent indulgence that pairs perfectly with the fruit.
- Syrup Switch: Experiment with different sweeteners like agave nectar or honey, adjusting the amount to personal preference for a distinct flavor.
- Herbal Infusion: Sprinkle fresh thyme or basil in the pear filling for a refreshing, herbaceous note that contrasts beautifully with the natural sweetness of the fruit.
Healthy Baked Pear Crisp Recipe FAQs
How do I choose the best pears for this Healthy Baked Pear Crisp?
Look for pears that are firm but yield slightly under gentle pressure—a perfect balance of ripeness. Avoid overly soft or mushy pears with dark spots all over, as they can turn to mush during baking and affect texture.
What is the best way to store leftovers, and how long will they keep?
After cooling completely, store the crisp in an airtight container in the refrigerator. It will stay delicious for up to 5 days. For short-term storage, you can also cover it tightly and keep it at room temperature for up to 2 days, but refrigeration is best to maintain freshness.
Can I freeze the Healthy Baked Pear Crisp, and how should I do it?
Absolutely! Wrap individual portions tightly in plastic wrap, then place them in a freezer-safe bag or wrap again with aluminum foil to prevent freezer burn. Store for up to 3 months. When ready to enjoy, thaw overnight in the fridge and reheat in a 350°F (175°C) oven for 10–15 minutes until warm and crunchy.
What if my crisp topping is soggy after baking?
This can happen if the topping is applied too thickly or the filling is very juicy. To avoid sogginess, use firm pears and cornstarch to thicken the filling properly. Make sure to bake until the edges bubble and the topping turns golden brown. If soggy, try reheating uncovered in the oven to crisp it up.
Is this dessert safe for pets or people with nut allergies?
Since the crisp topping contains almond flour and optional nuts, it’s best to avoid sharing this dessert with pets or anyone with nut allergies. You can substitute almond flour with gluten-free all-purpose flour and omit nuts for a nut-free alternative without losing much flavor or texture.
Easy Healthy Baked Pear Crisp with a Warm, Cozy Twist
Ingredients
Equipment
Method
- Preheat your oven to 350°F (175°C).
- In a large bowl, toss the sliced pears with lemon juice, maple syrup, cinnamon, and cornstarch.
- Spoon the pear mixture into a greased, 8×8-inch baking dish.
- In a medium bowl, stir together oats, almond flour, coconut sugar, and nutmeg.
- Drizzle melted butter over the oat mixture, tossing until coarse crumbs form.
- Sprinkle the crunchy topping over the pears and bake for 30–35 minutes.
- Allow the crisp to cool for 10 minutes before serving.


